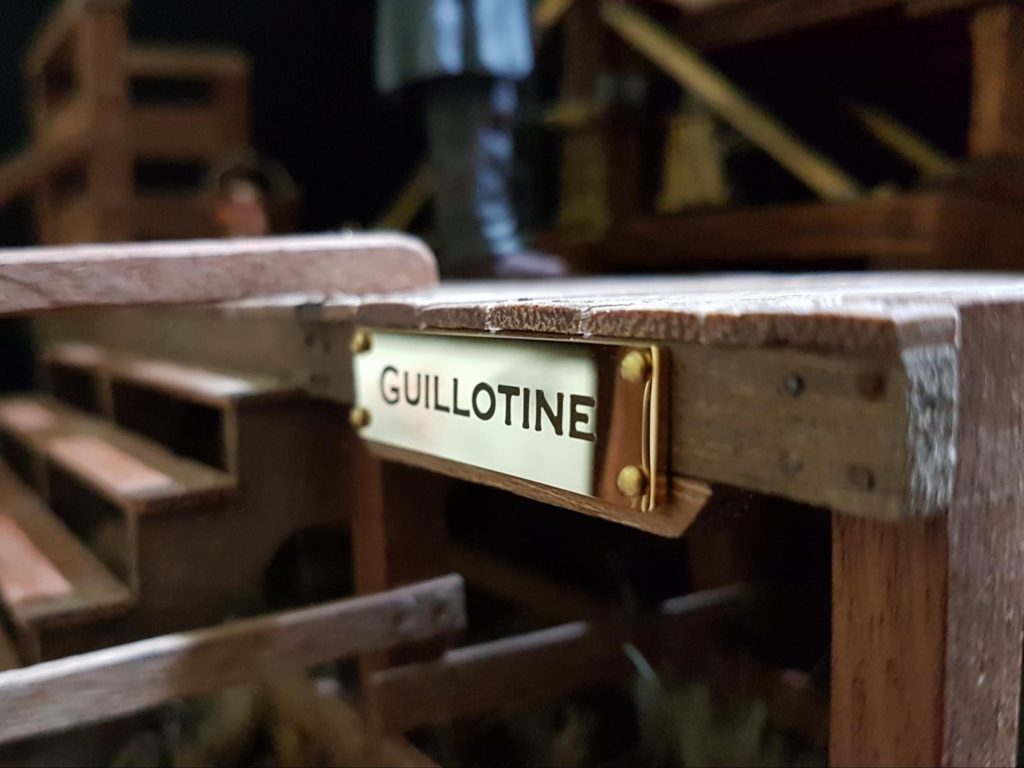
This project took me two years of intermitent work, exactly from 2016 to 2018. The scene is based on the execution of a criminal by Anatoile Deibler using a Berger guillotine. If you are interested in this famous executioner and The history of Berger guillotine I encourage you to visit my previous post, you will find there deeper information about this guillotine, if not just enjoy this humble tribute to this magnificent machine.
My purpose this time was to combine a functional Berger guillotine with a fully handmade rest of the scene in 1/15 scale. The principal difficulty of this project was to reproduce to the tee some parts of the guillotine in such small scale, mainly the mechanism inside the capital entirely made of steel. 1/15 scale means a 270mm (10,6 inch) high guillotine.
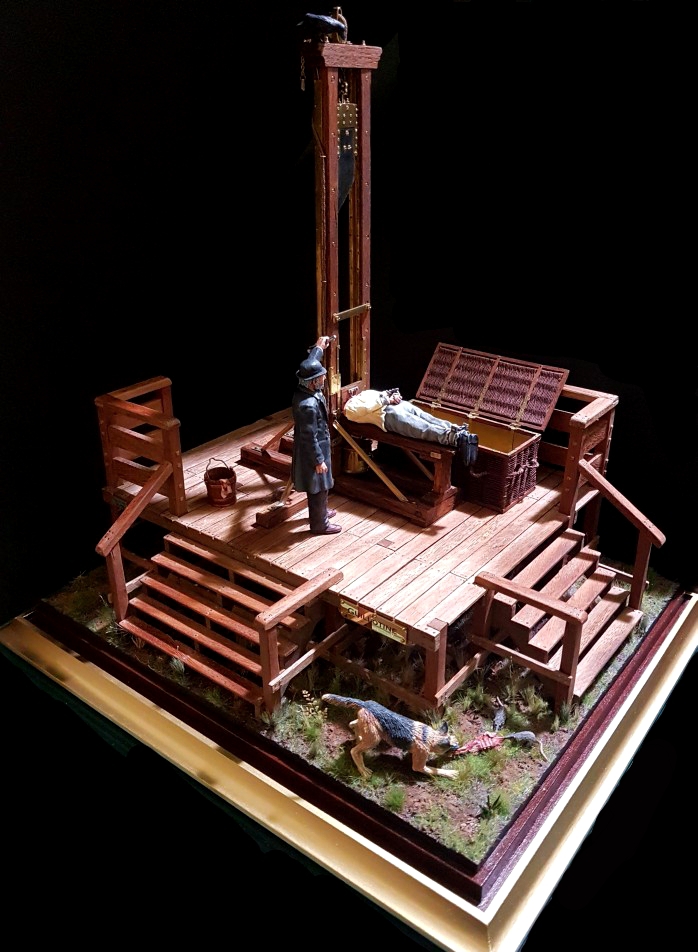
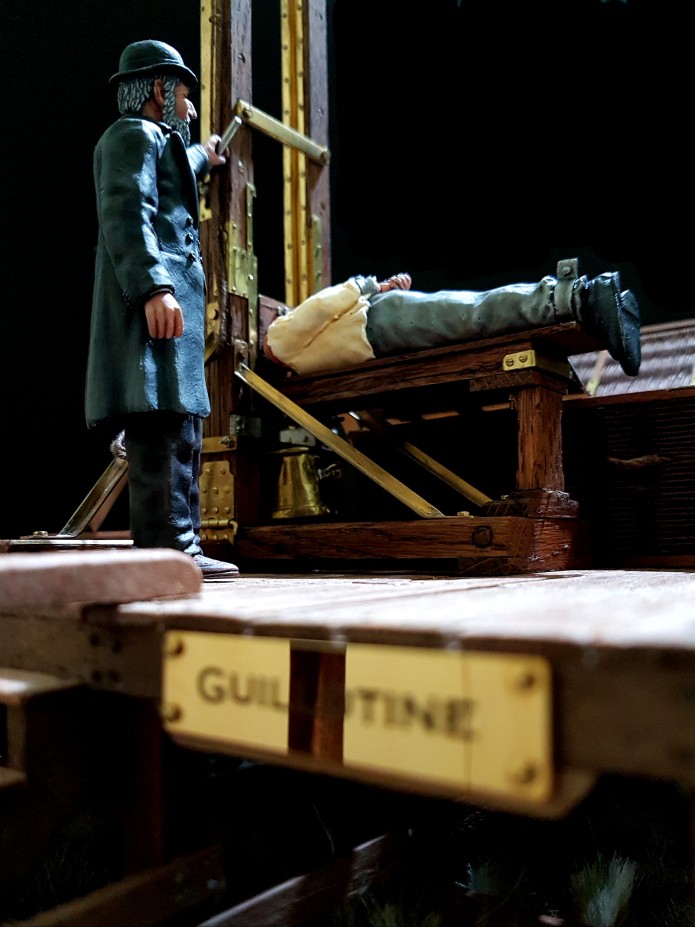
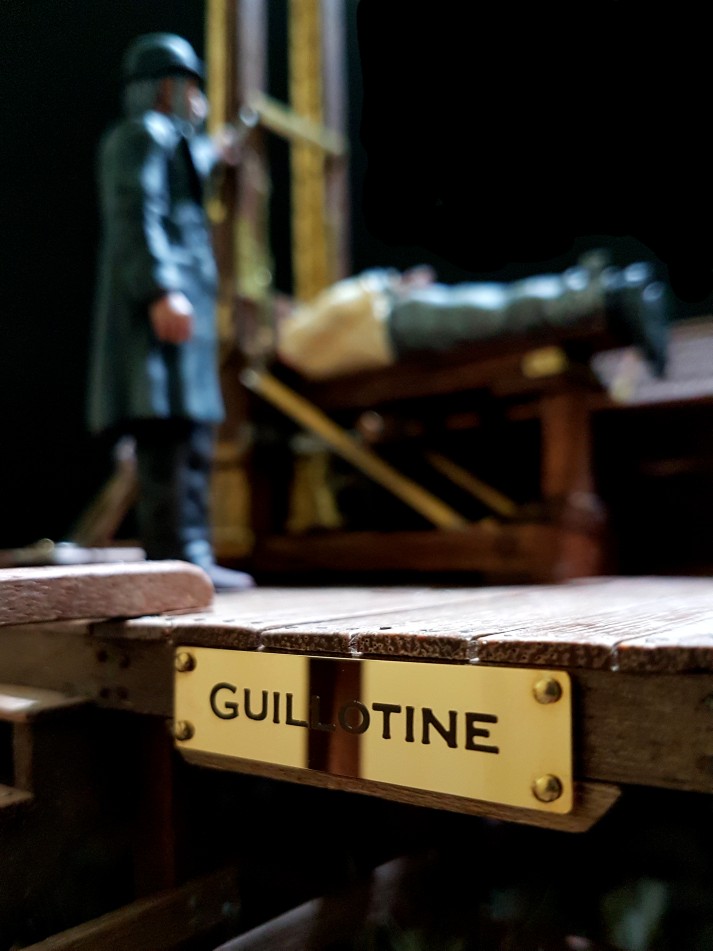
The final result of my Berger guillotine diorama:
Before explaining the whole and long creation process of this diorama there you go some pictures of the final result
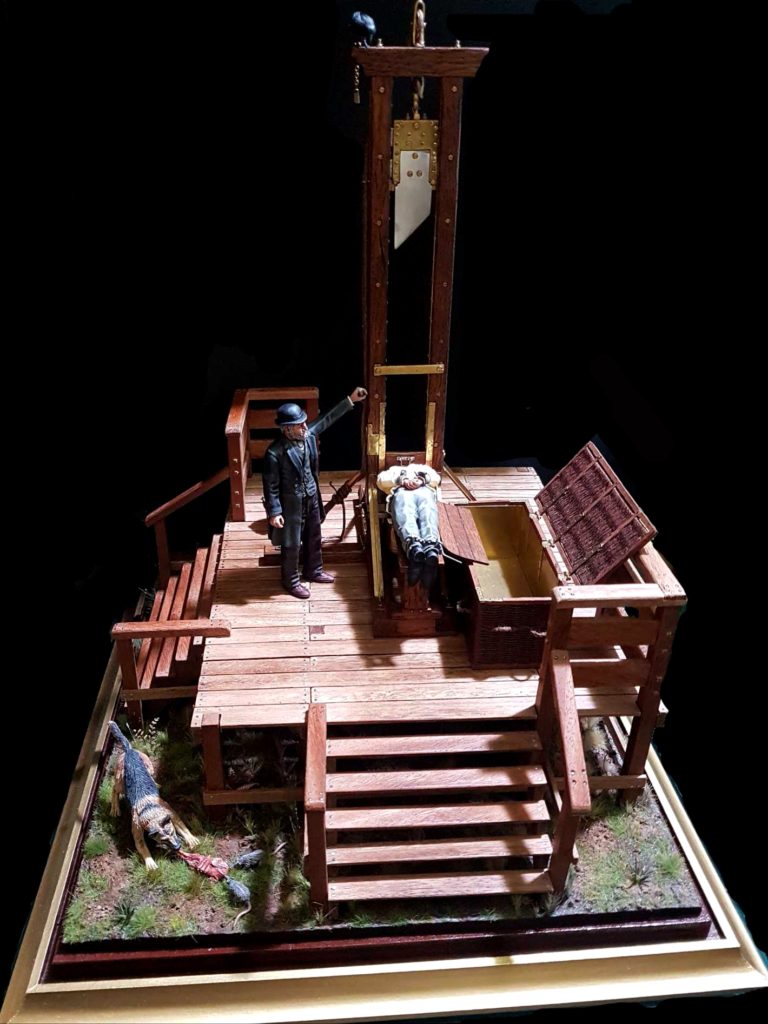
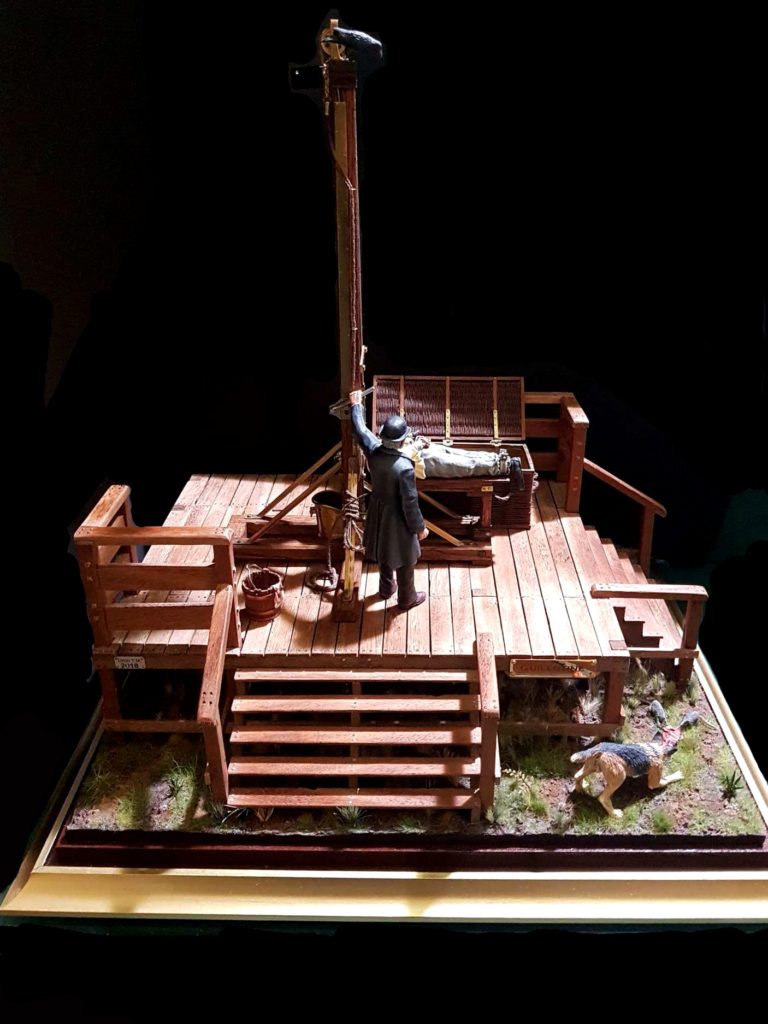

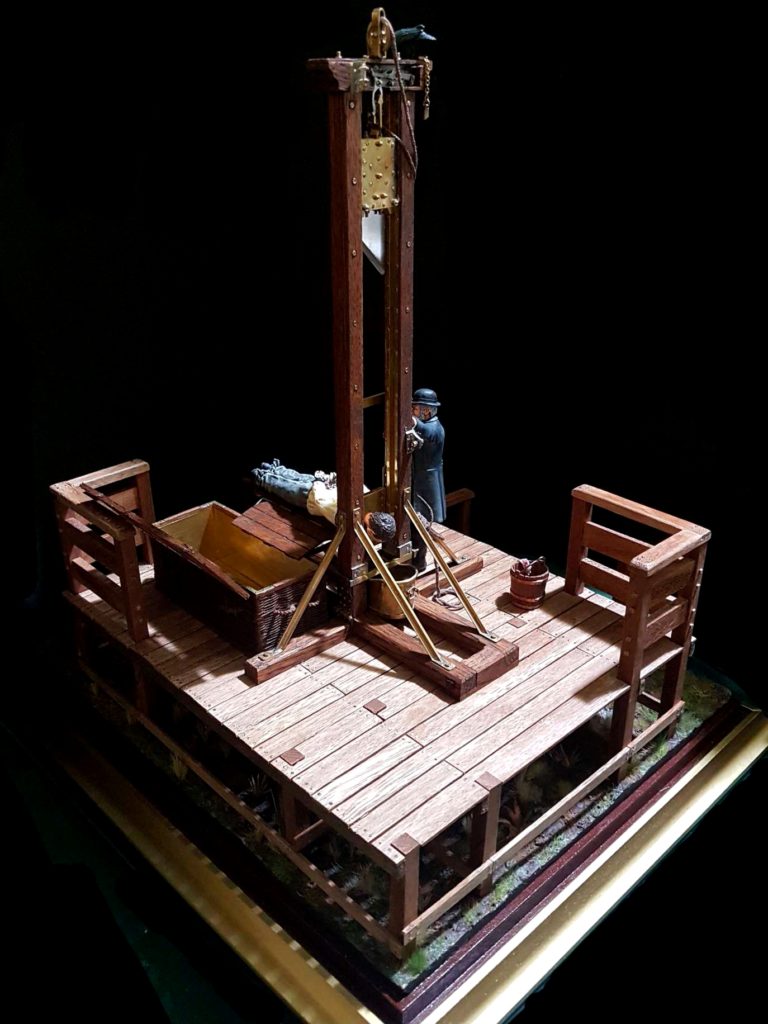

I hope you enjoyed seeing the final result. If you are now interested in knowing the process that took me to finally complete this scene keep reading.
The manufacturing process of the Berger Guillotine
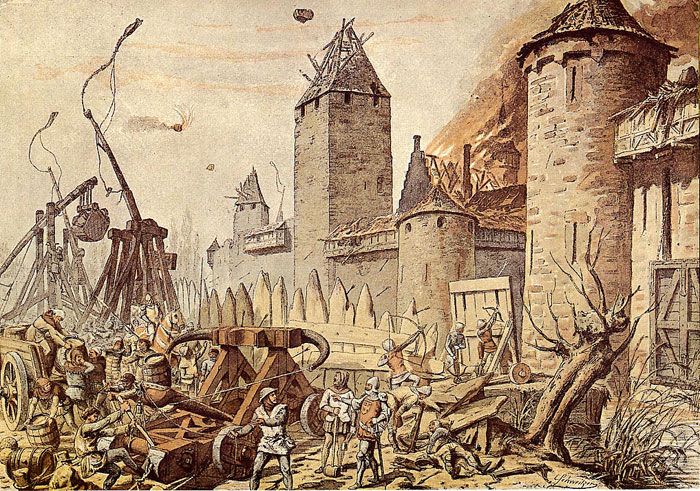
The guillotine showed on left picture is not my guillotine model but it is quite usefull to make familiar with the name of each element before digging into the manufacturing process.
The guilotine starts with a base made of two runners and one crossbar. Over this base two risers. The mouton with the blade will then slide along these two risers.
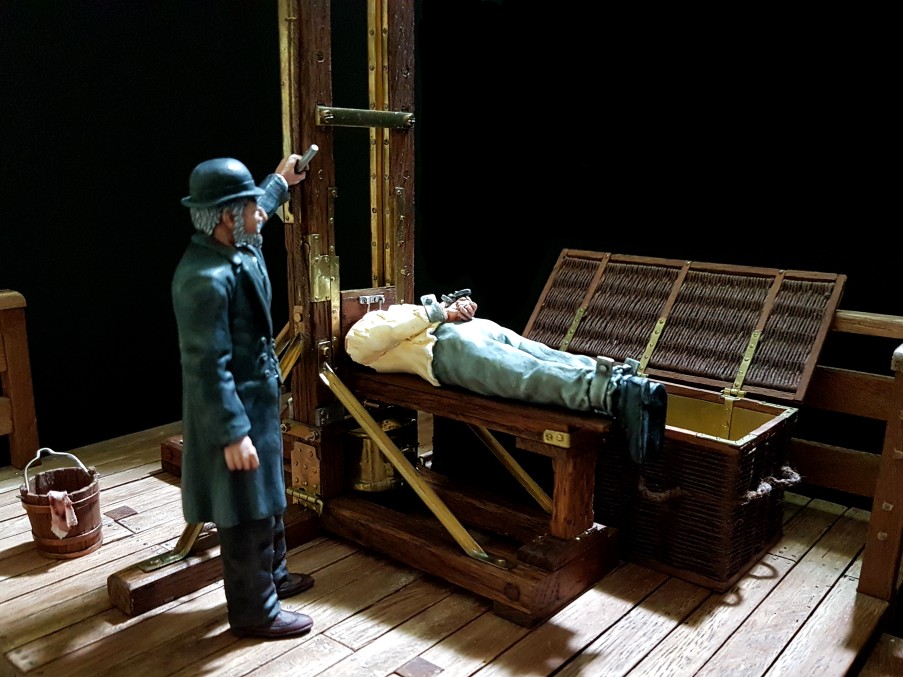
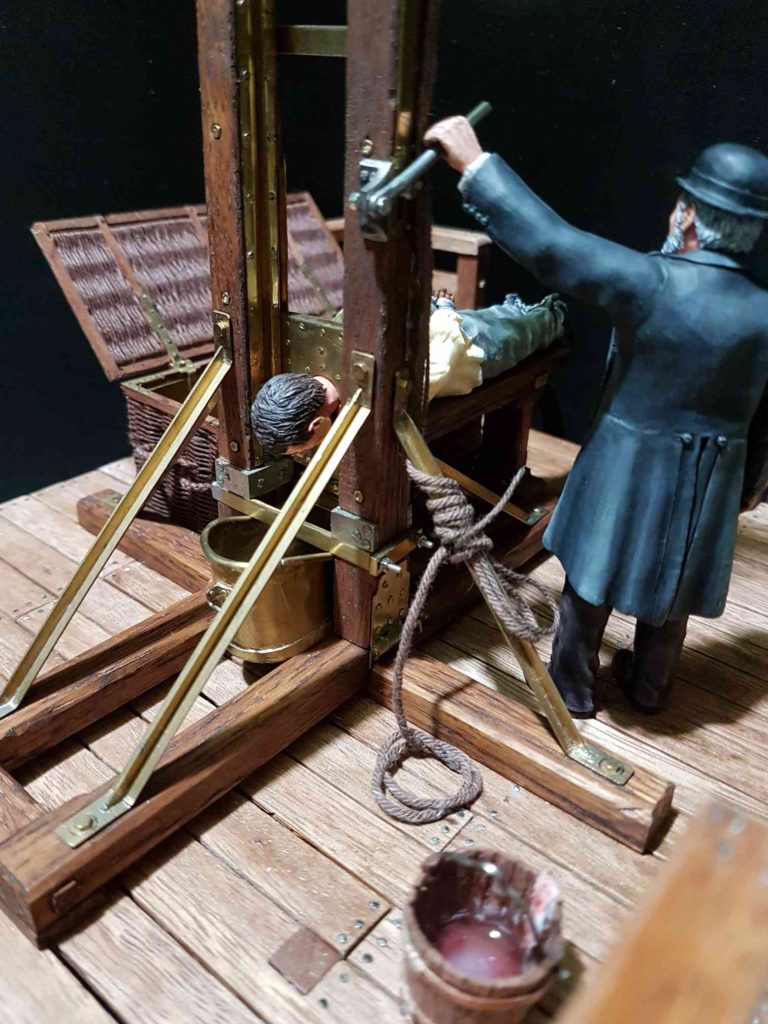
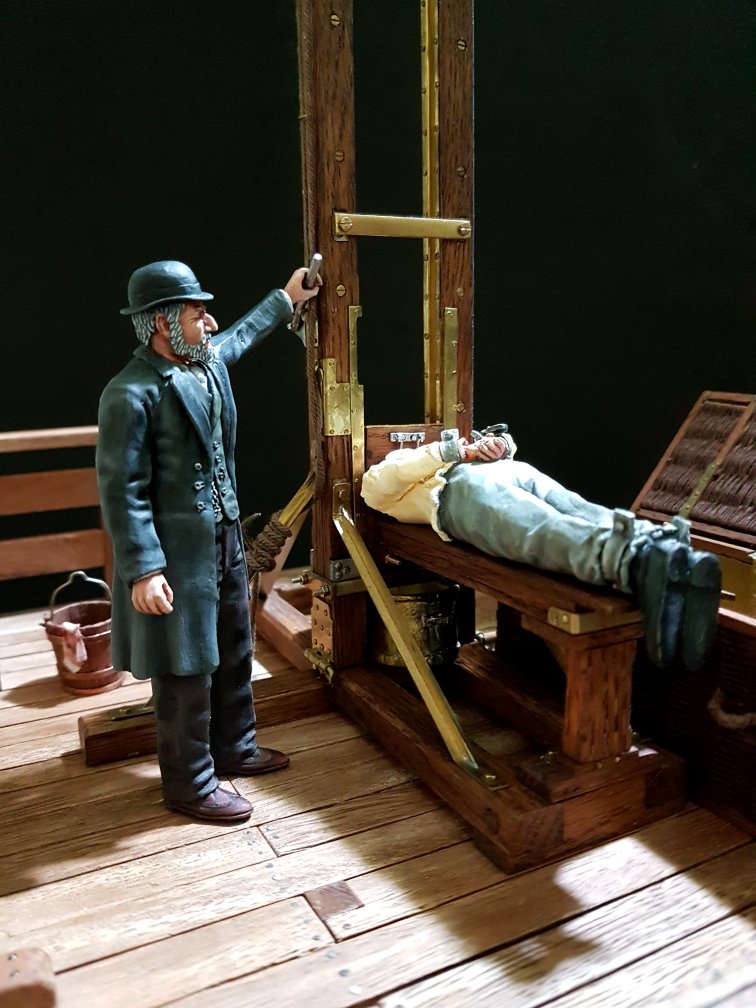
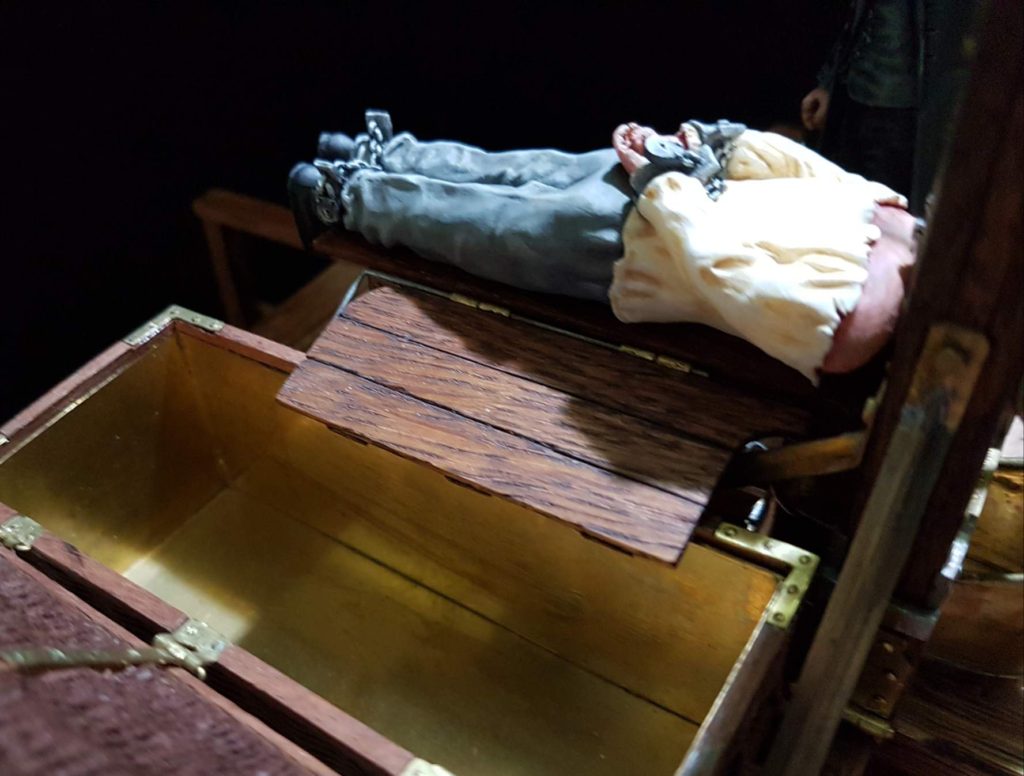
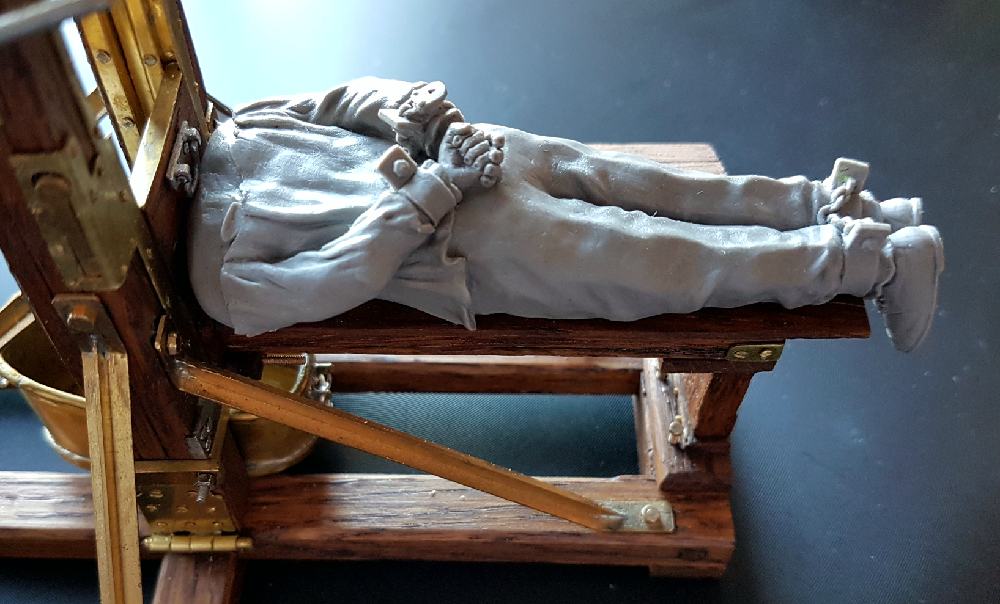
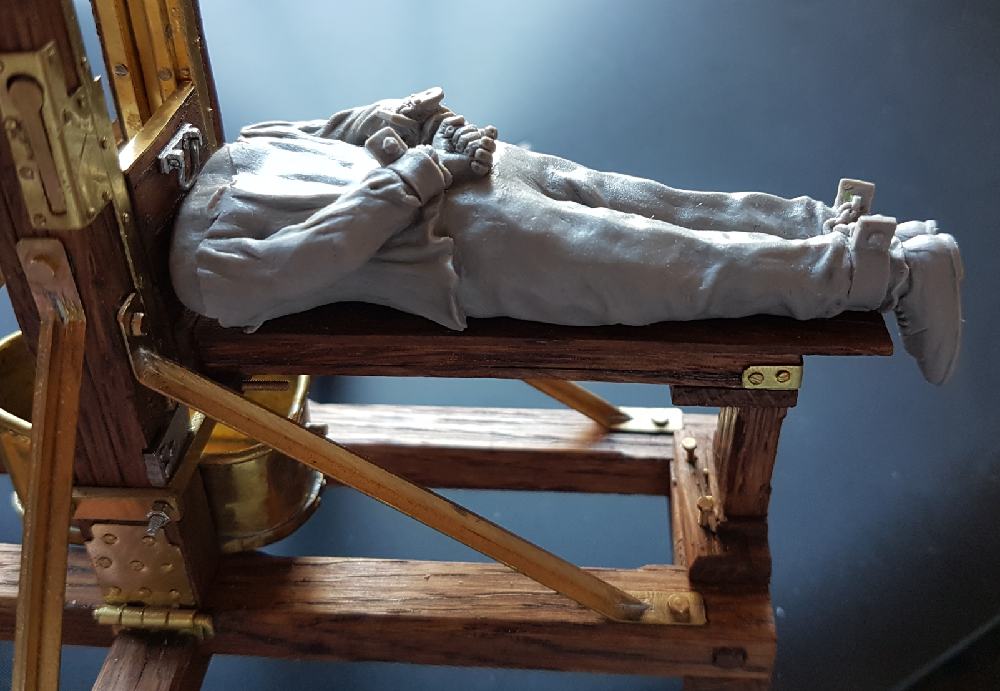
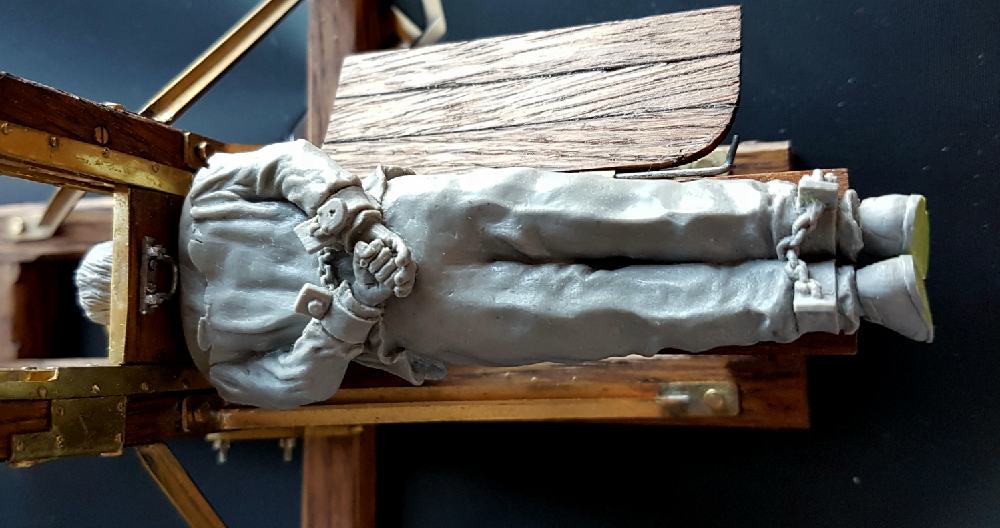
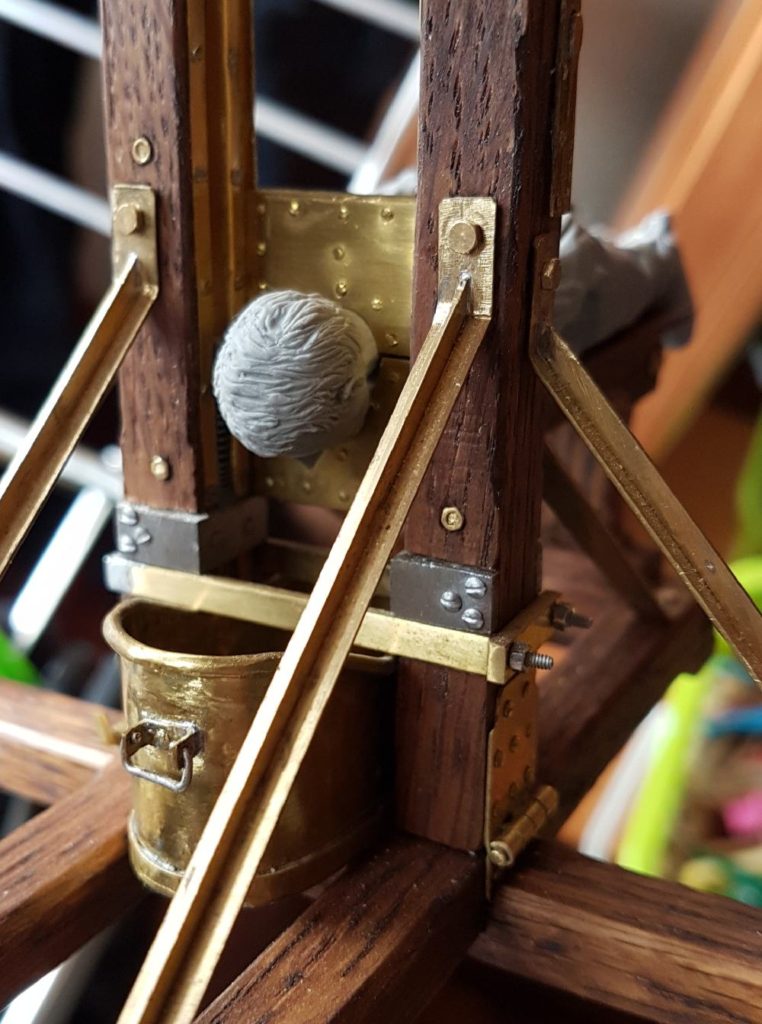
The prisoner lays down over an articulated seesaw and his neck keeps inside a two halves lunette.
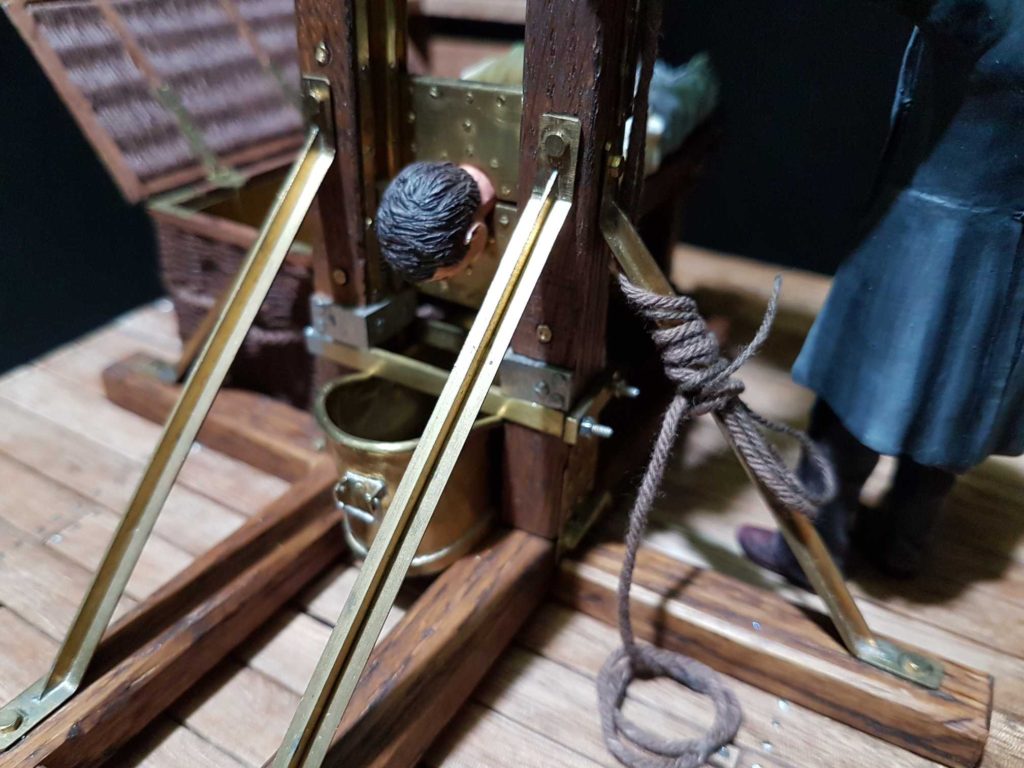
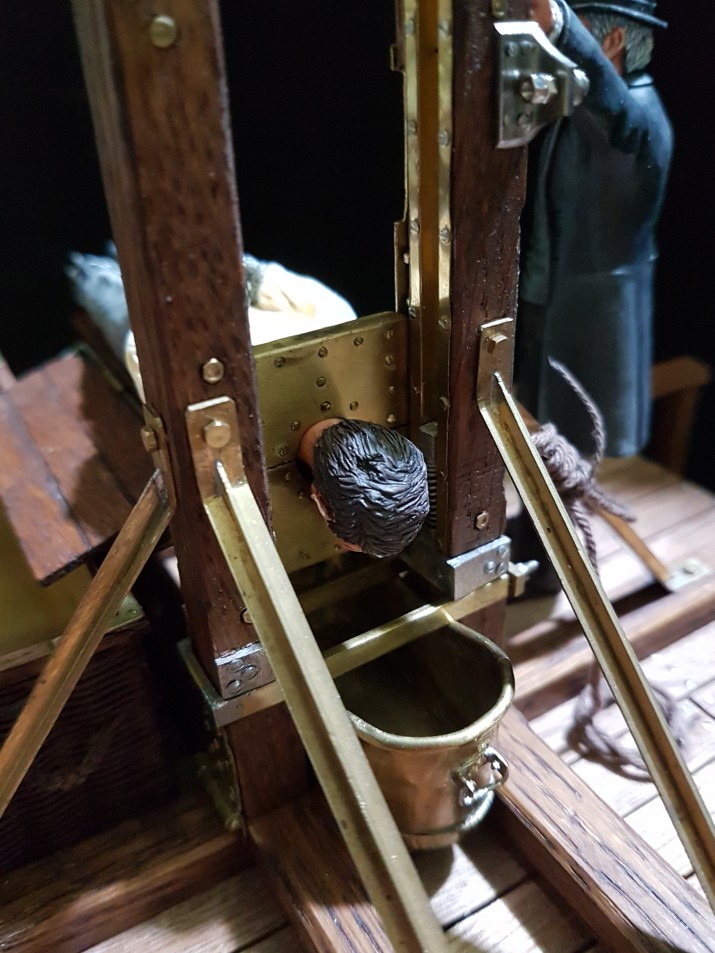
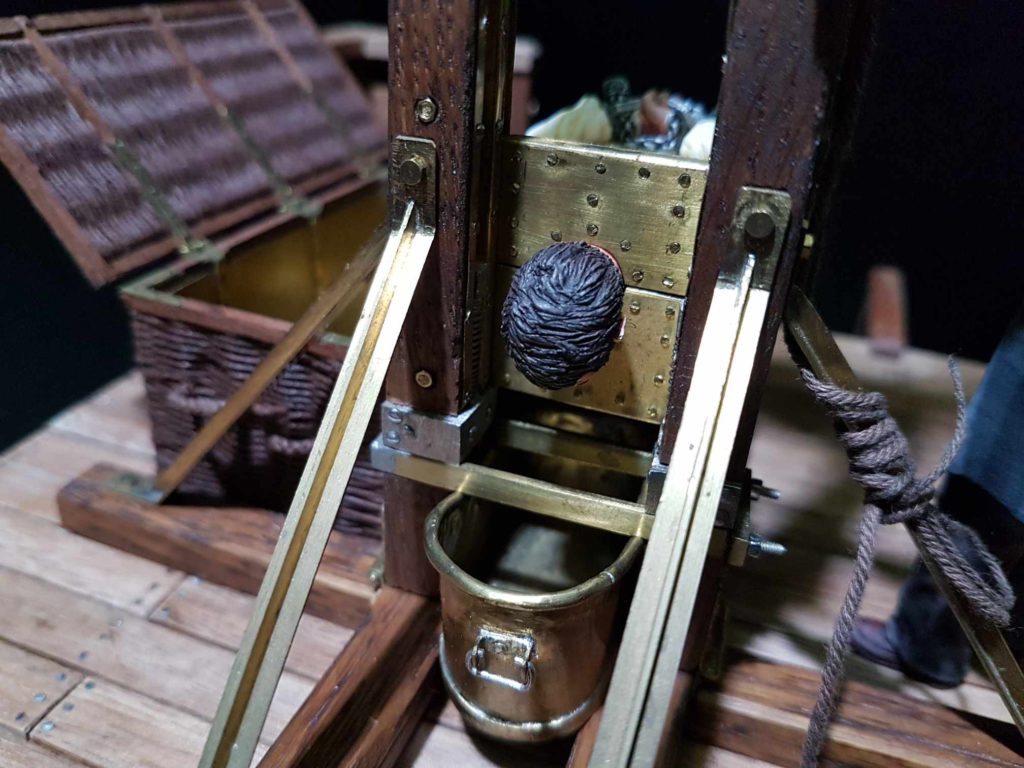
After being executed, the head is kept inside a metallic recipient and the body inside a wicker basket.
there is also another element called Paravent or screen whose purpose is to prevent the executioner from getting dirty with the blood when the blade cuts the head, but in my case I decided not to inlude this element because it would block the visibility of the head and the recipient for the head.
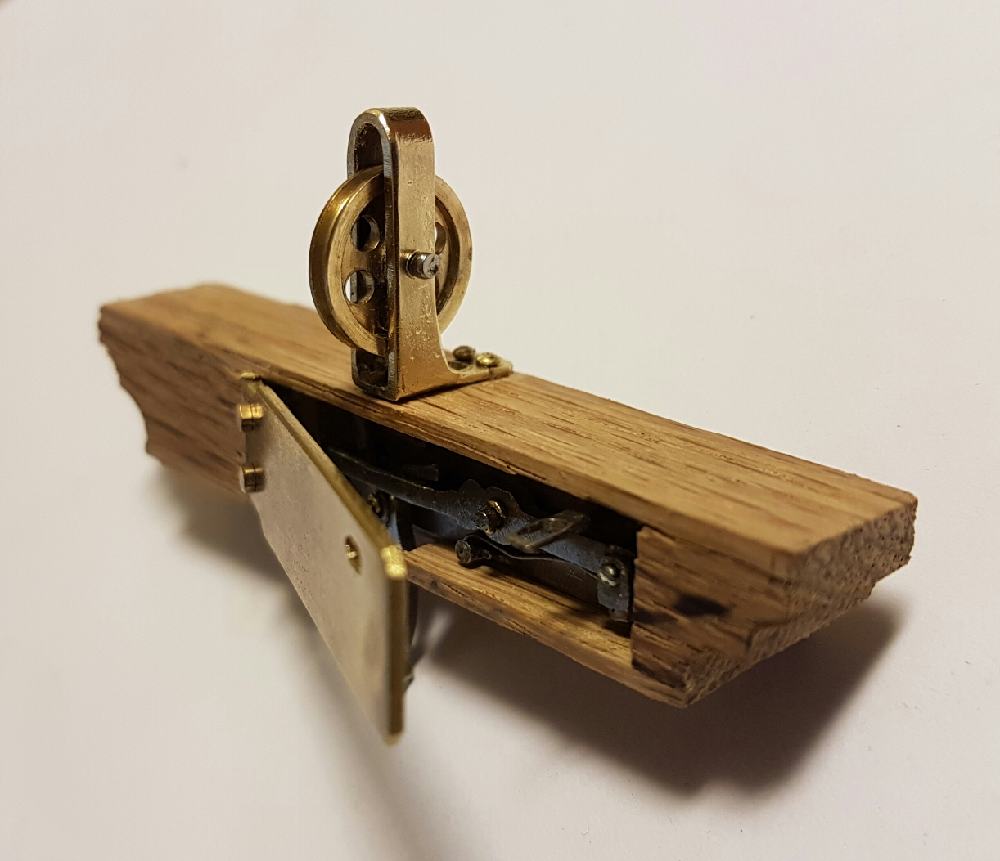
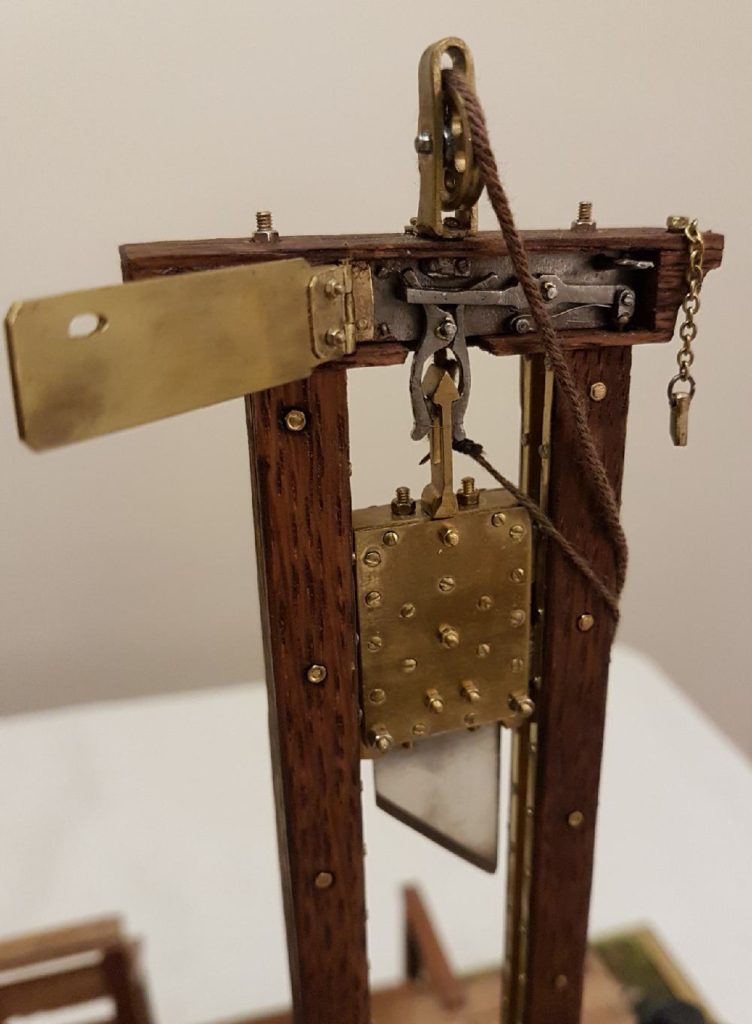
finally, in the upper area of the guillotine, the capital, with a pulley for the rope and the mechanism to release the mouton.
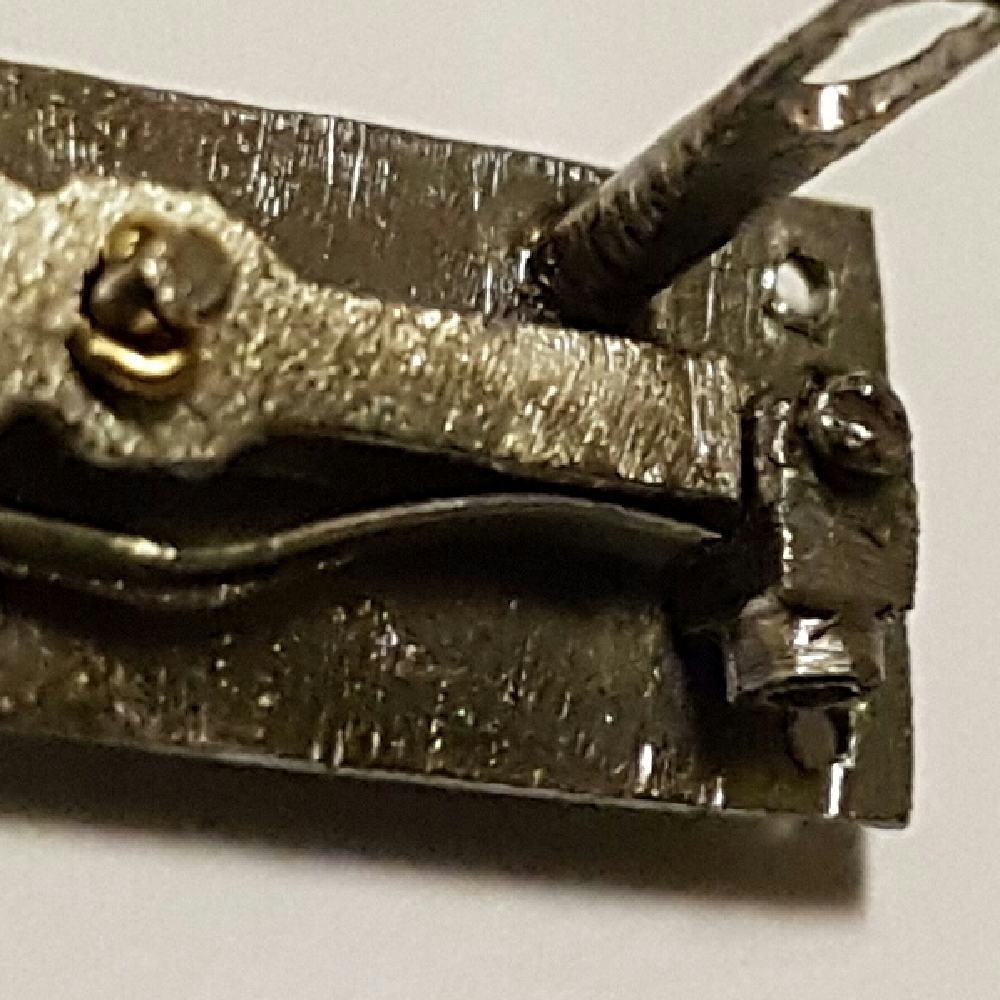
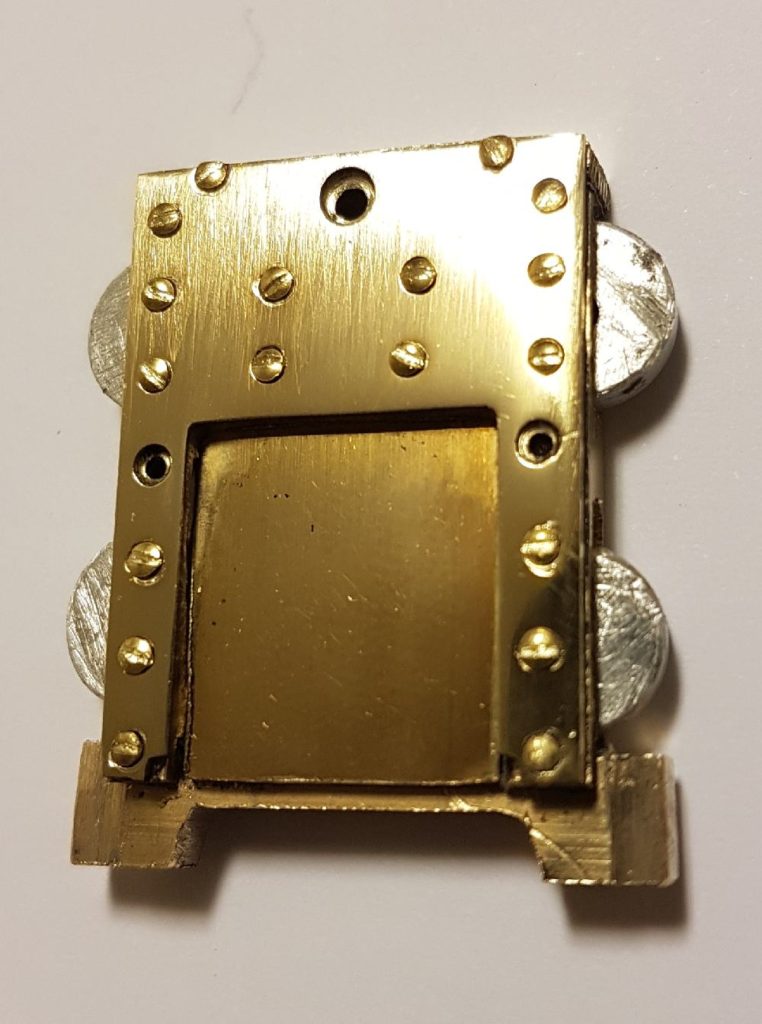
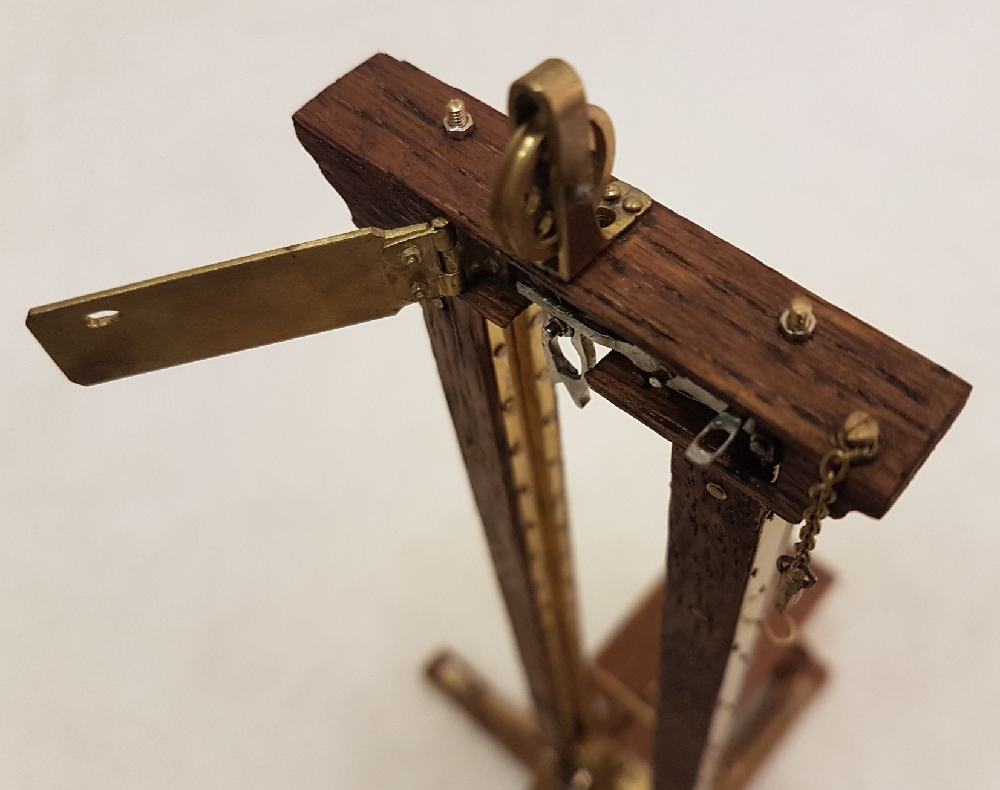
The capital of the Berger guillotine:
I decided to start with the capital and the release mechanism inside it. This was probably the hardest part to make. All the mechanism was made of steel, so you can have an idea of the complexity:
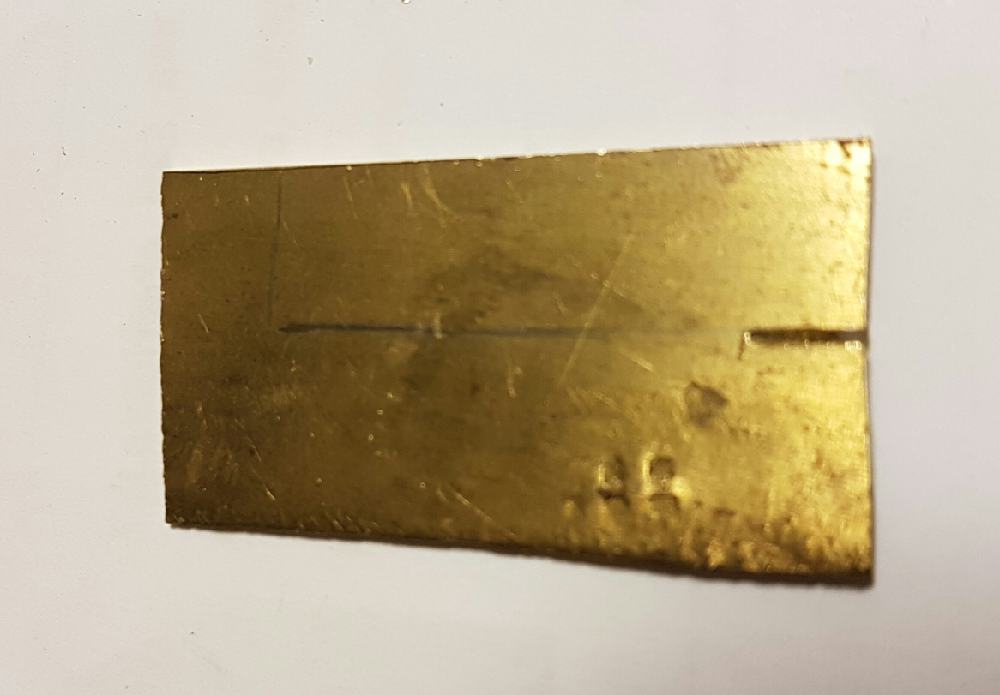
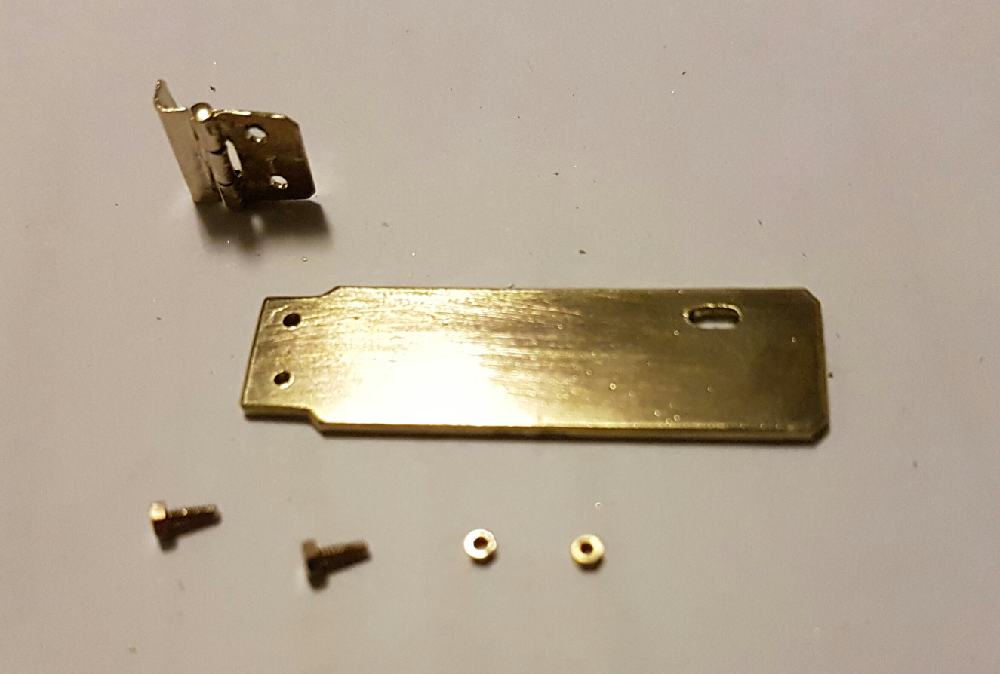
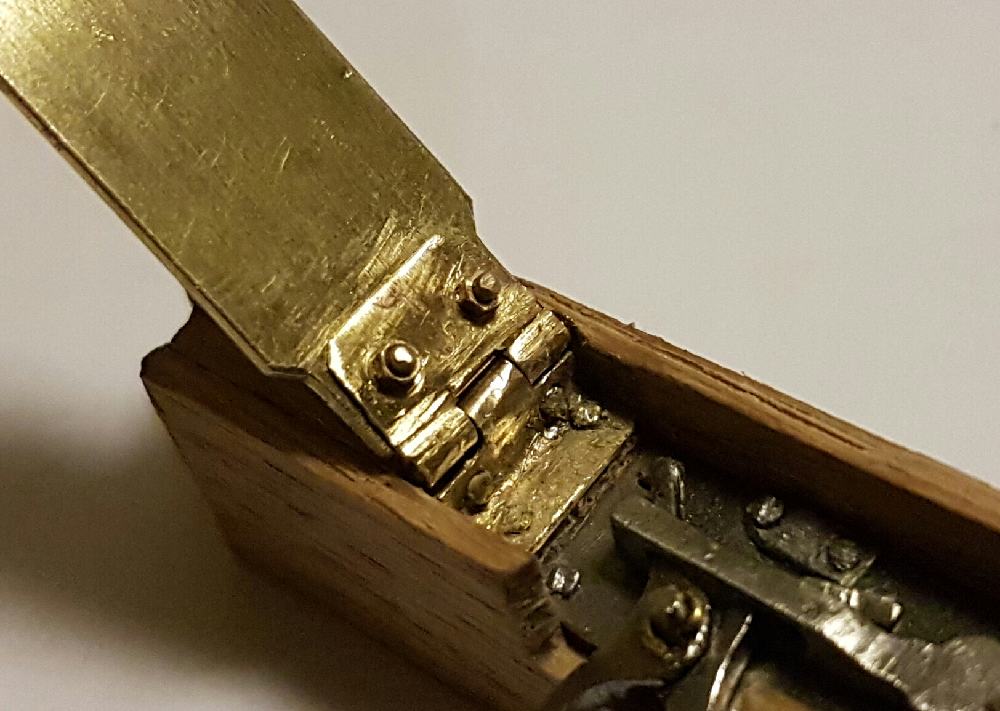
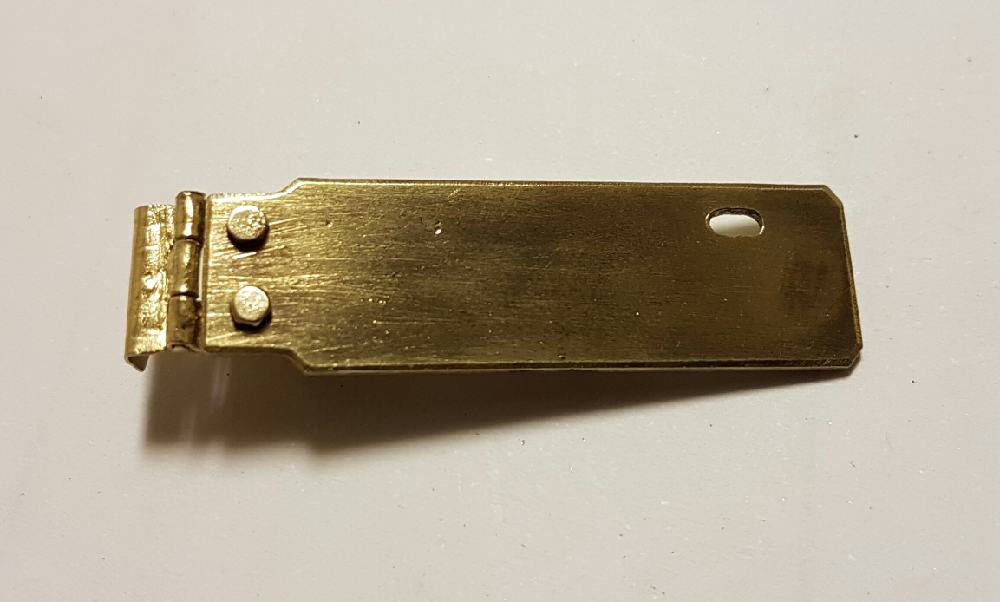
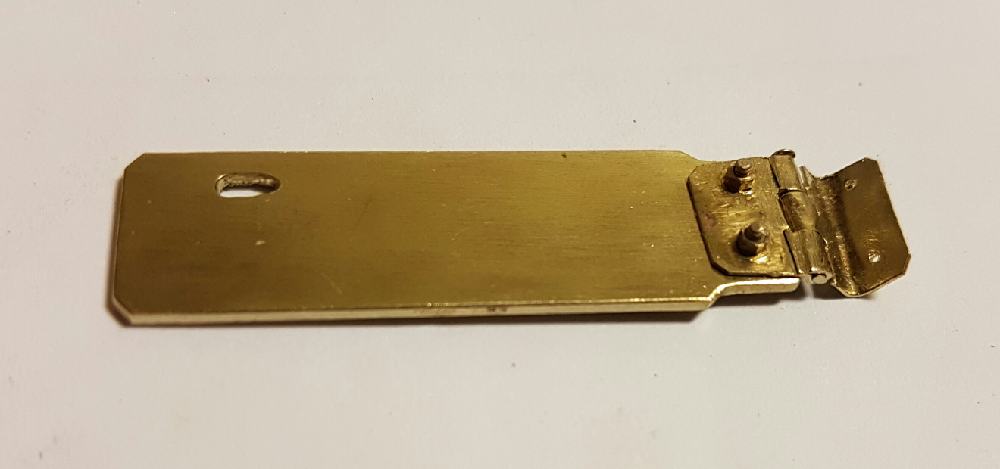
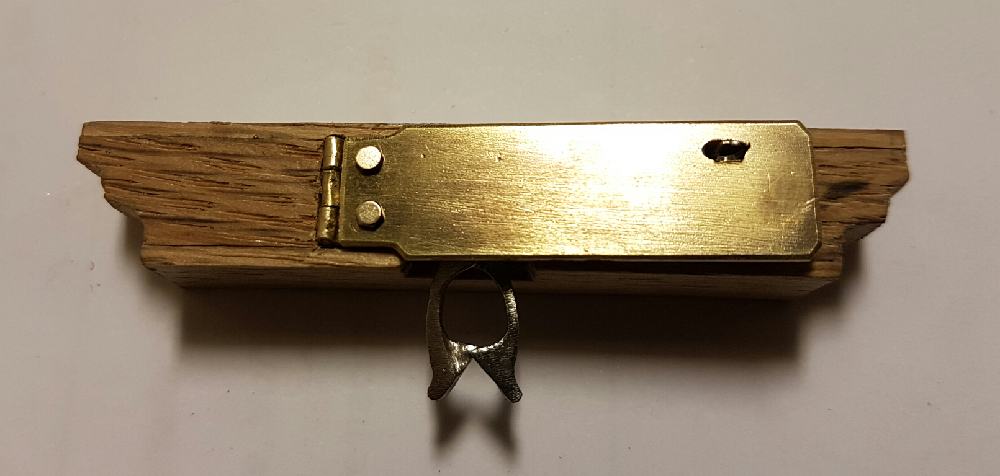
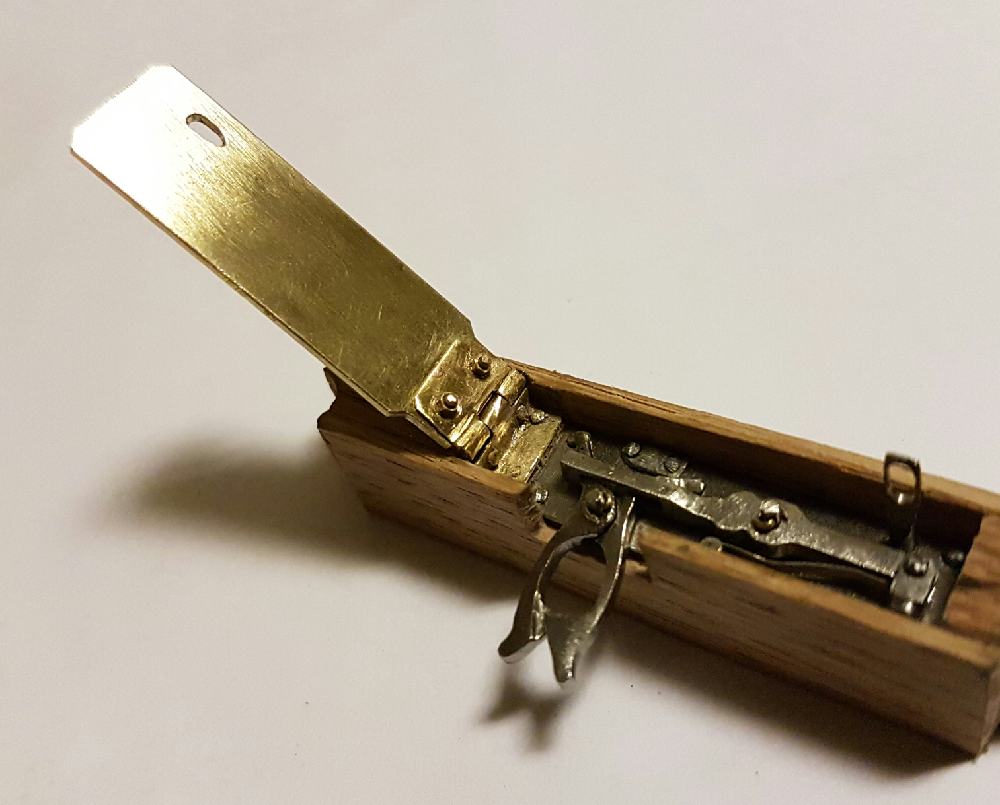
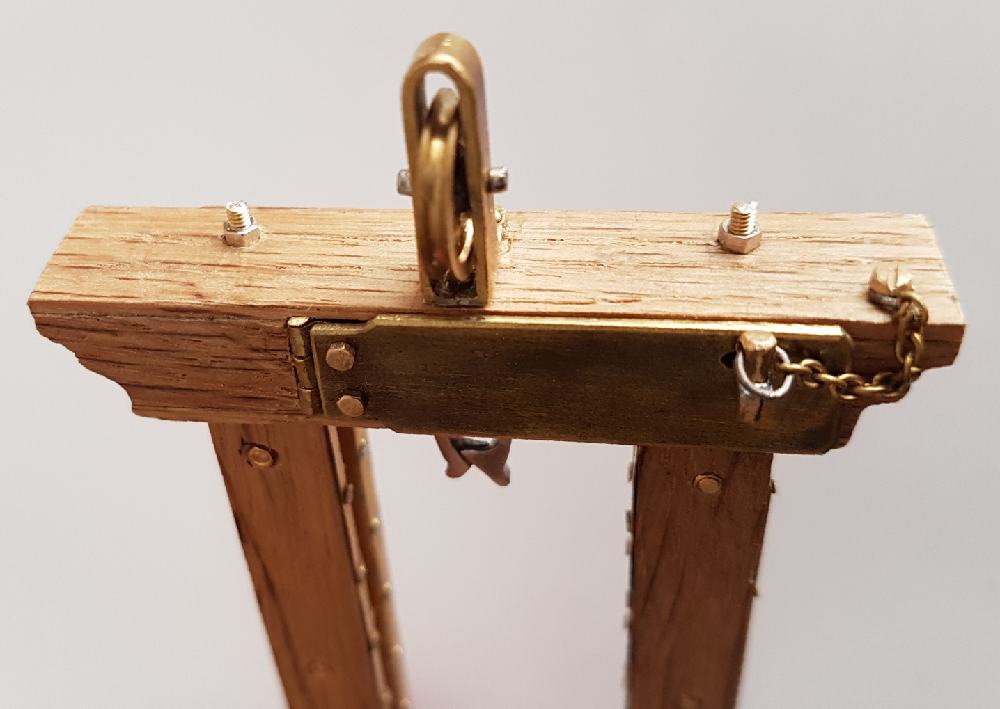
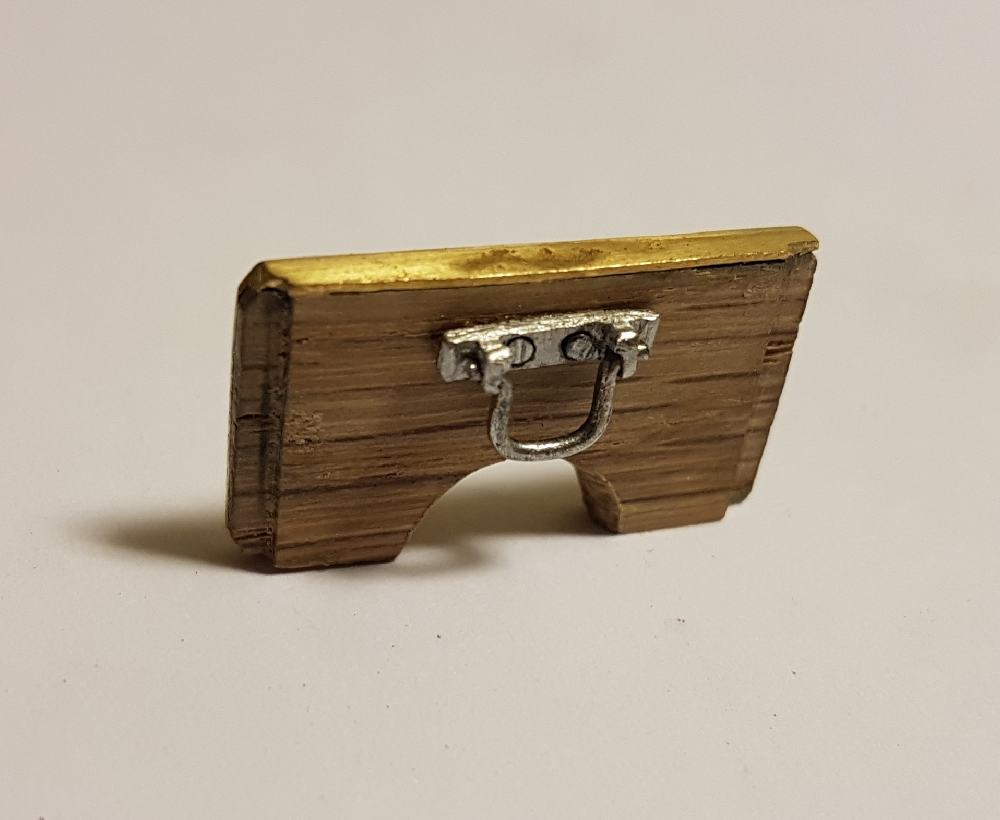
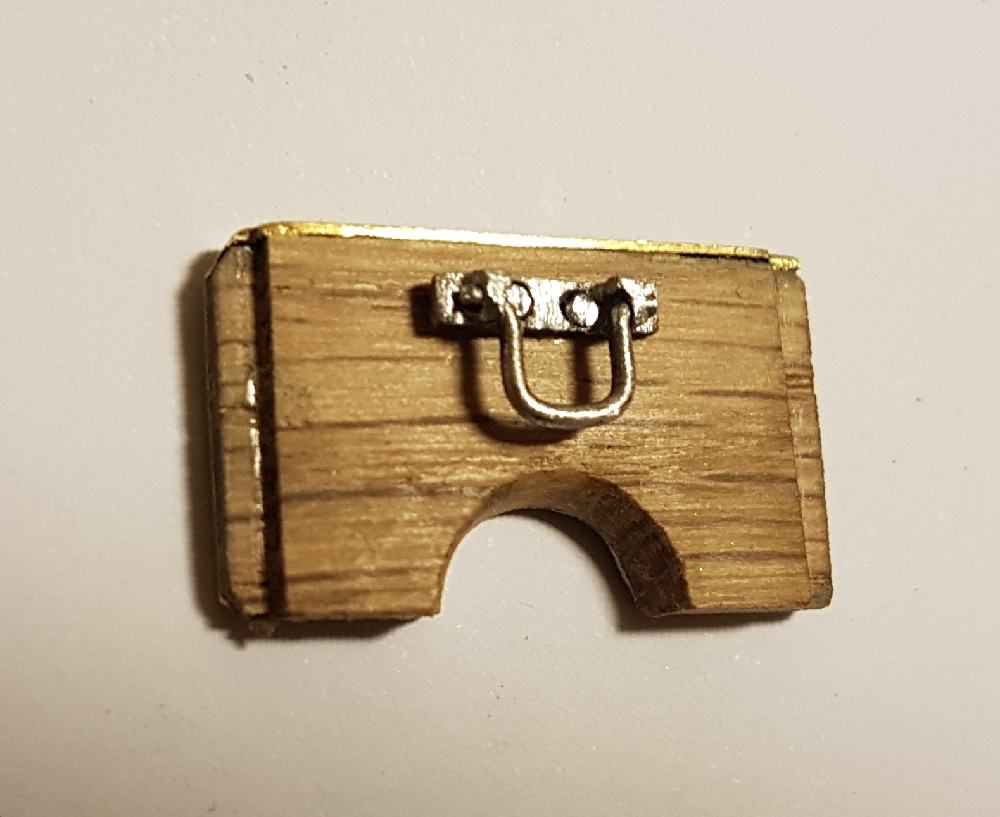
The door for the capital:
This door was made of brass with a handmade hinge.
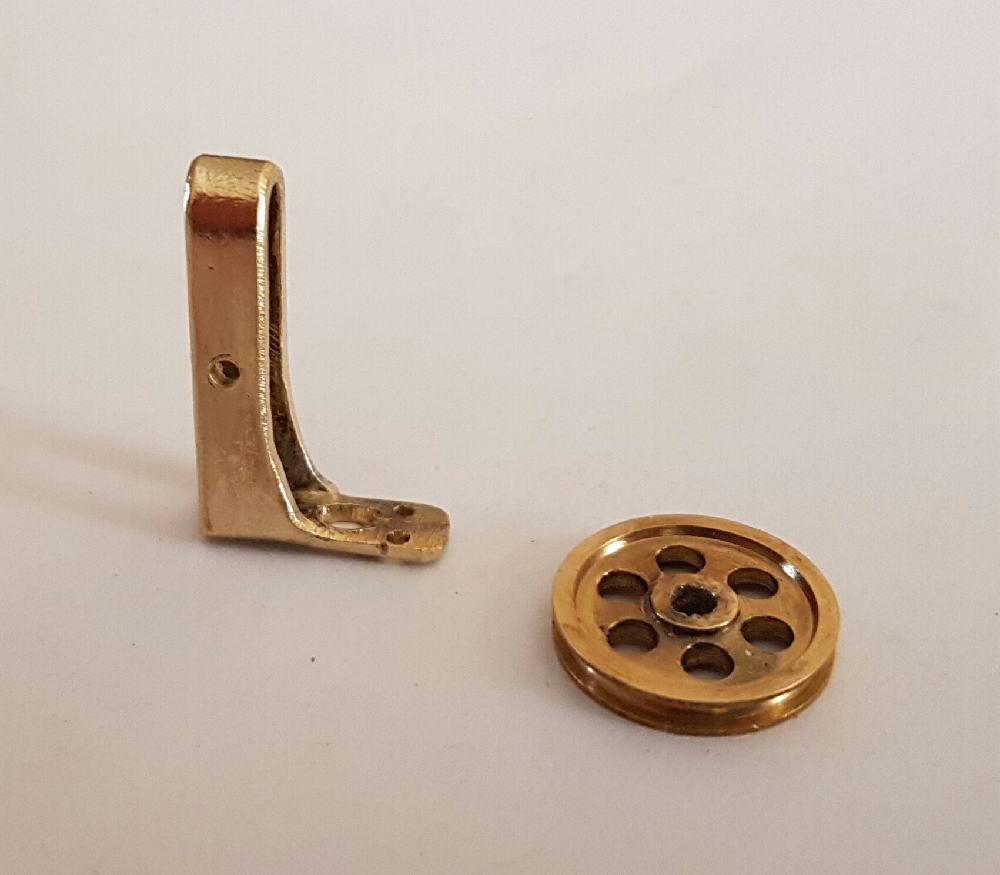
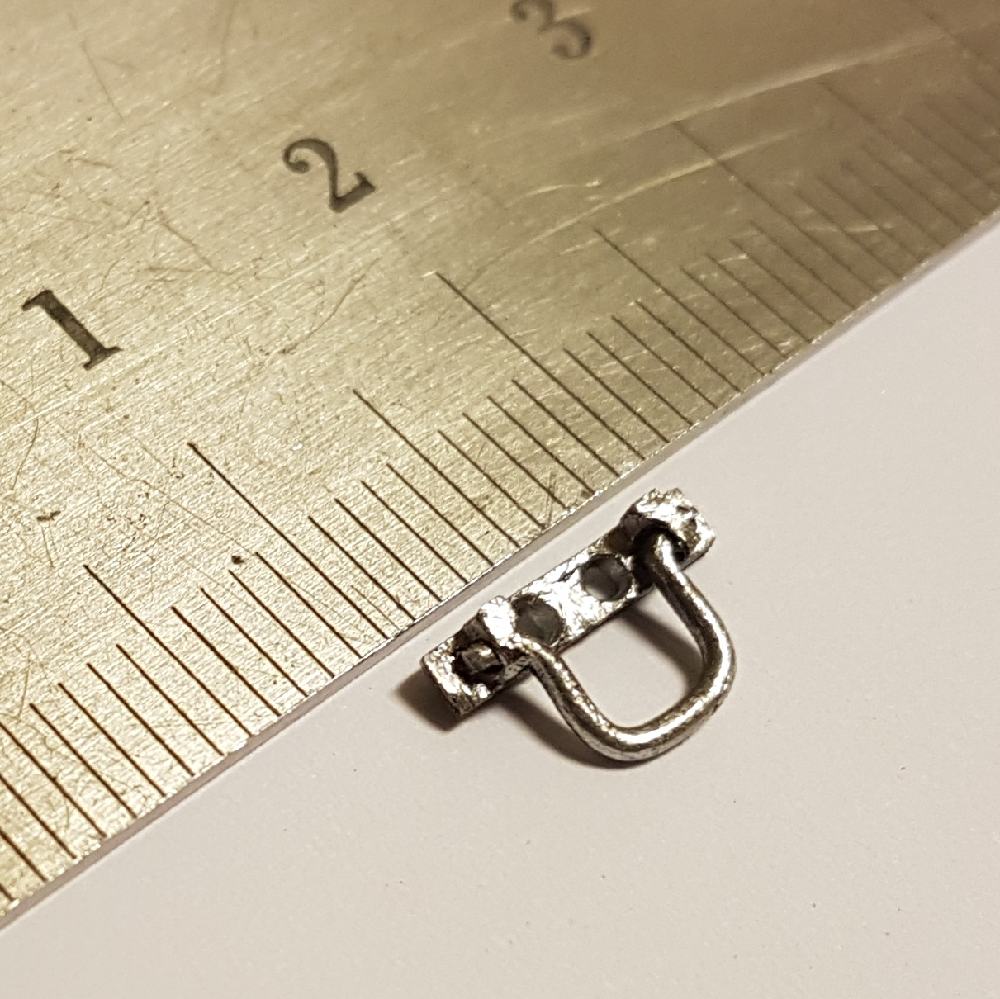
The pulley wheel :
Finally the pulley wheel to complete the capital.
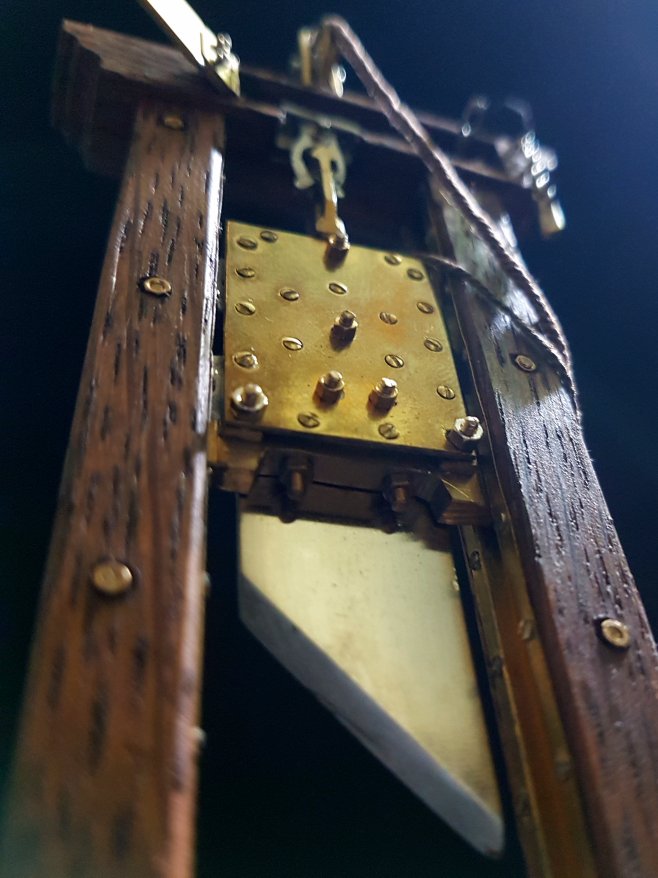
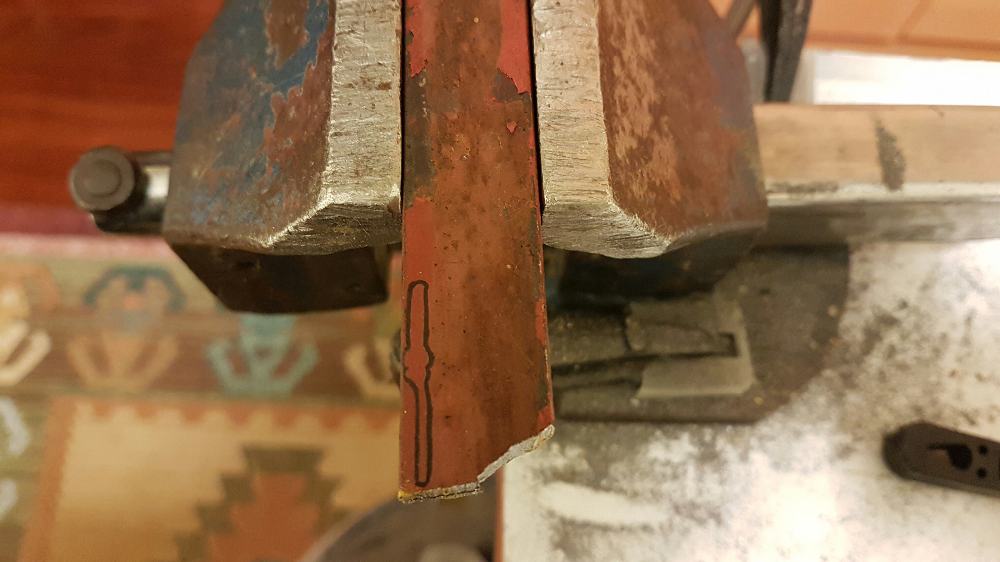
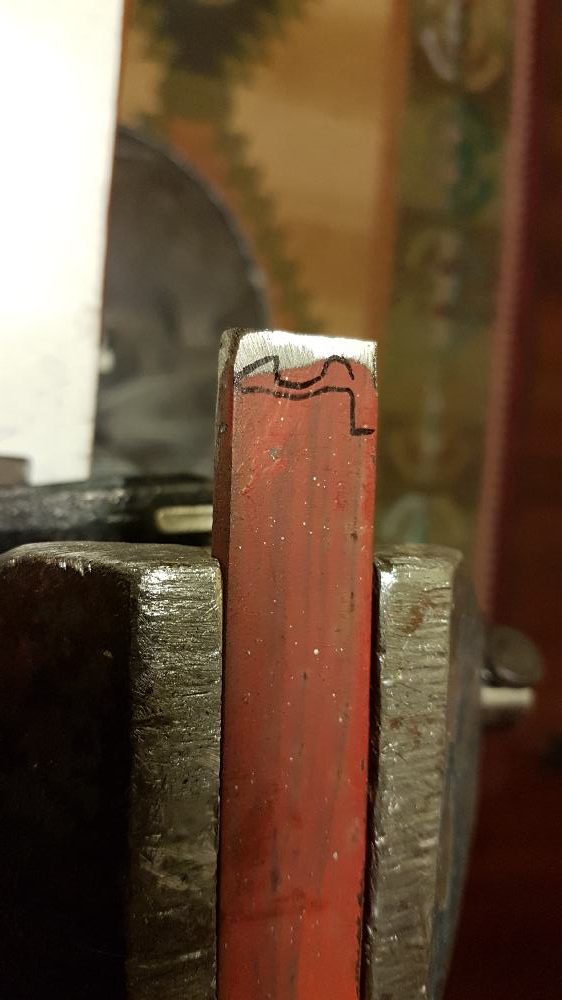
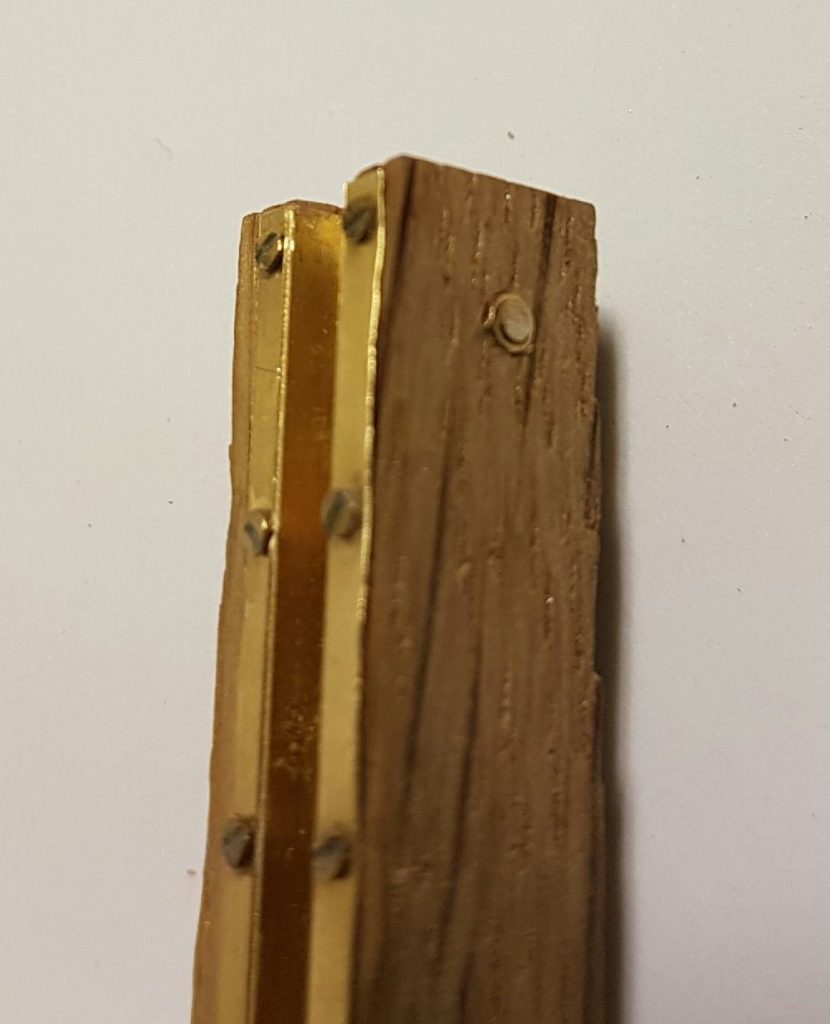
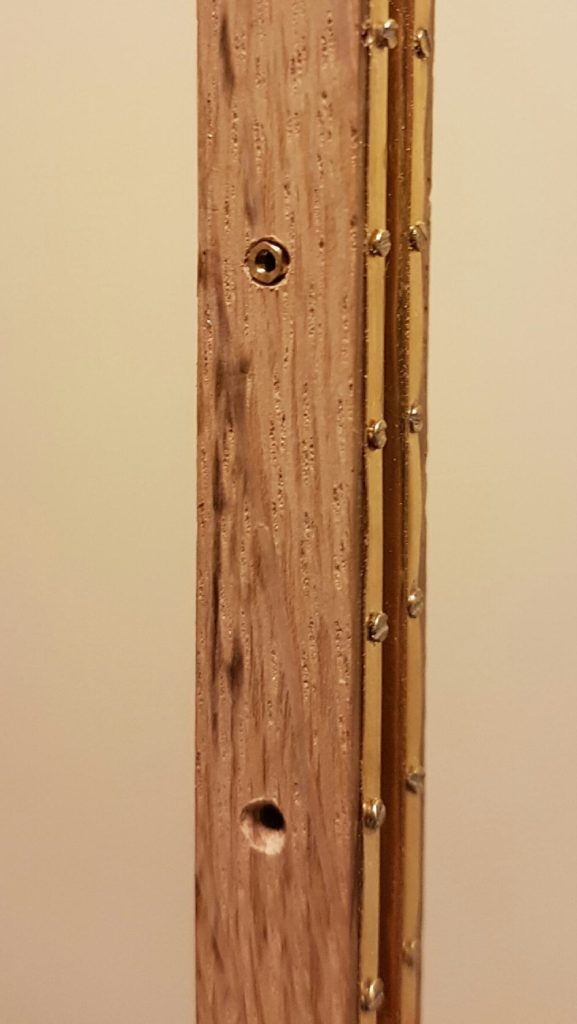
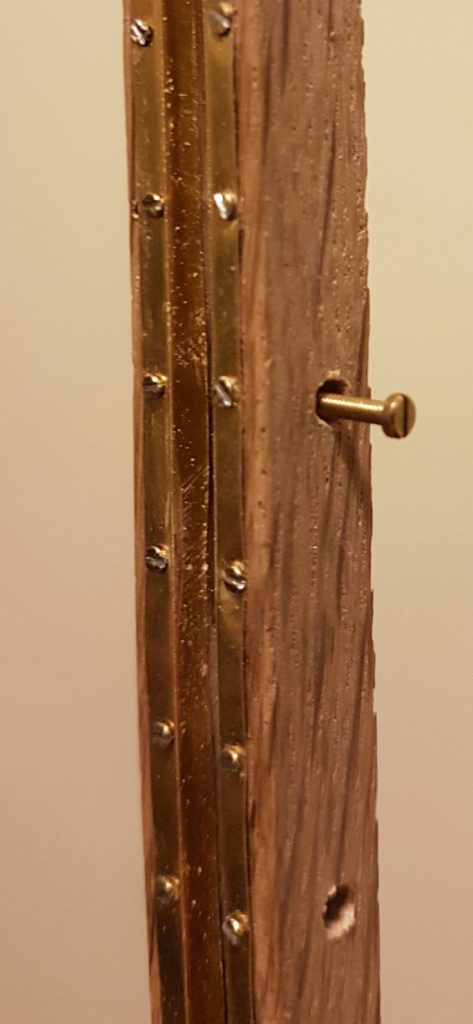
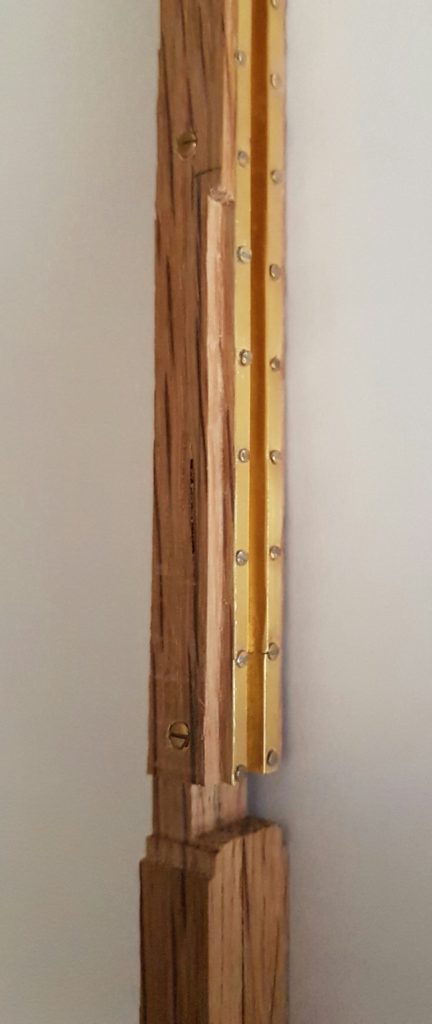
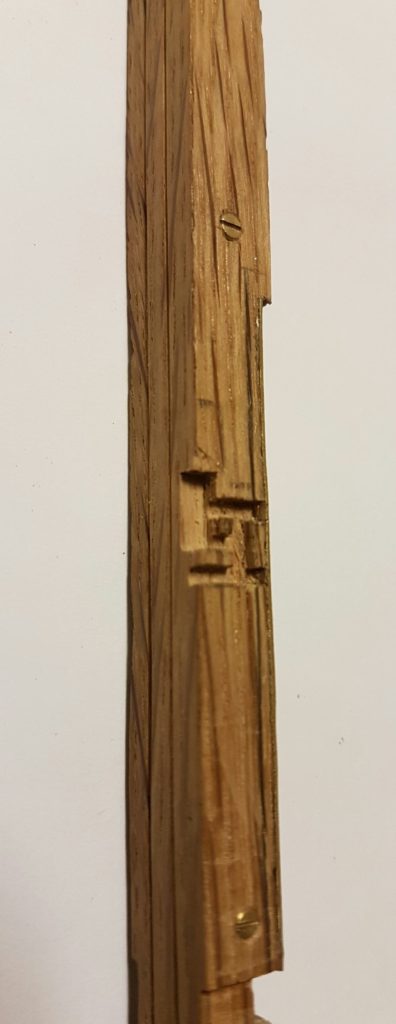
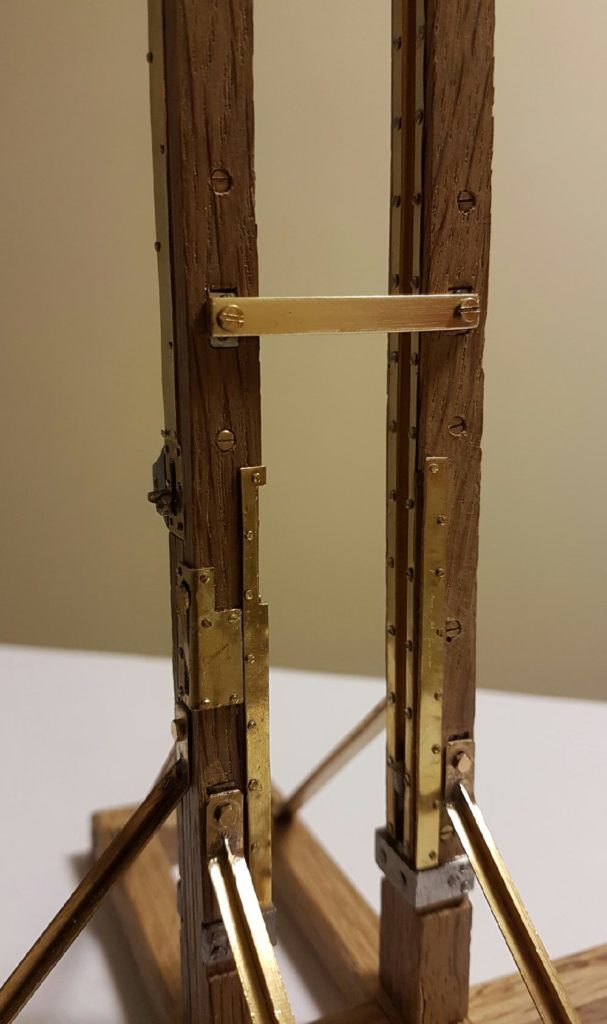
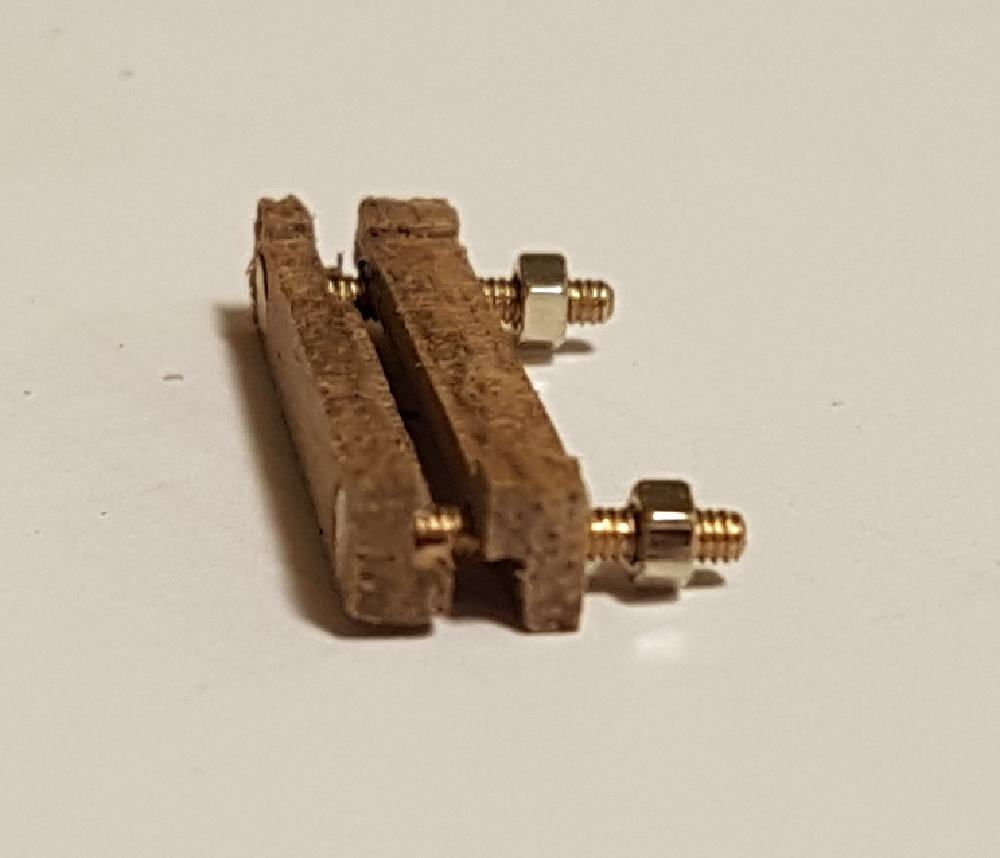
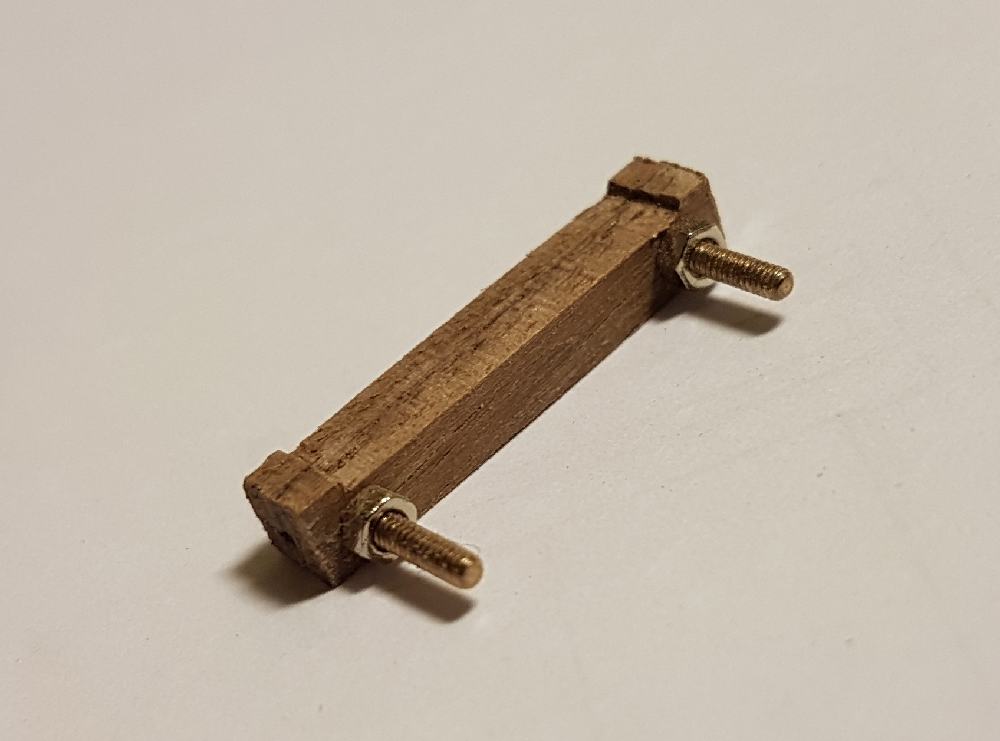
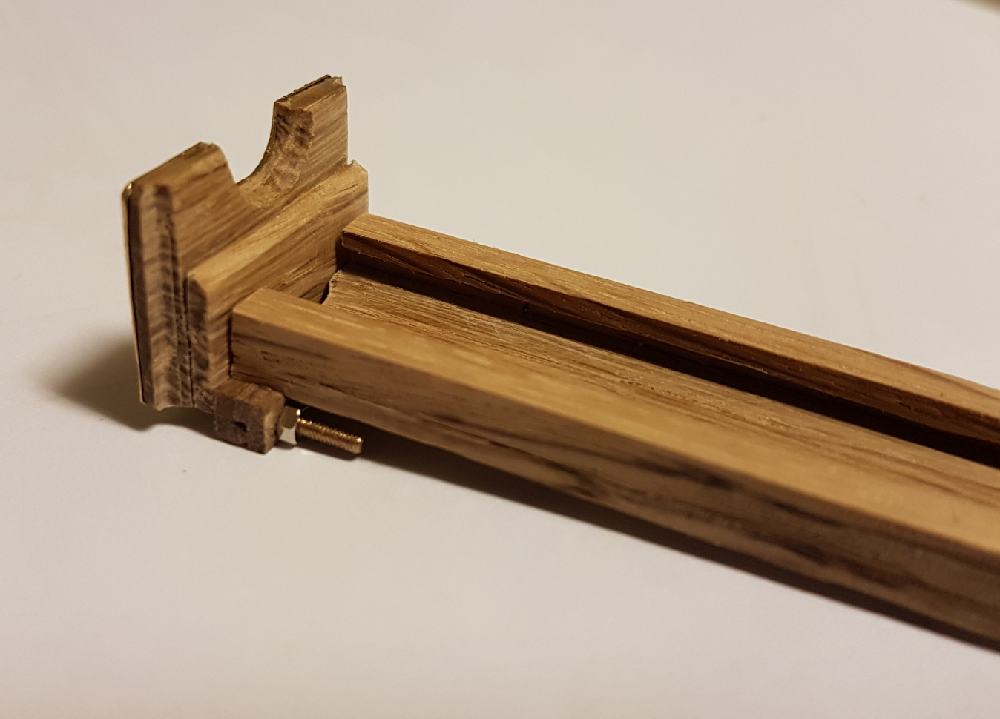
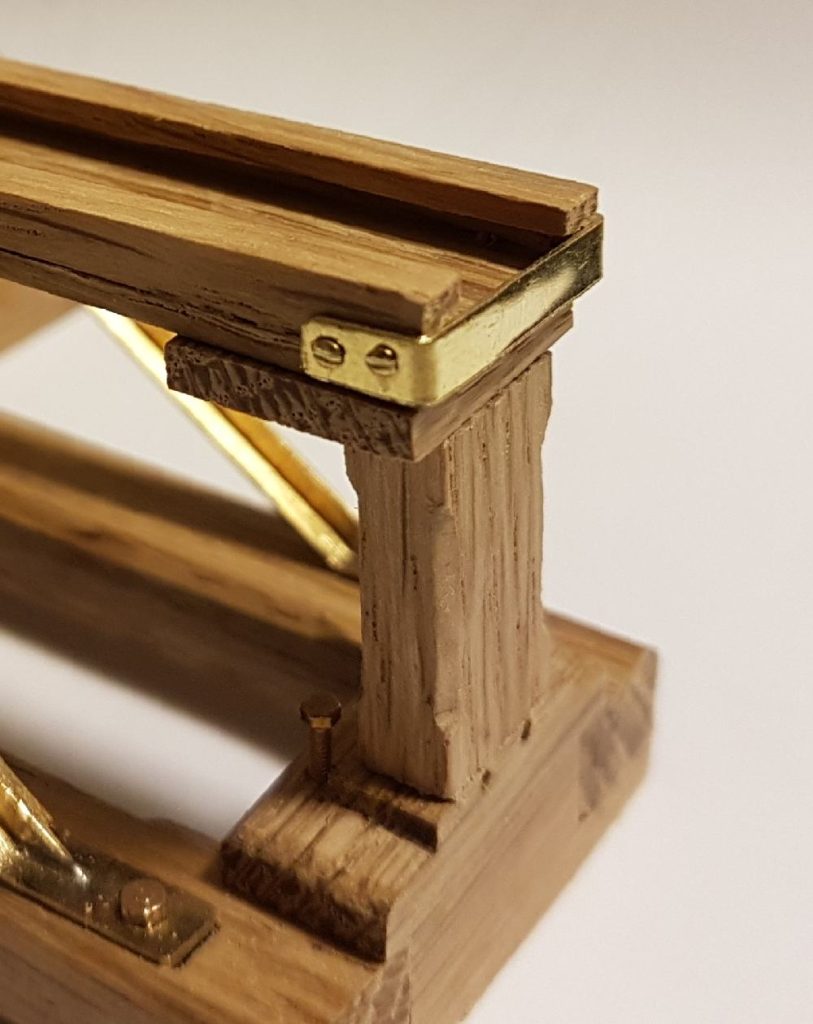
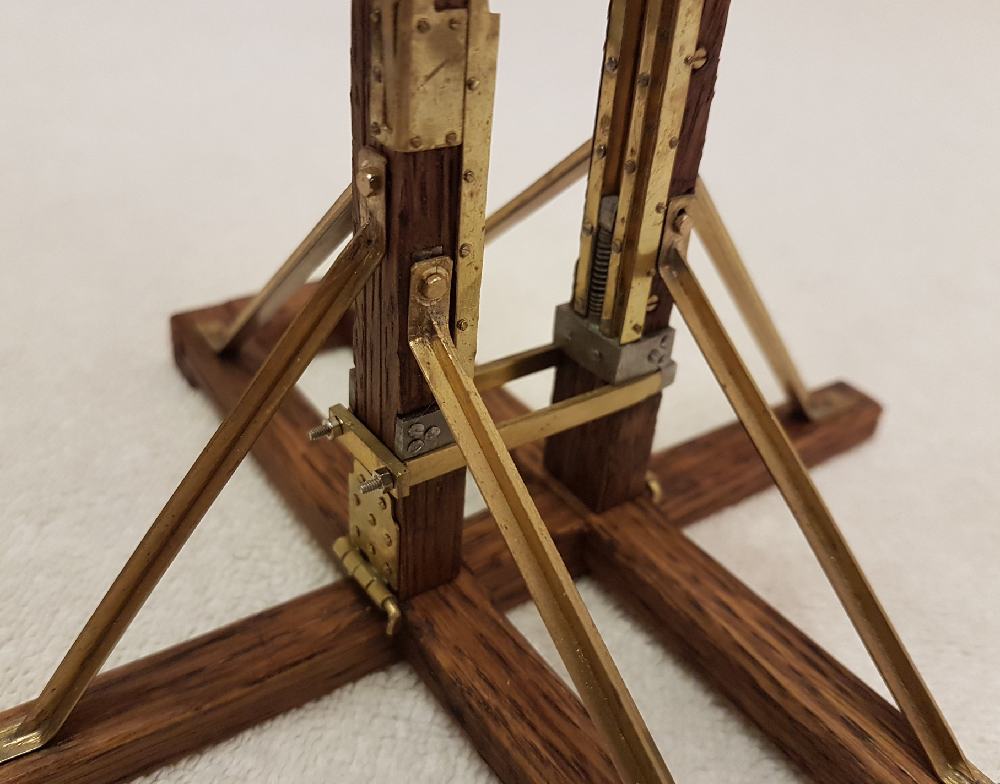
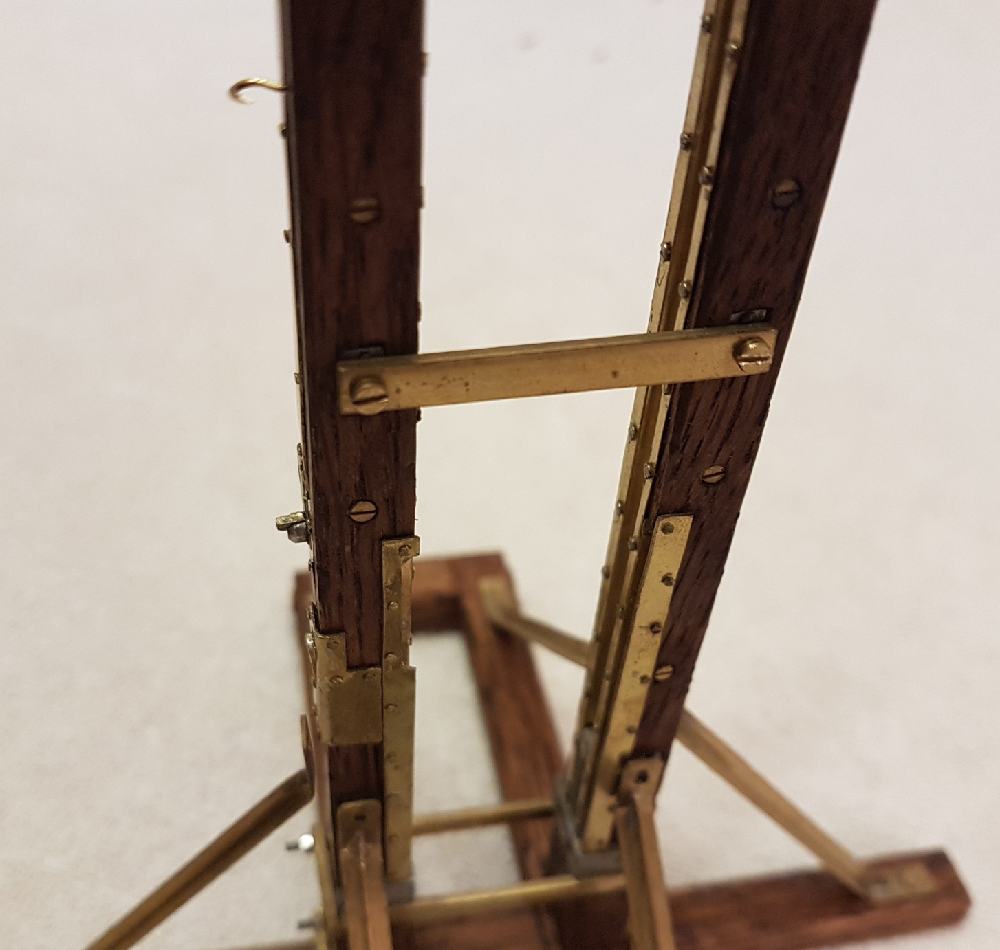
Risers:
The risers are made of the layers joined together with through screws. The grooves the mouton will slide along, aere covered with brass and joined to the wood with several tiny bolts.
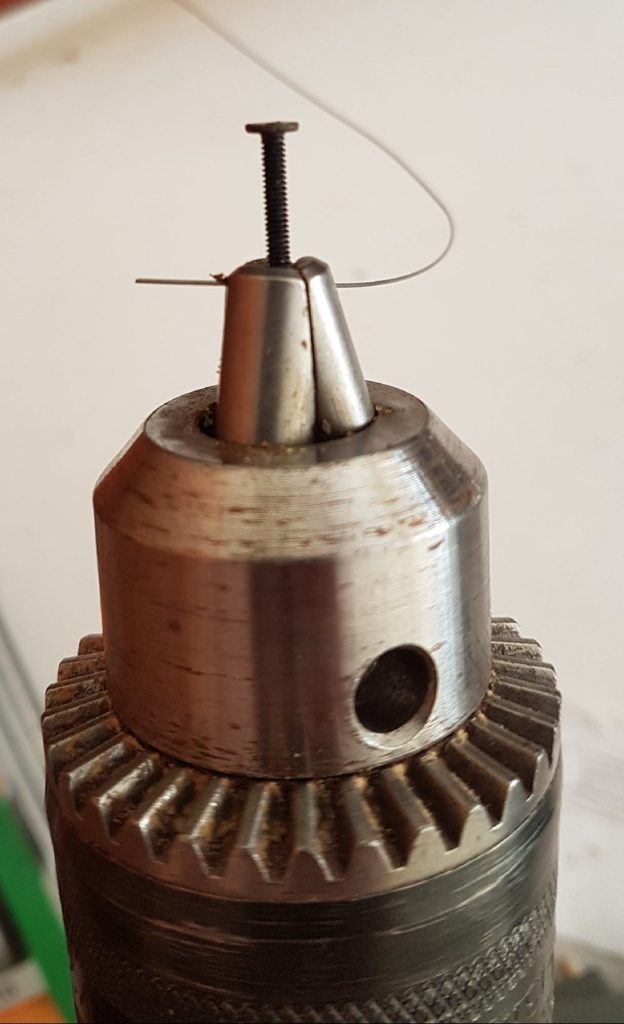
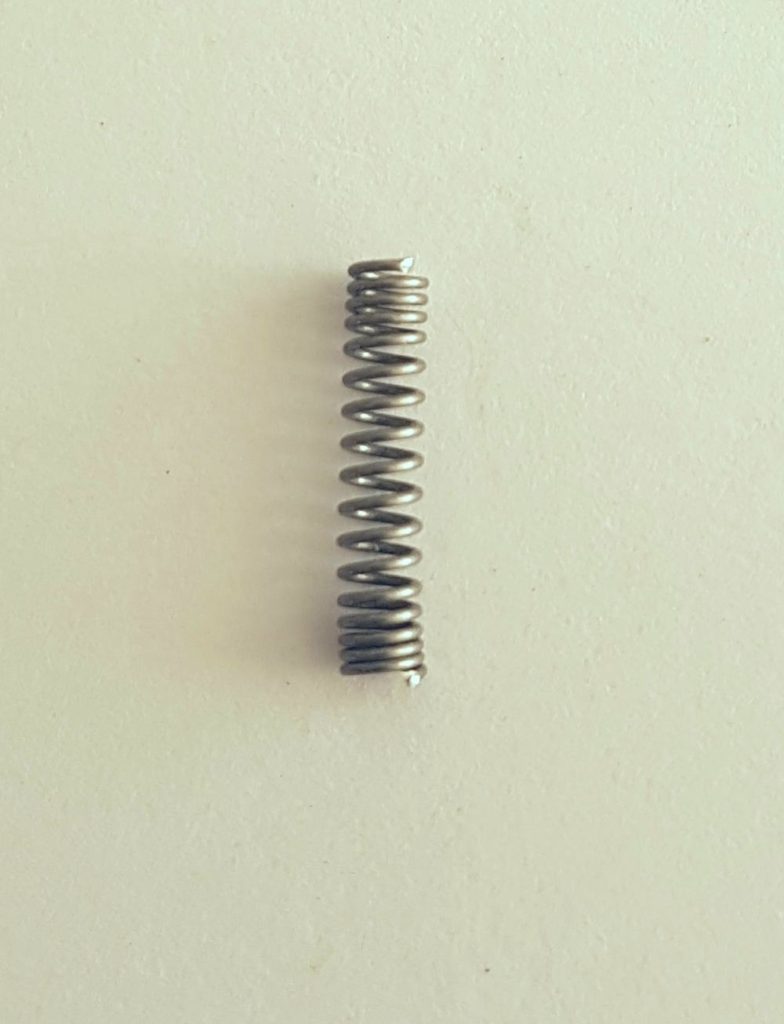
The spring system:
These springs cushion the mouton at the bottom of the grooves. I made these springs using steel wire and a drill.

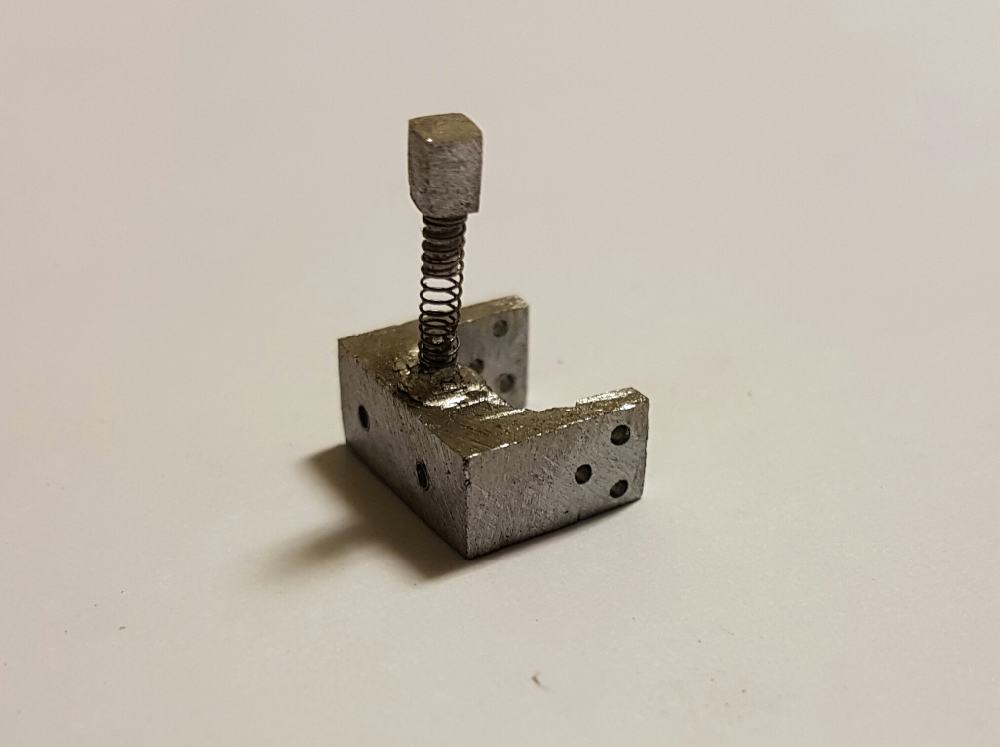
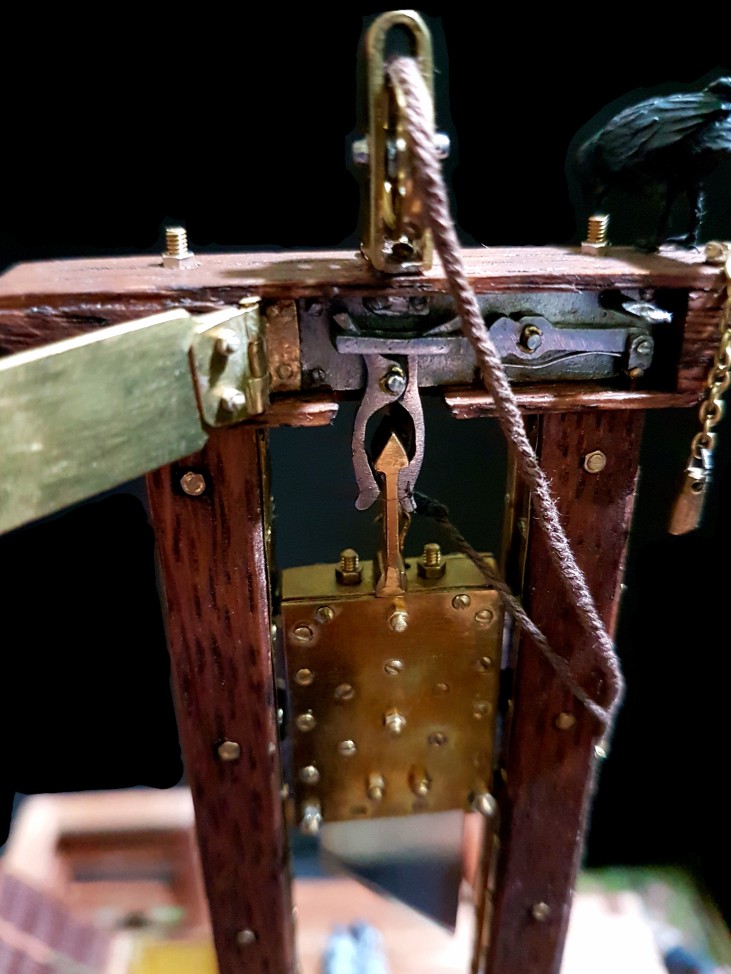
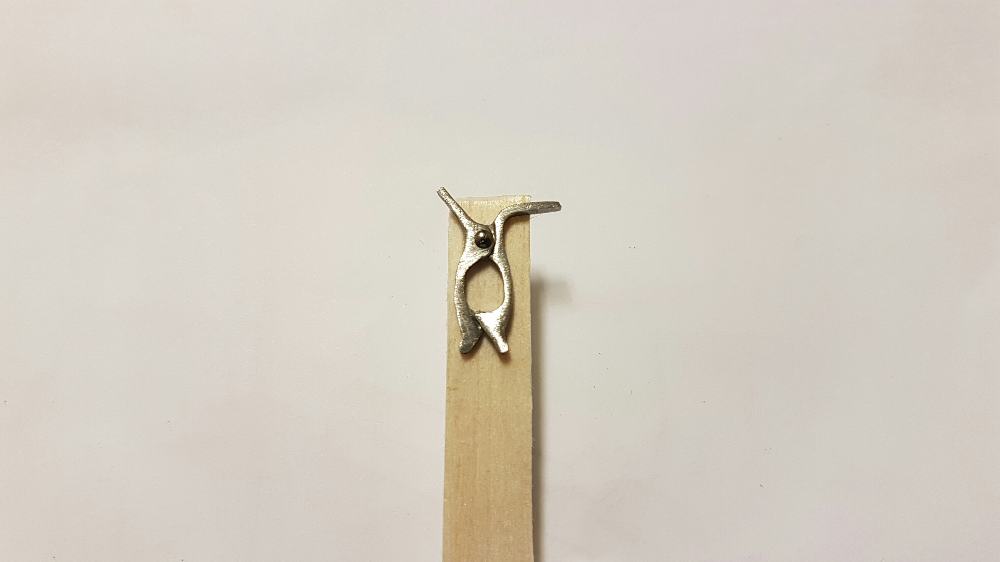
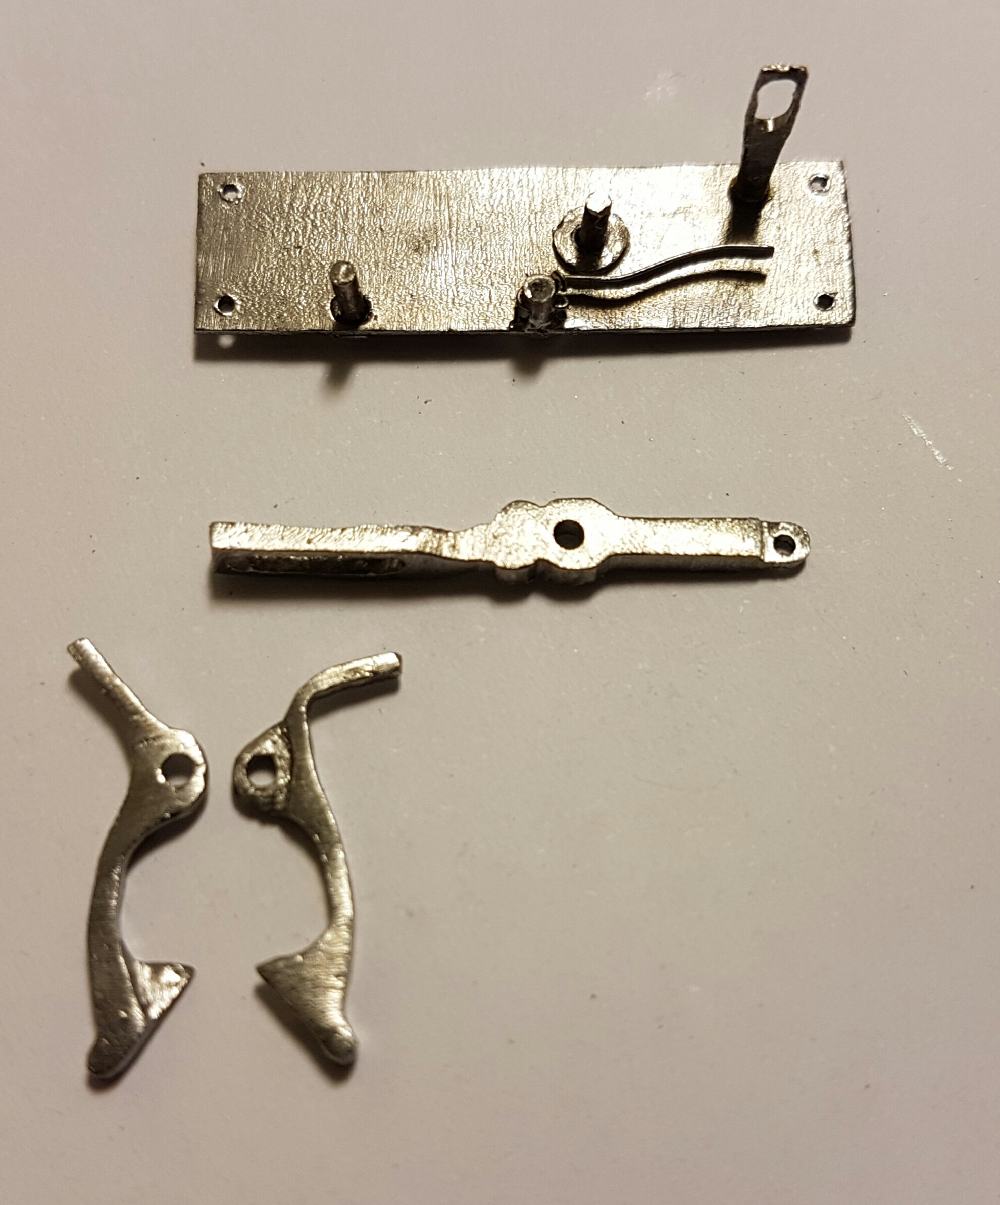
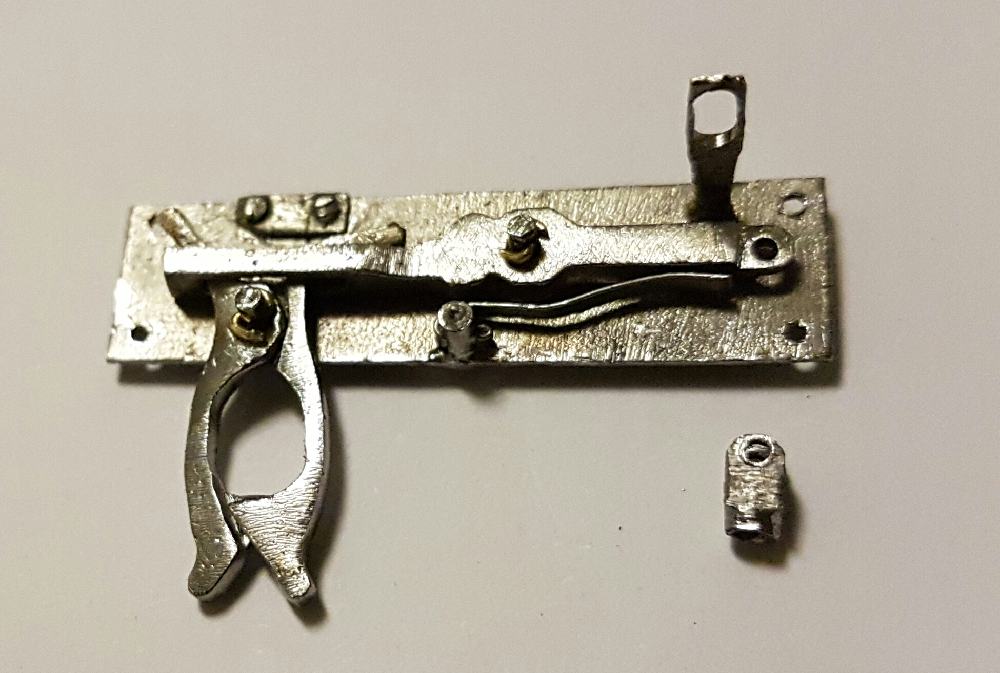
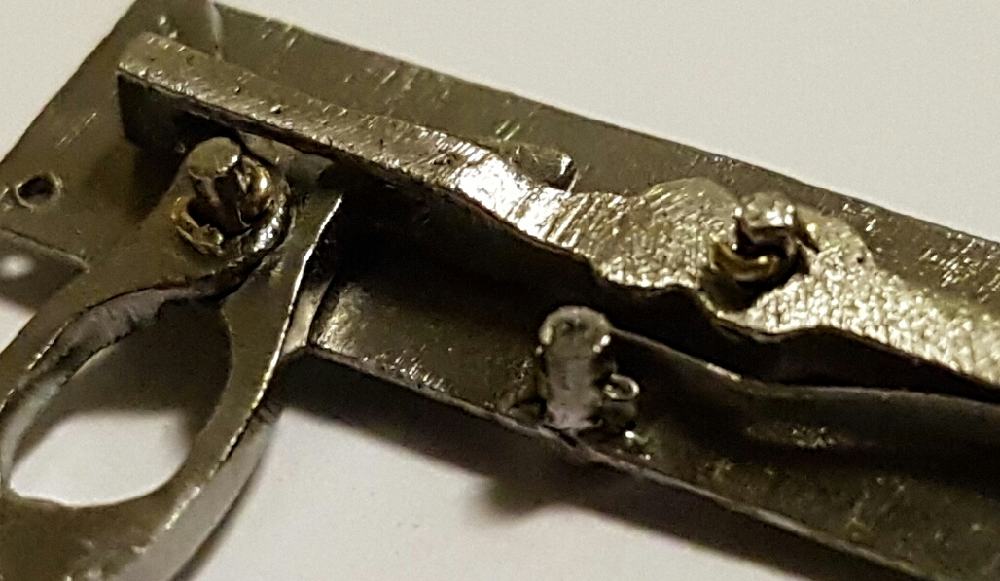
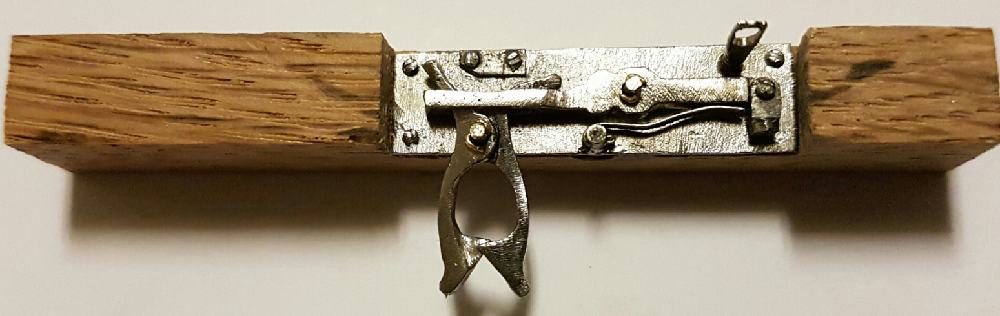
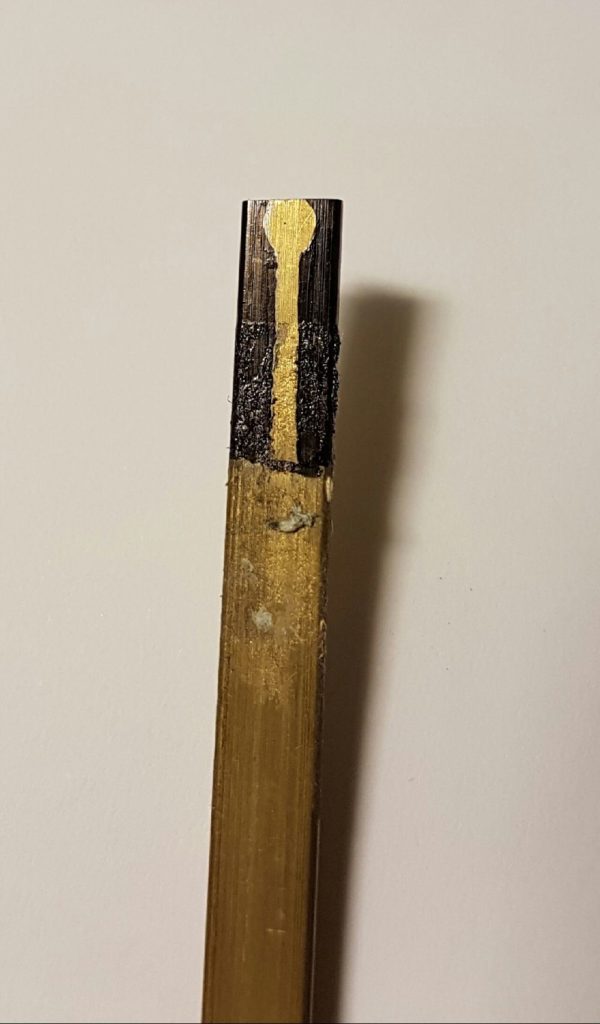
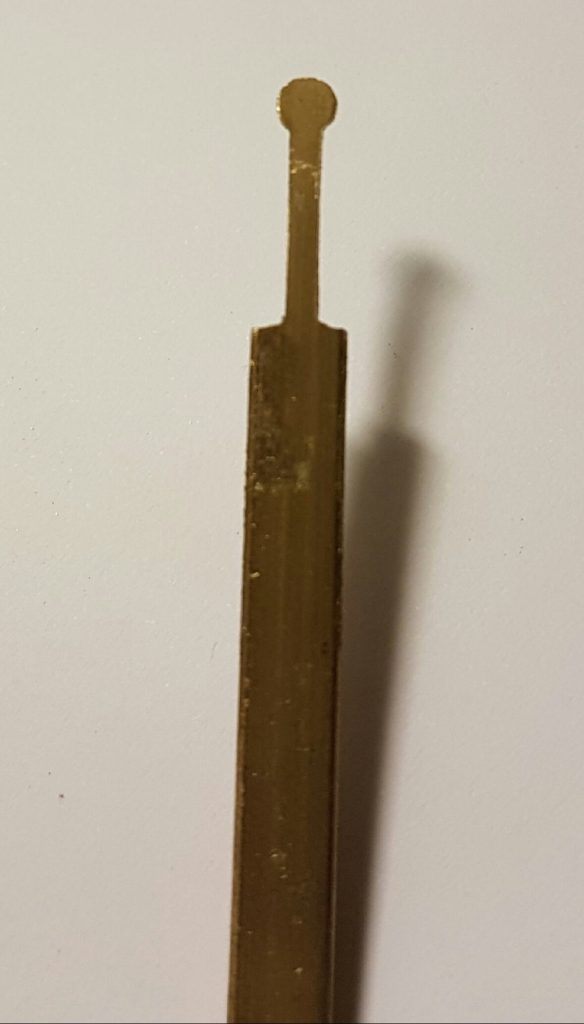
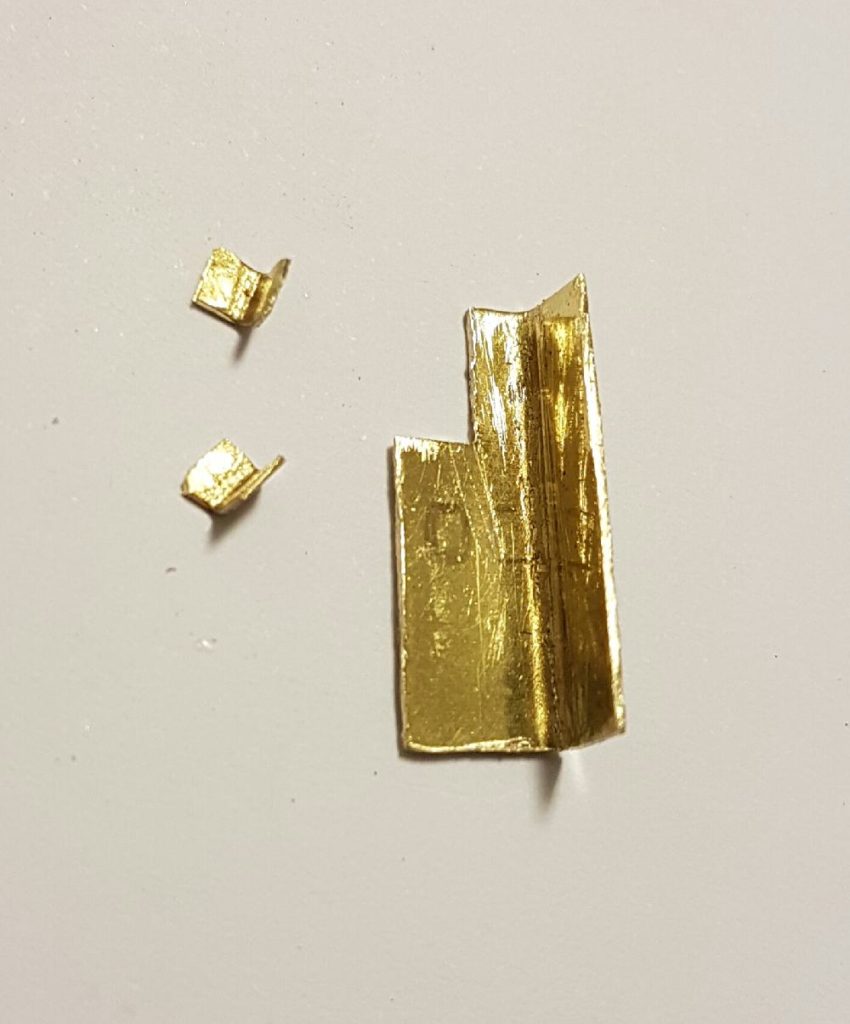
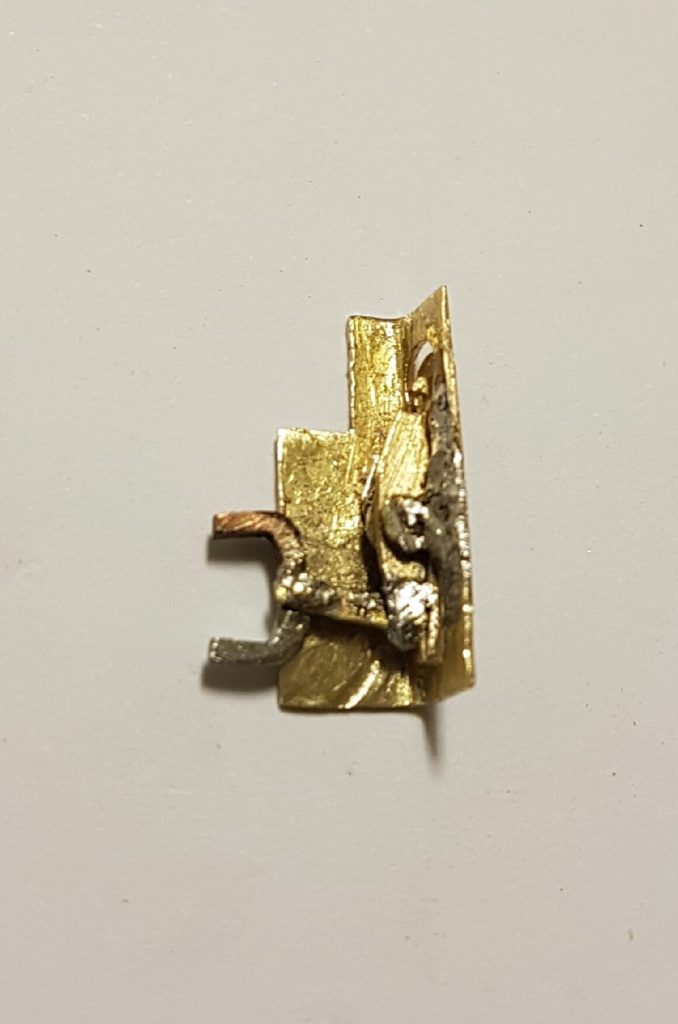
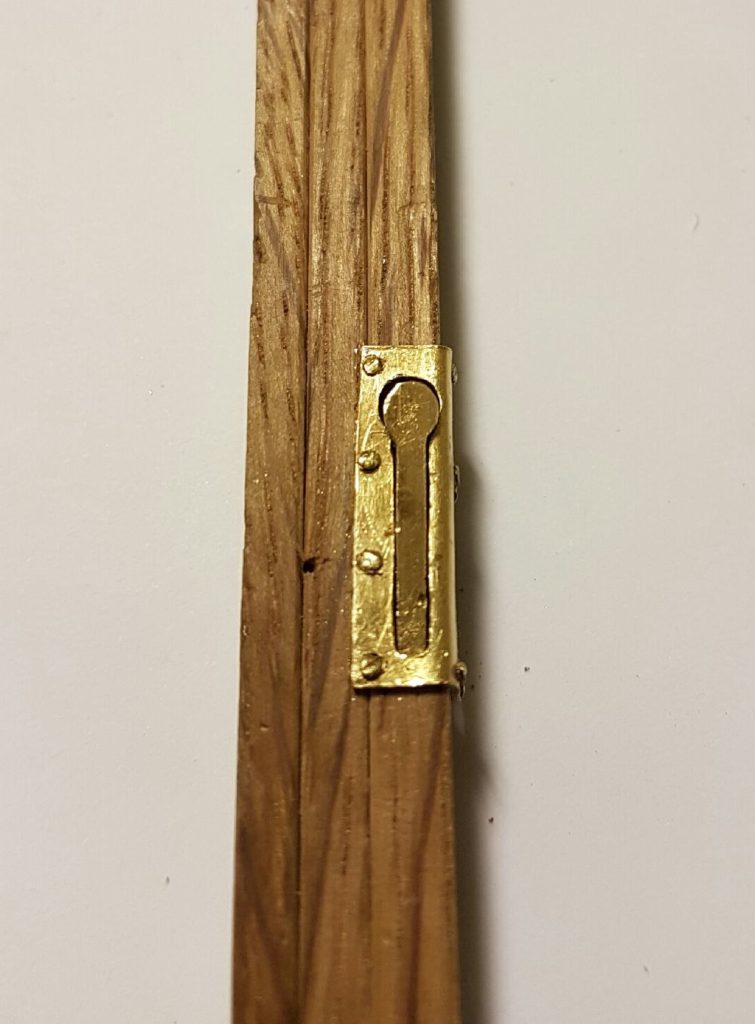
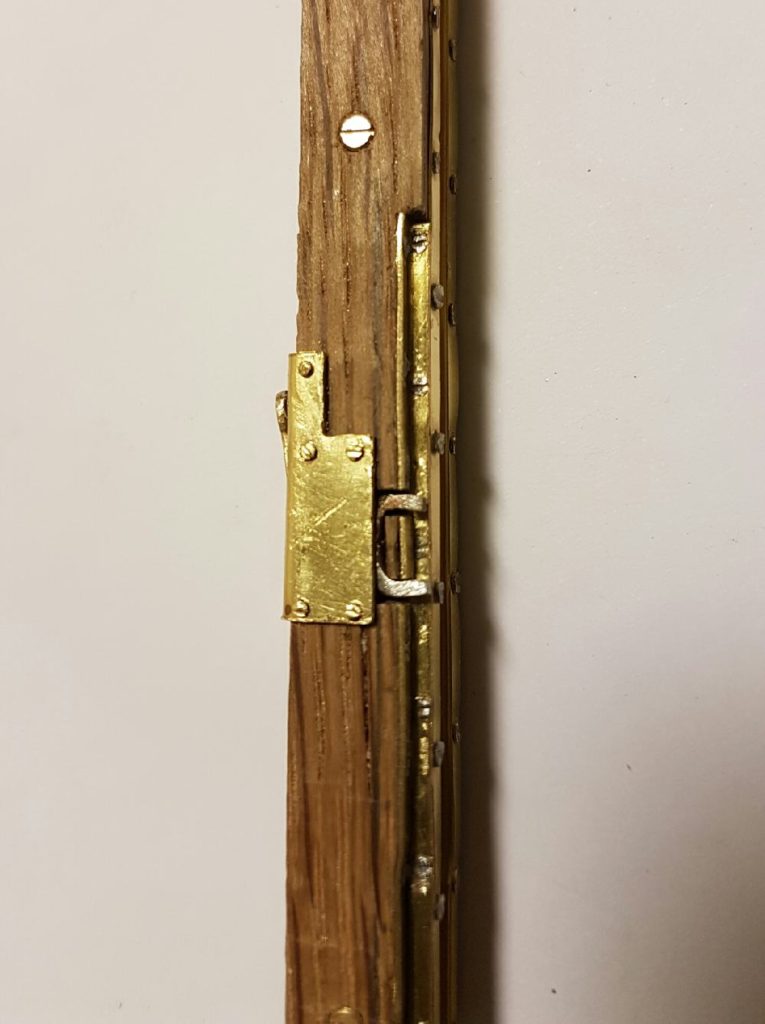
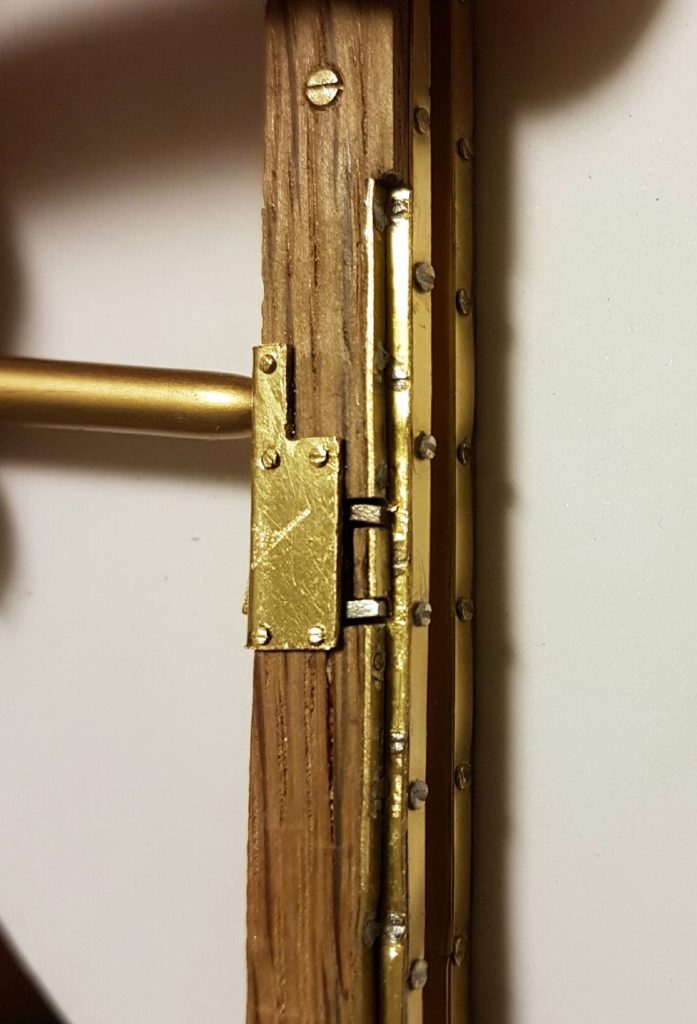
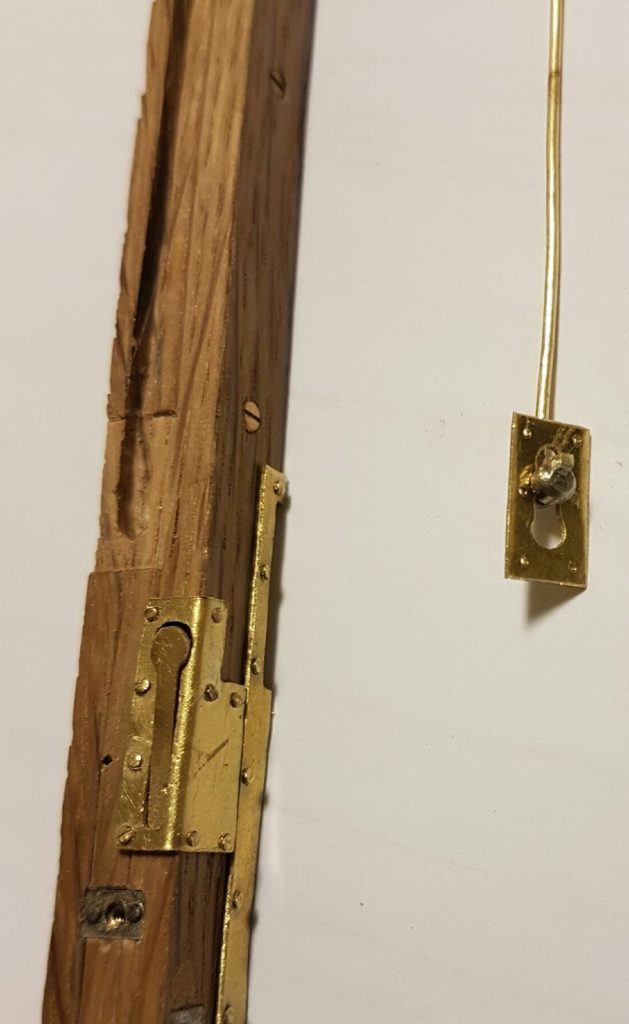
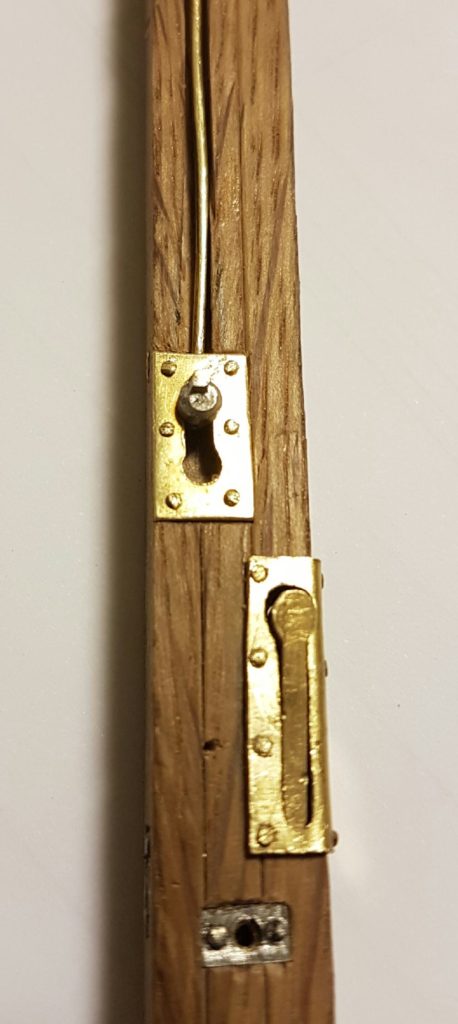
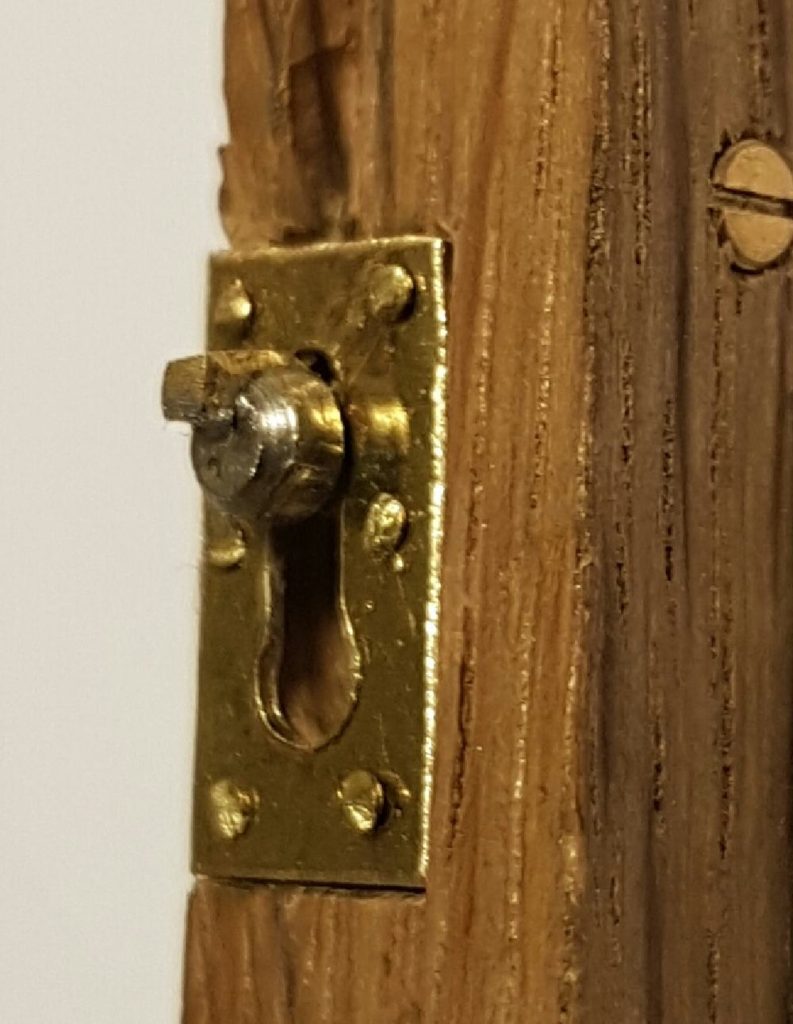
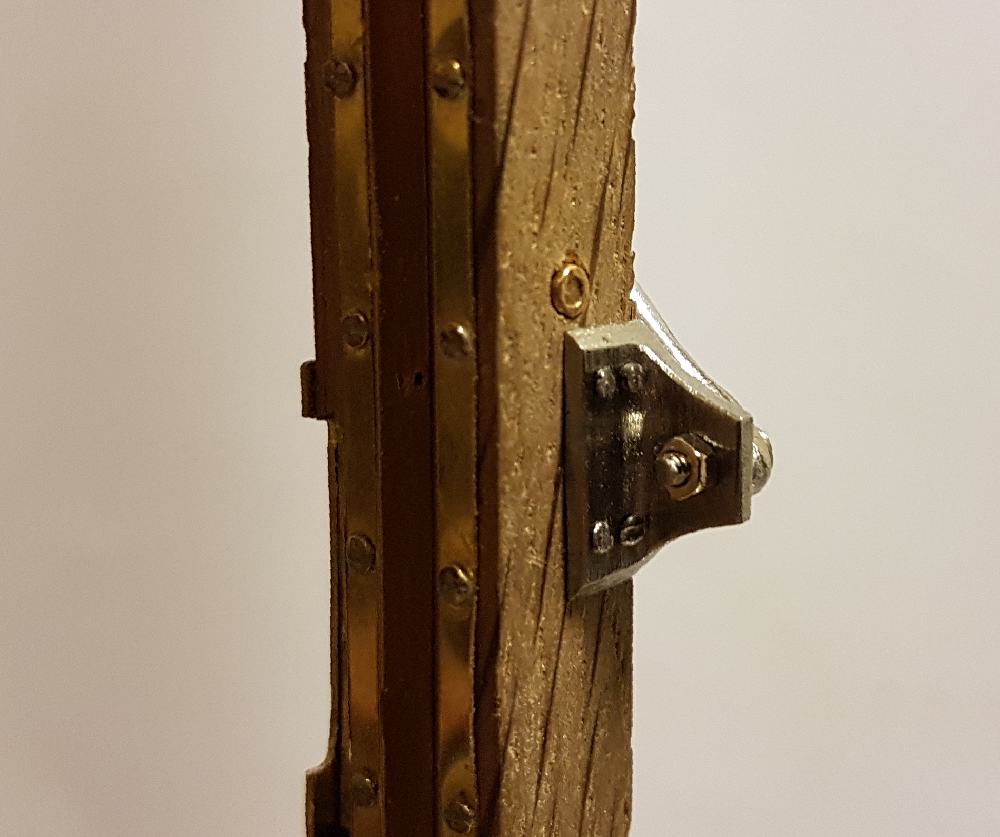
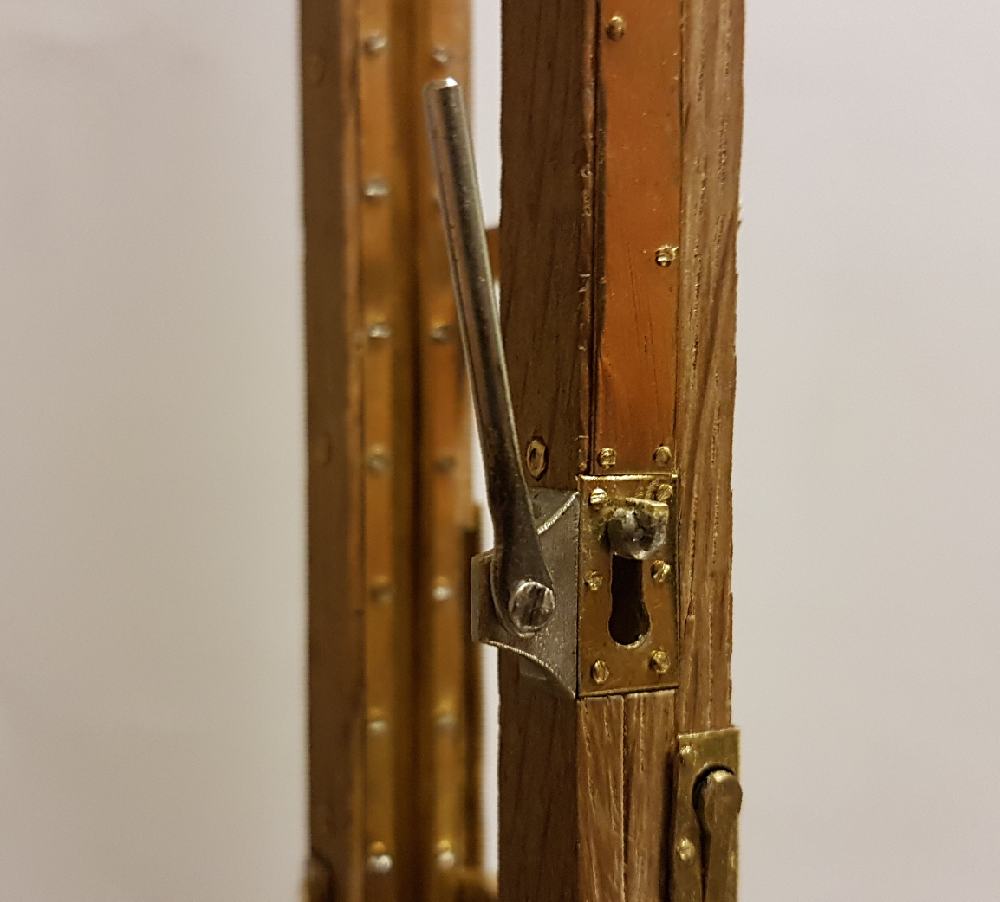
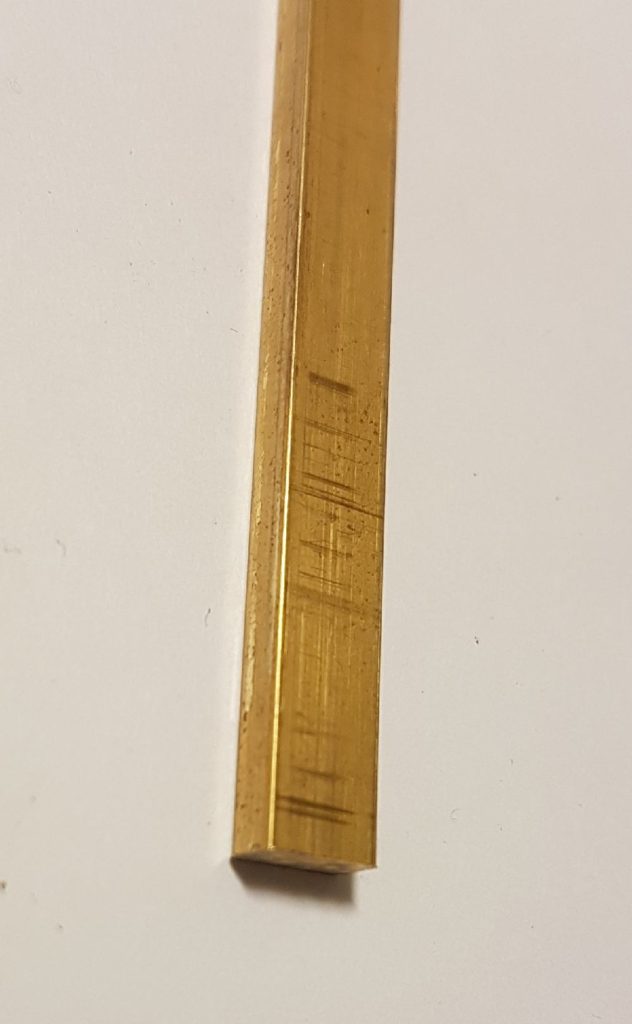
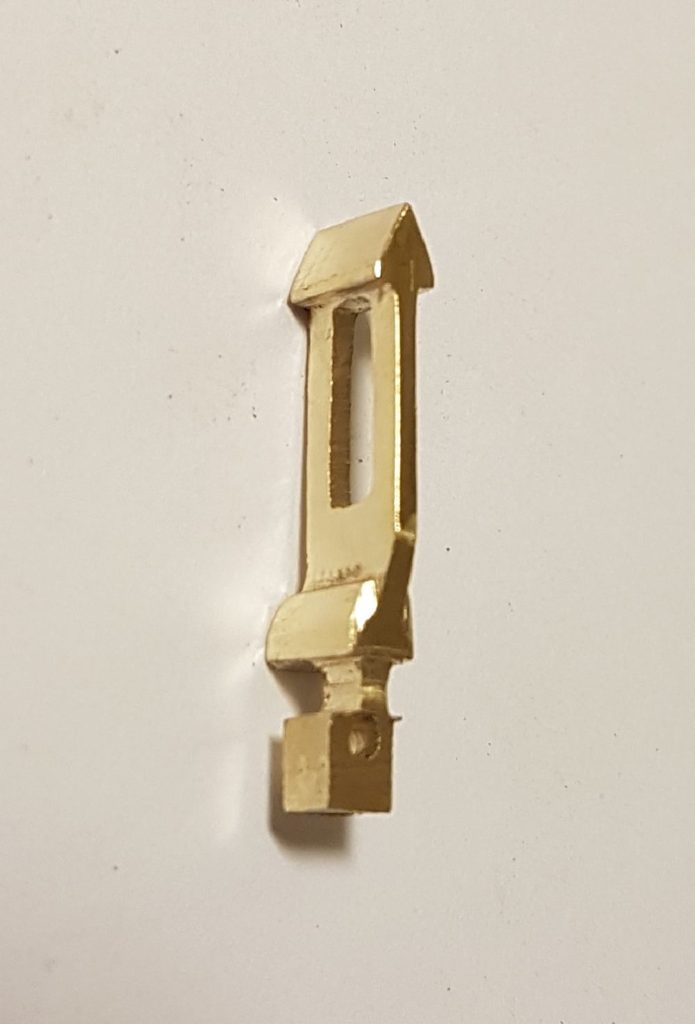
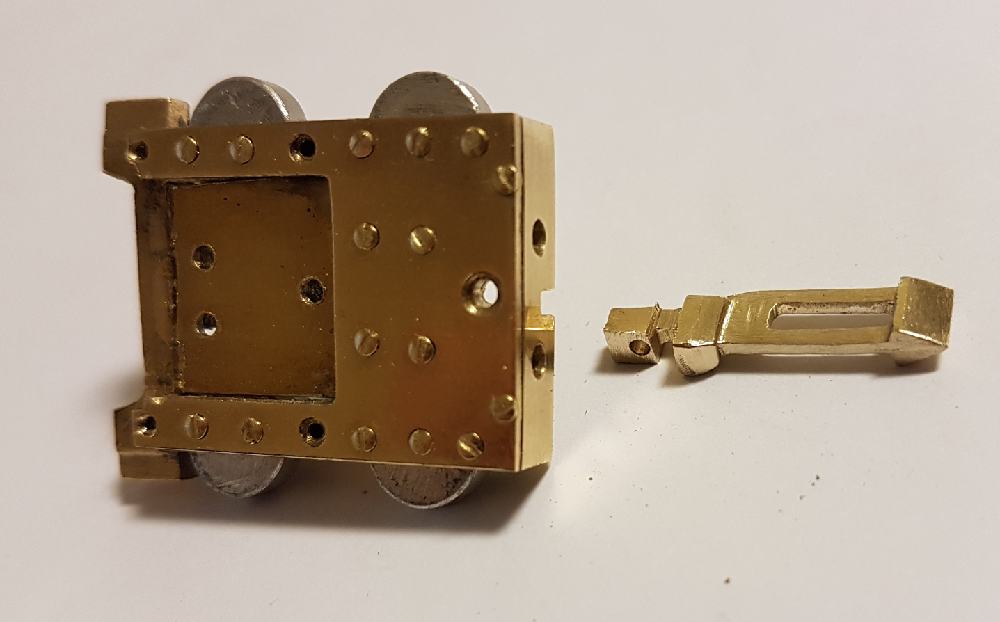
The Trigger :
This is the system to trigger the mechanism of the capital depicted before:
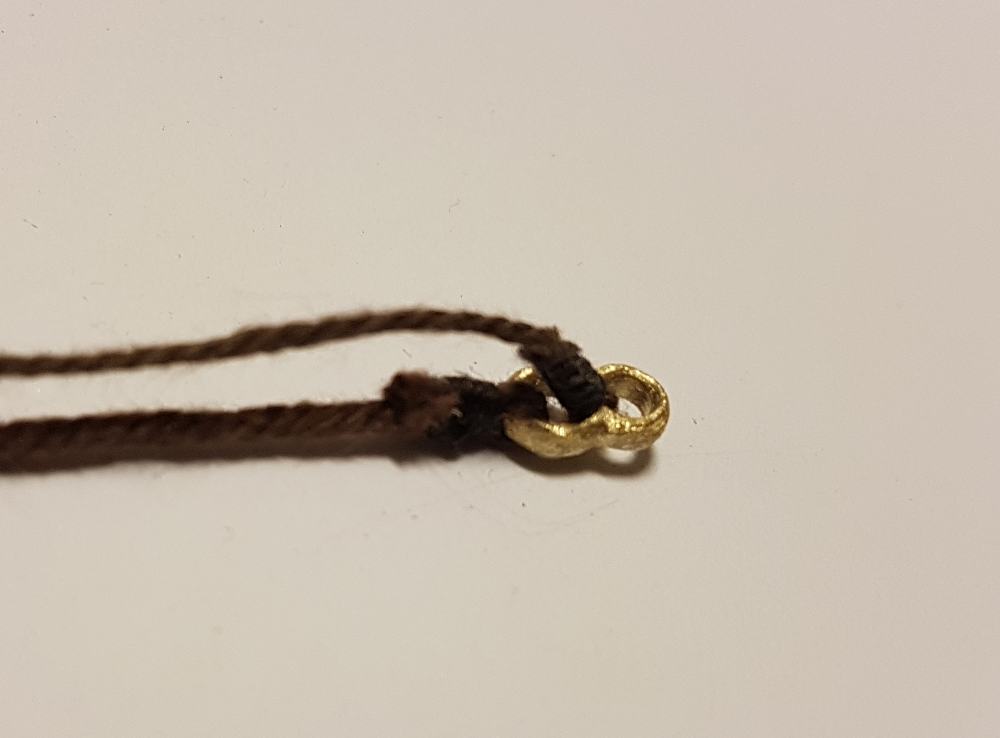
The rope to raise the mouton:
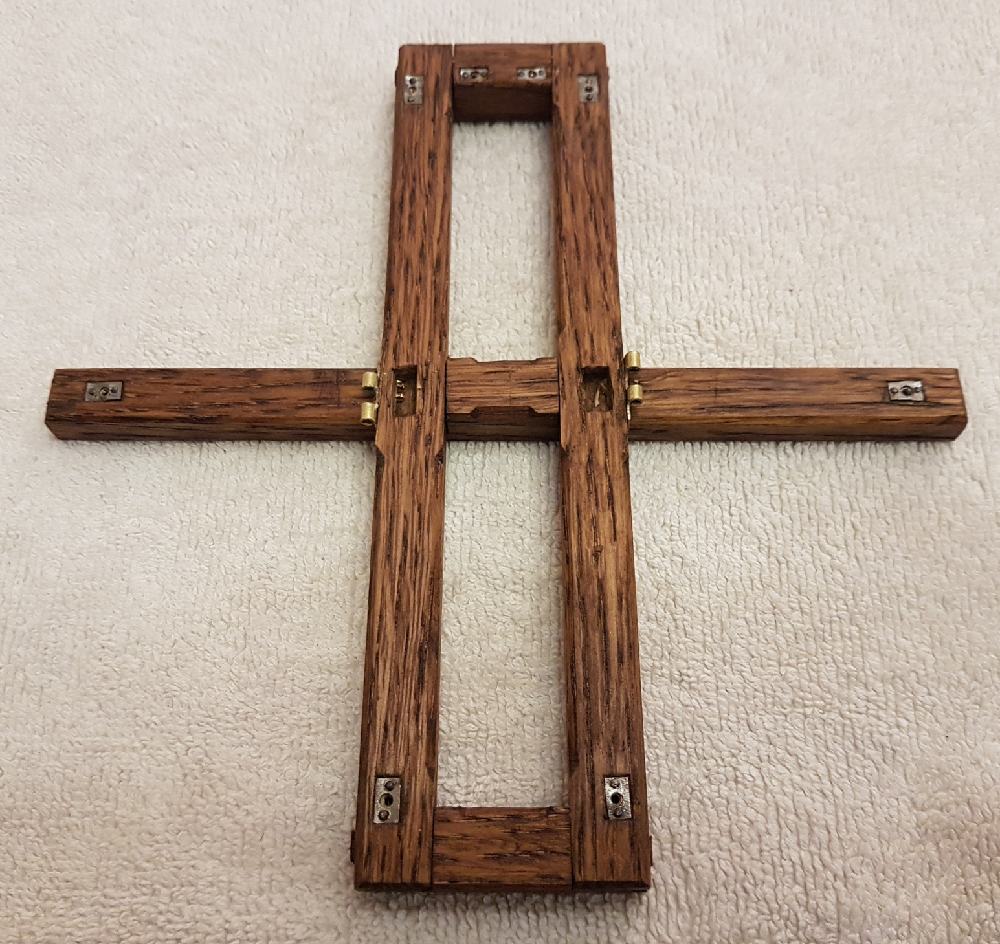
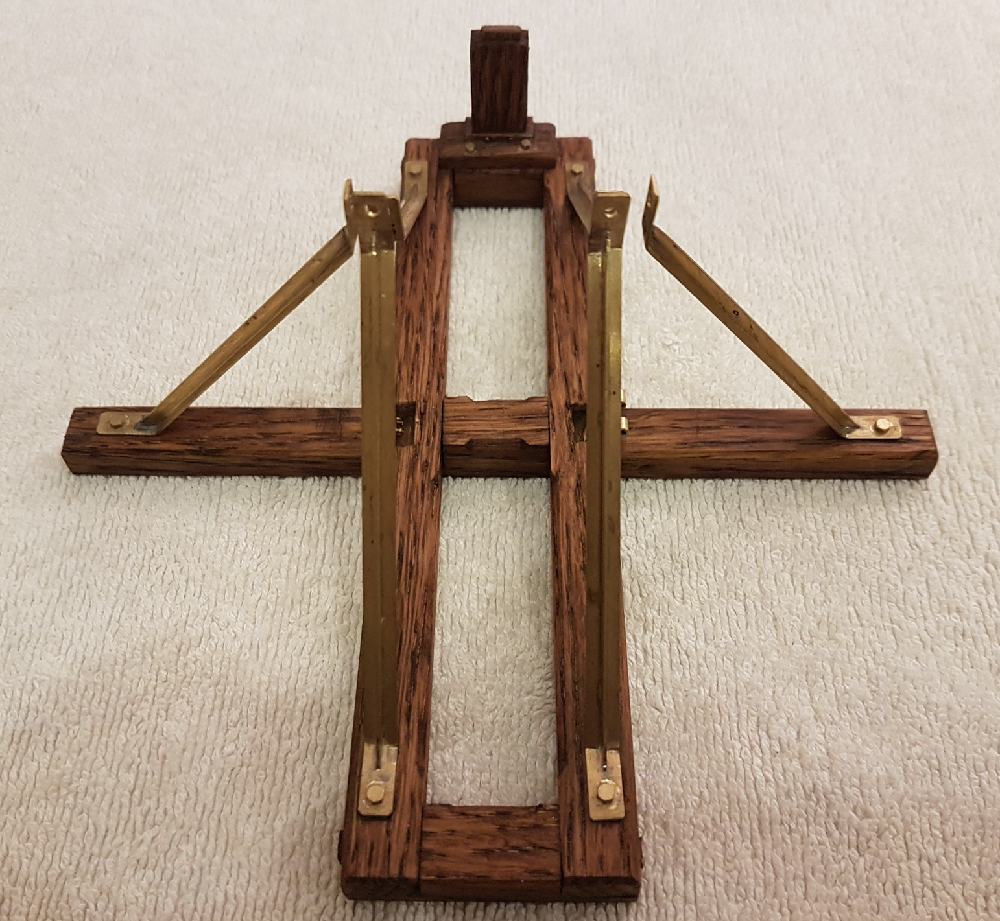
The base:

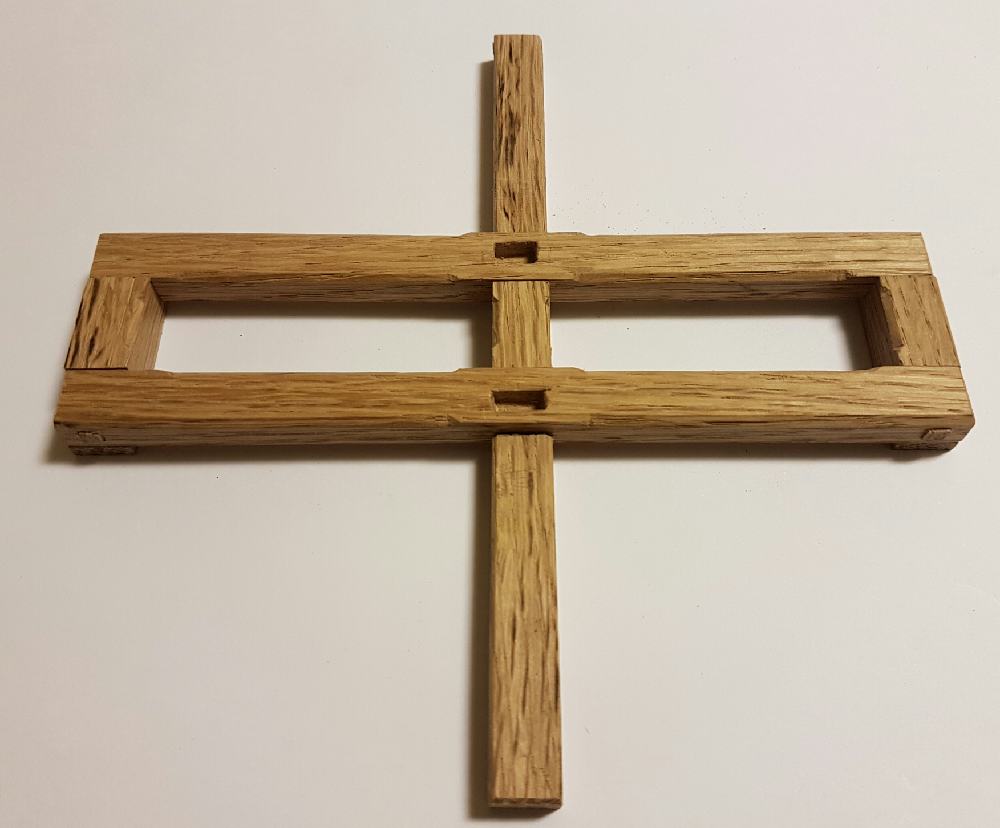
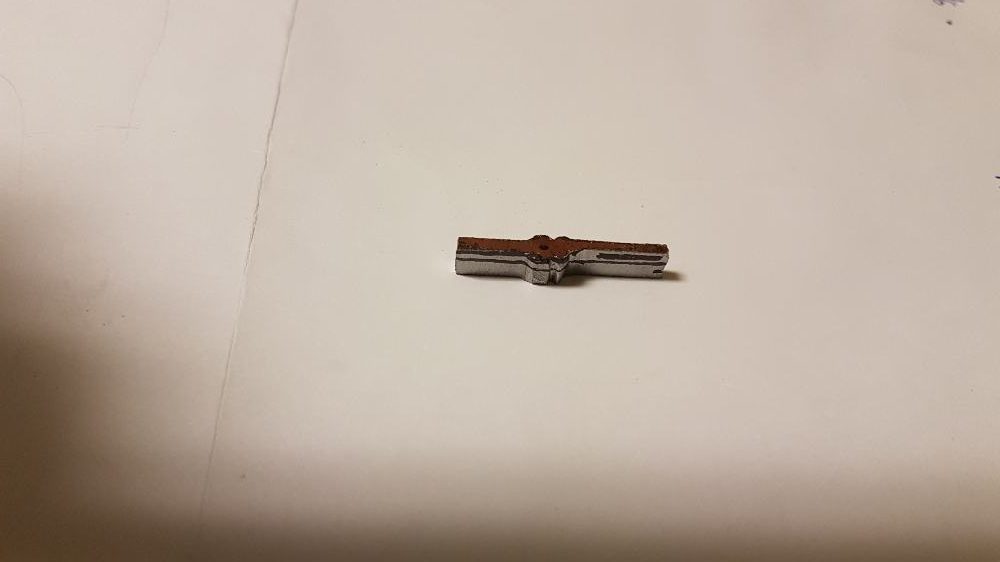
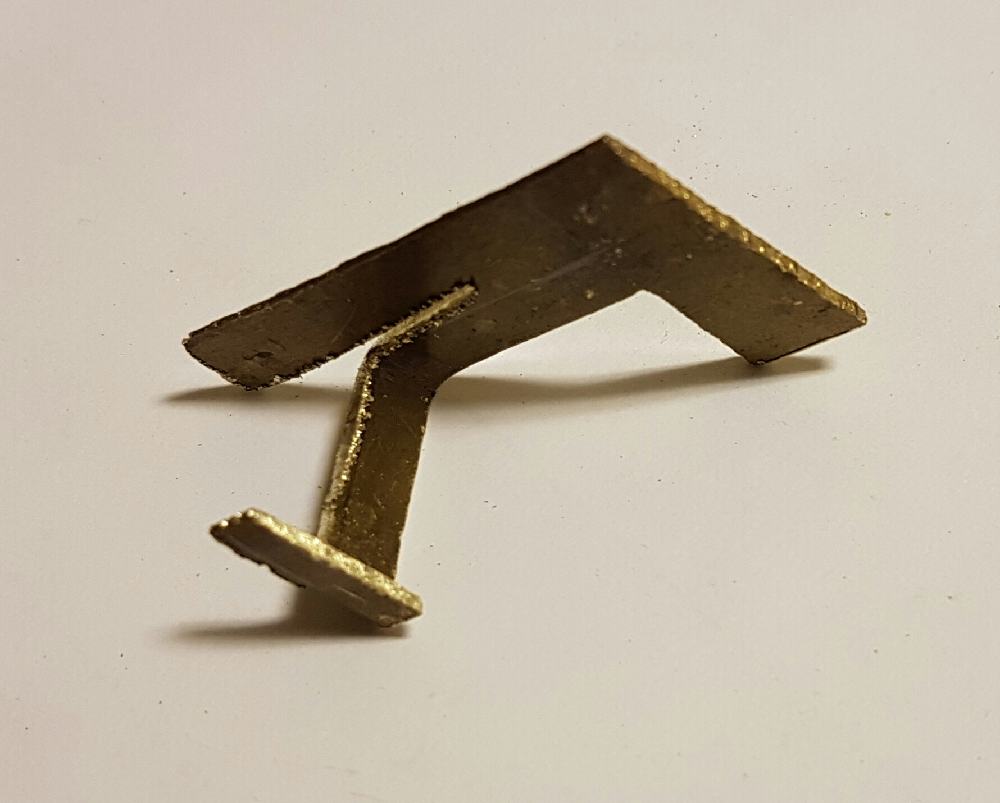
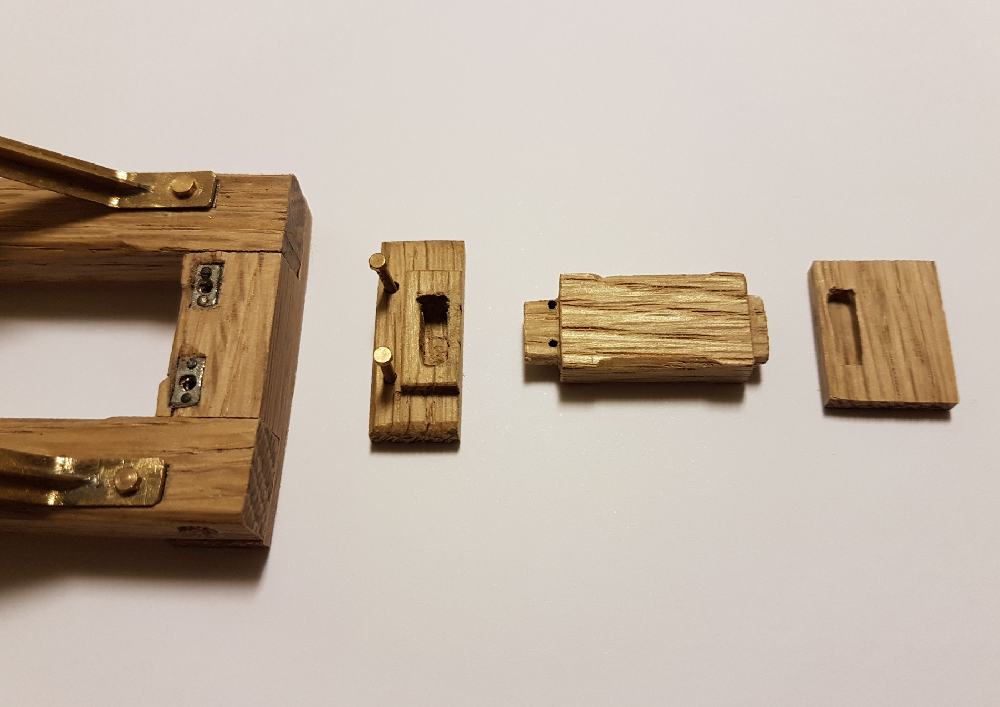
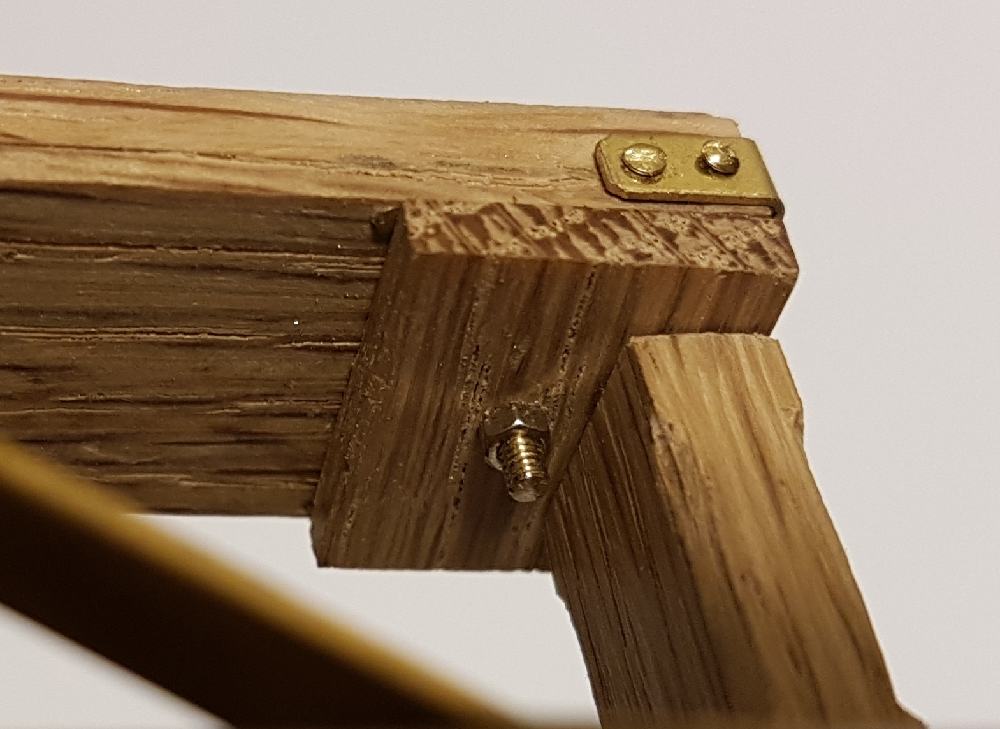
T-shaped Reinforcing legs:
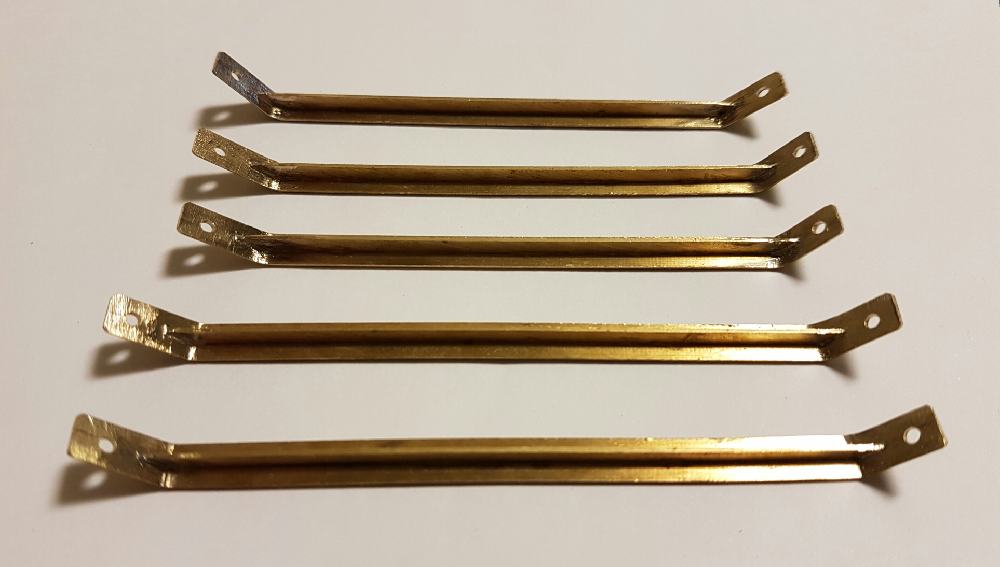
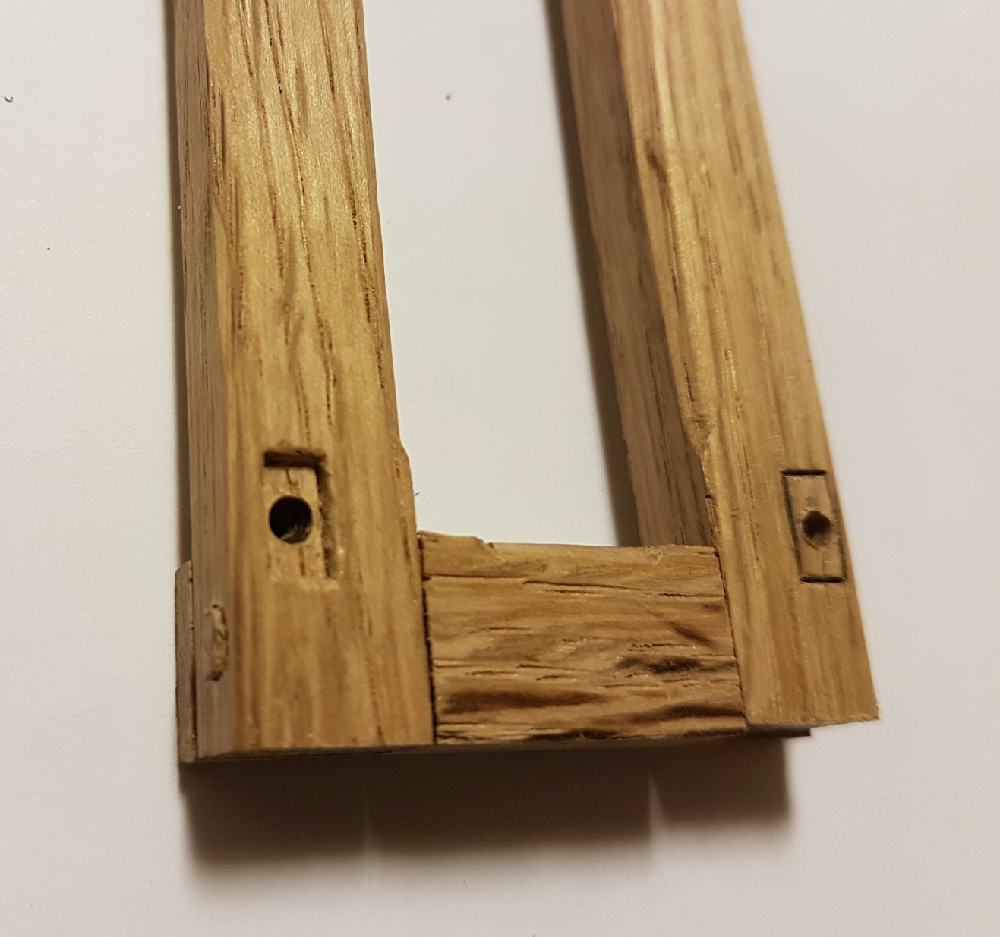
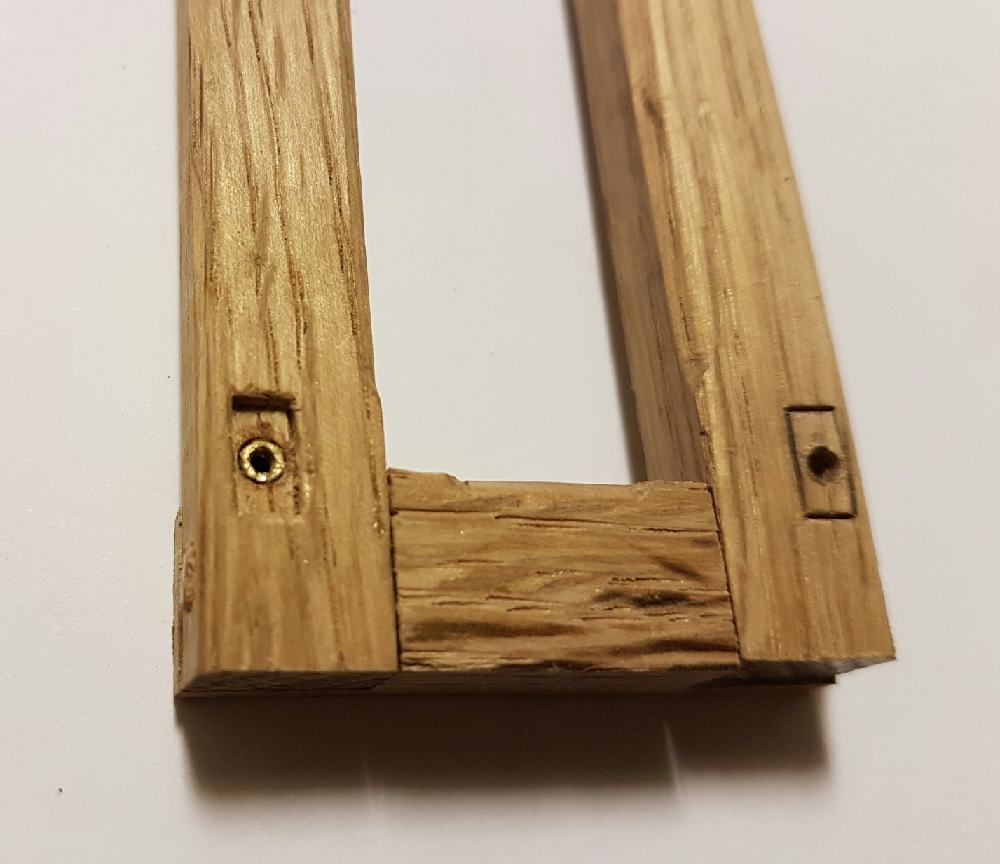
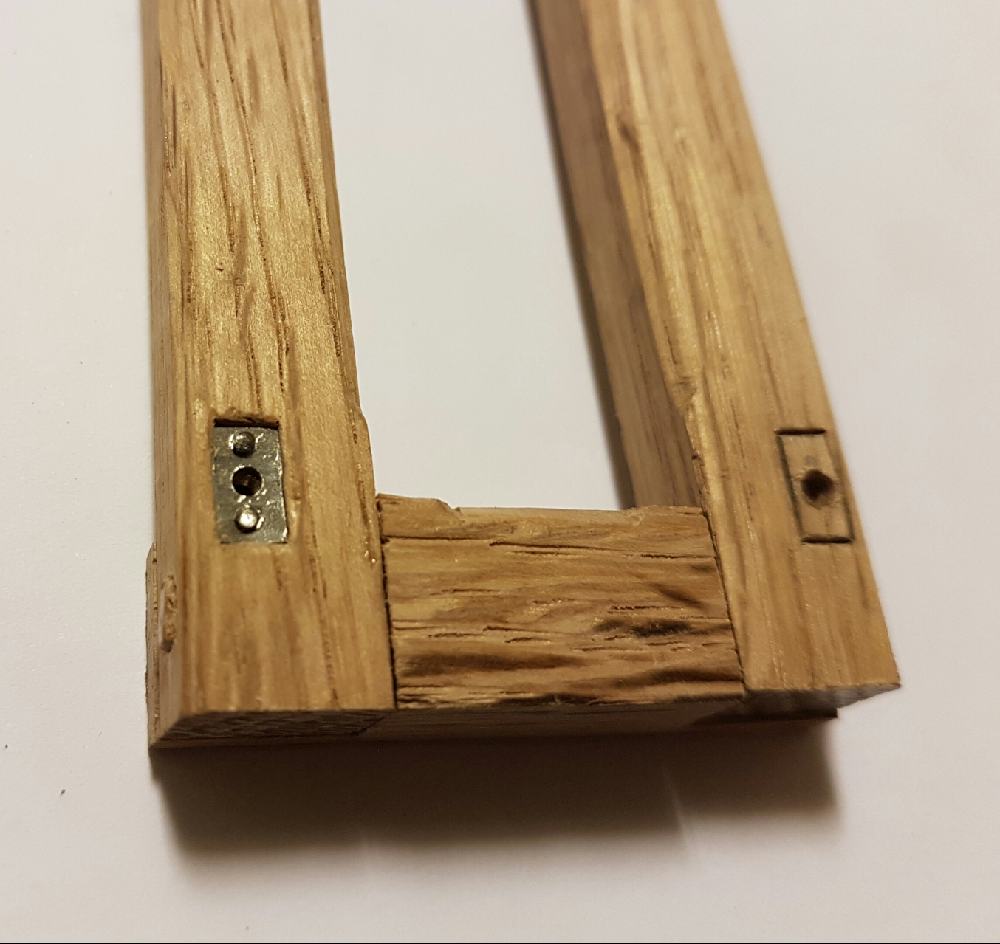
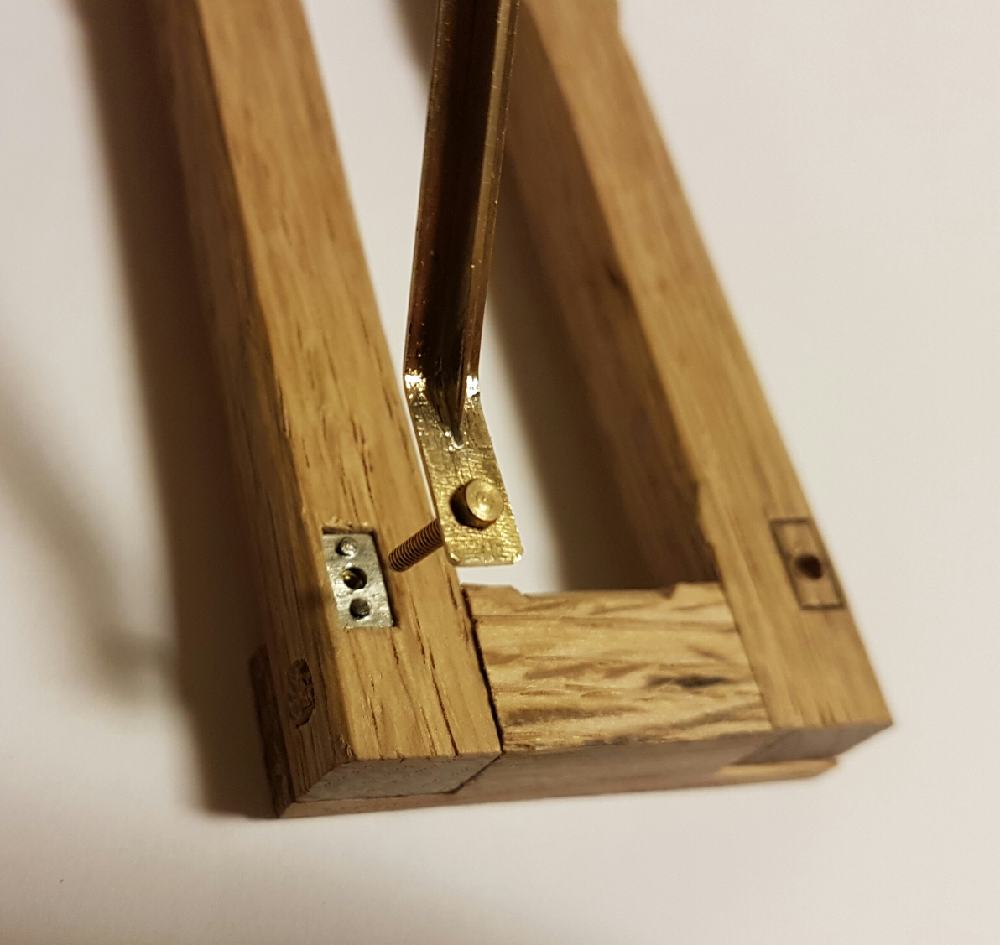
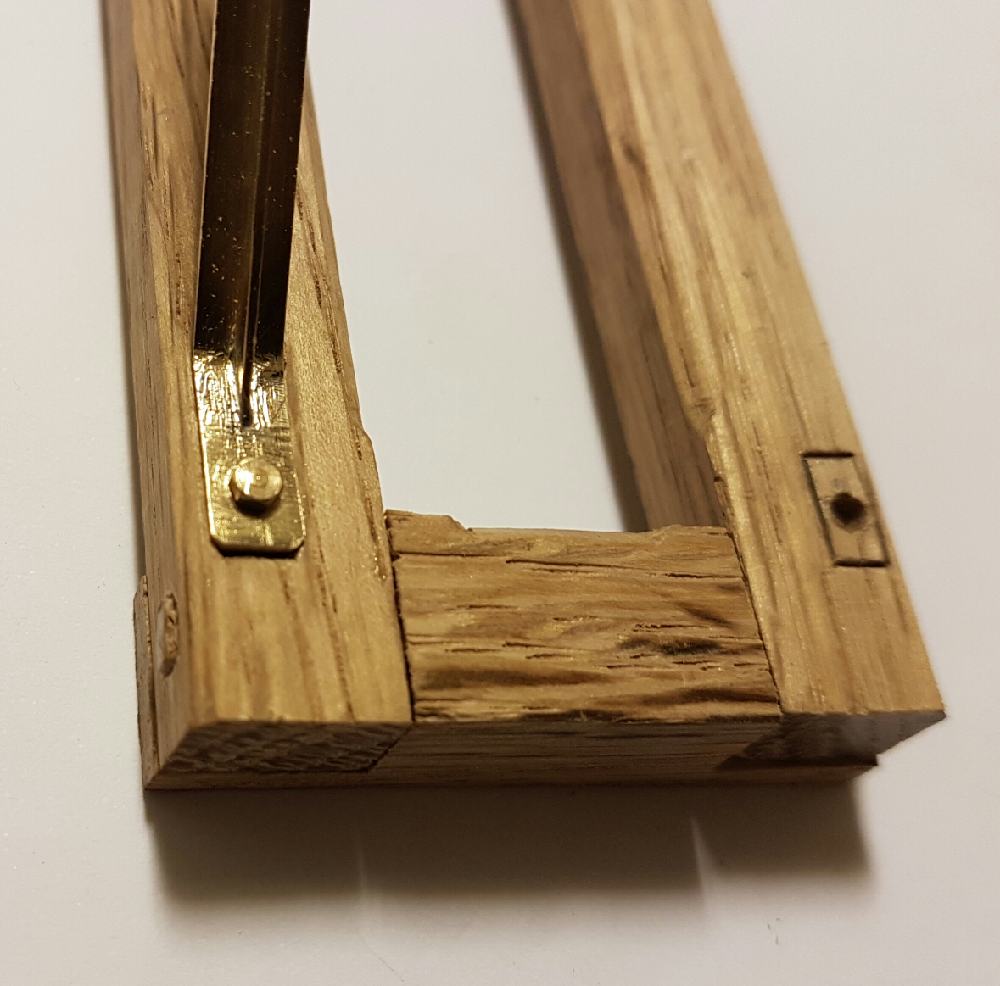
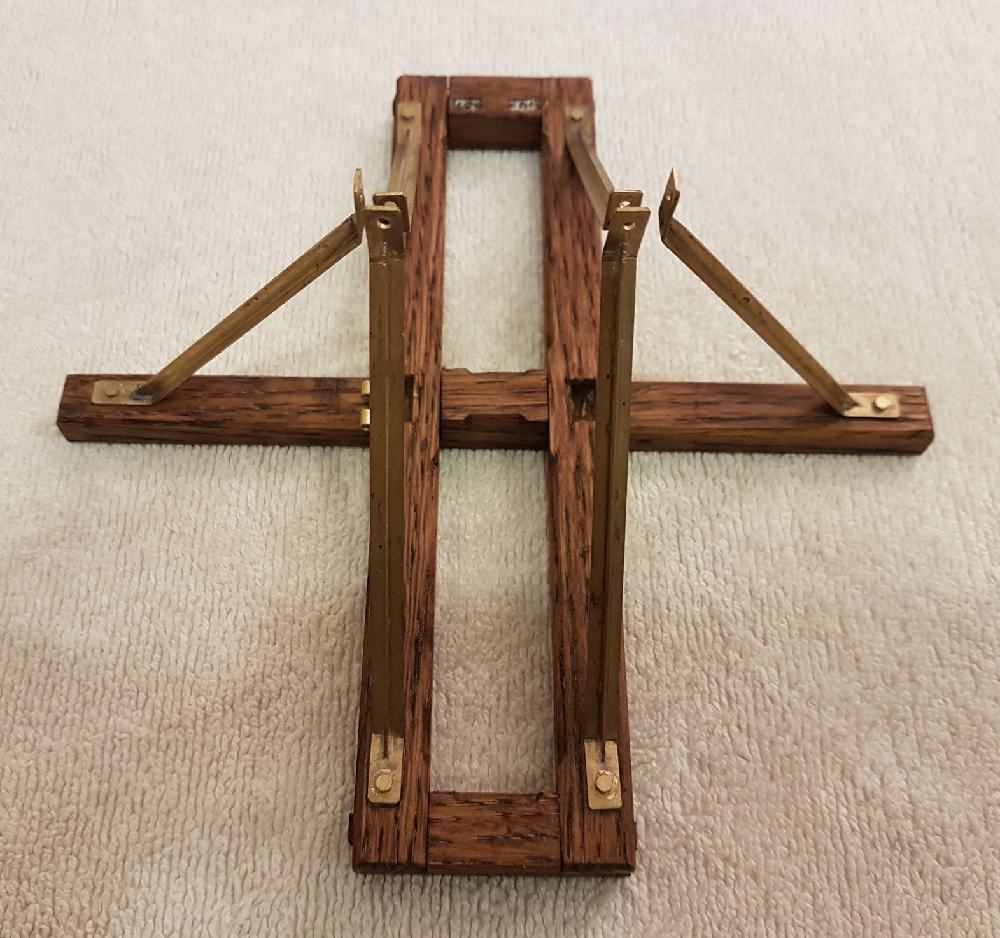
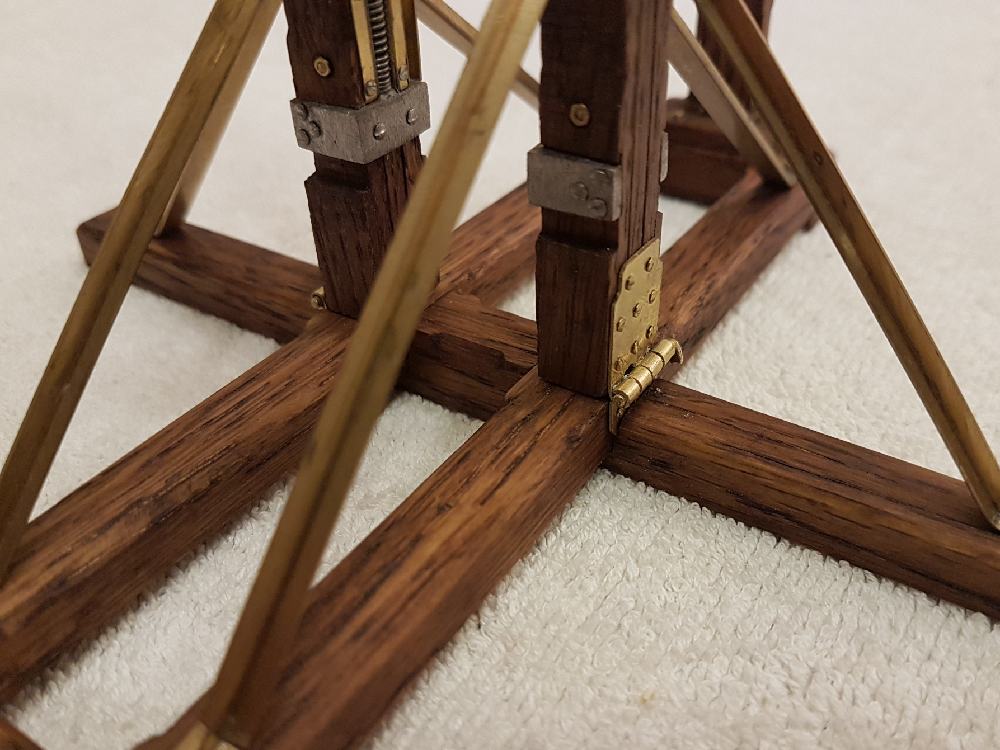
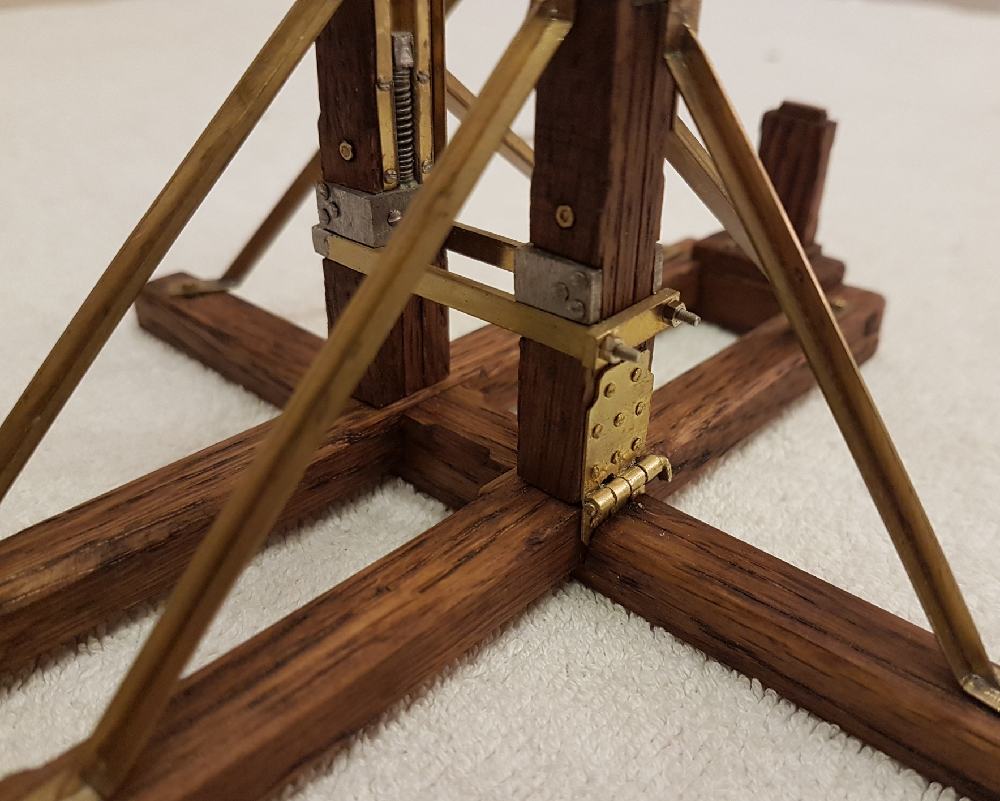
The assembly of the risers and reinforcing legs to the base:
The reinforcing legs are joined to the base with assembly screws. This screws rather than being screwed directly to the wood, some threaded bushings are installed so as the screws could be screwed into them and not get loose eventually.


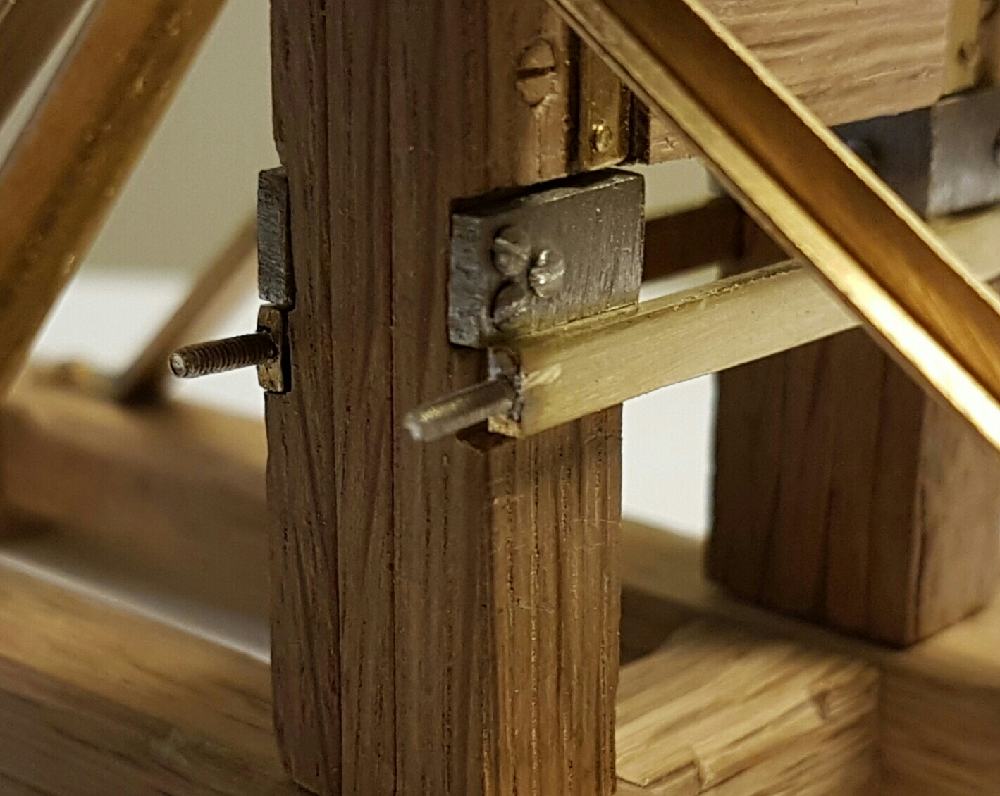

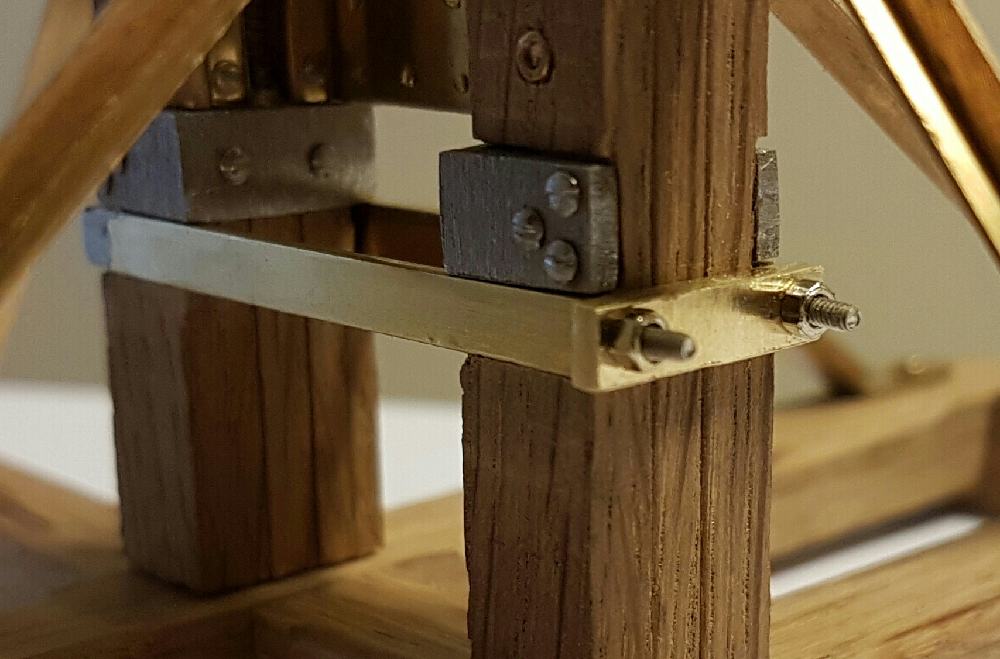
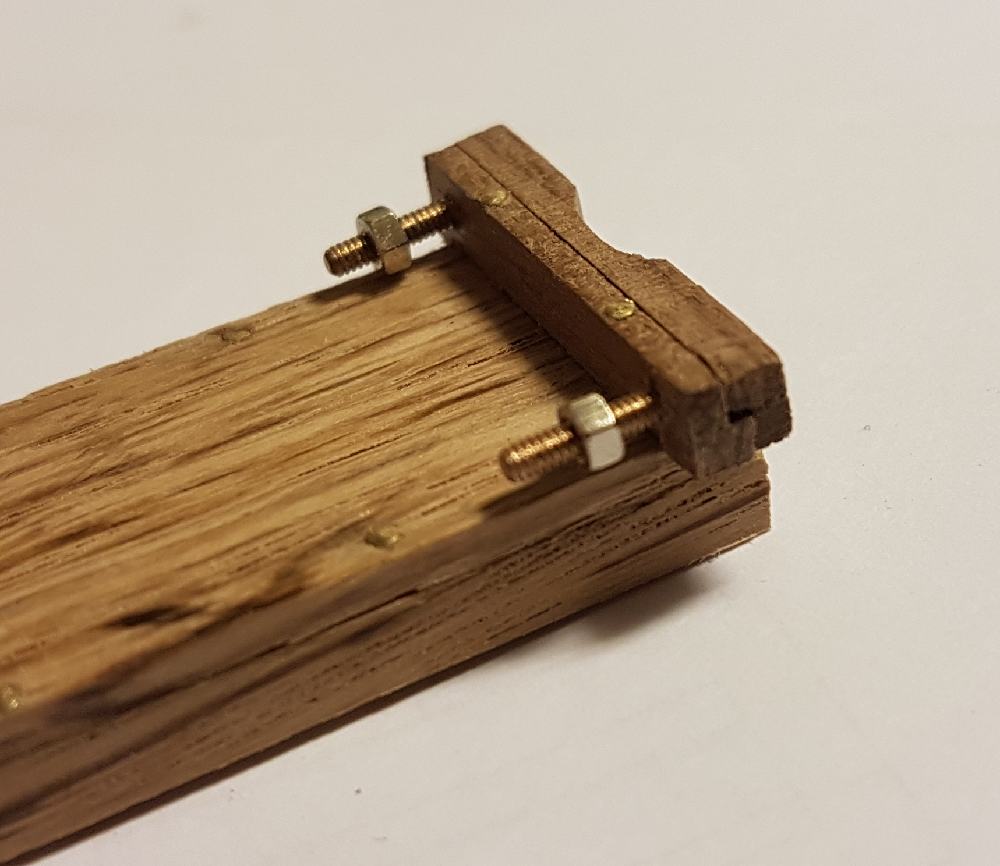
The assembly of the capital to the two risers:
A threaded rods to fix ech riser to the capital with nuts.

The half-moon:
The half-moon or lunette is made of two halves. One side is covered with metal.
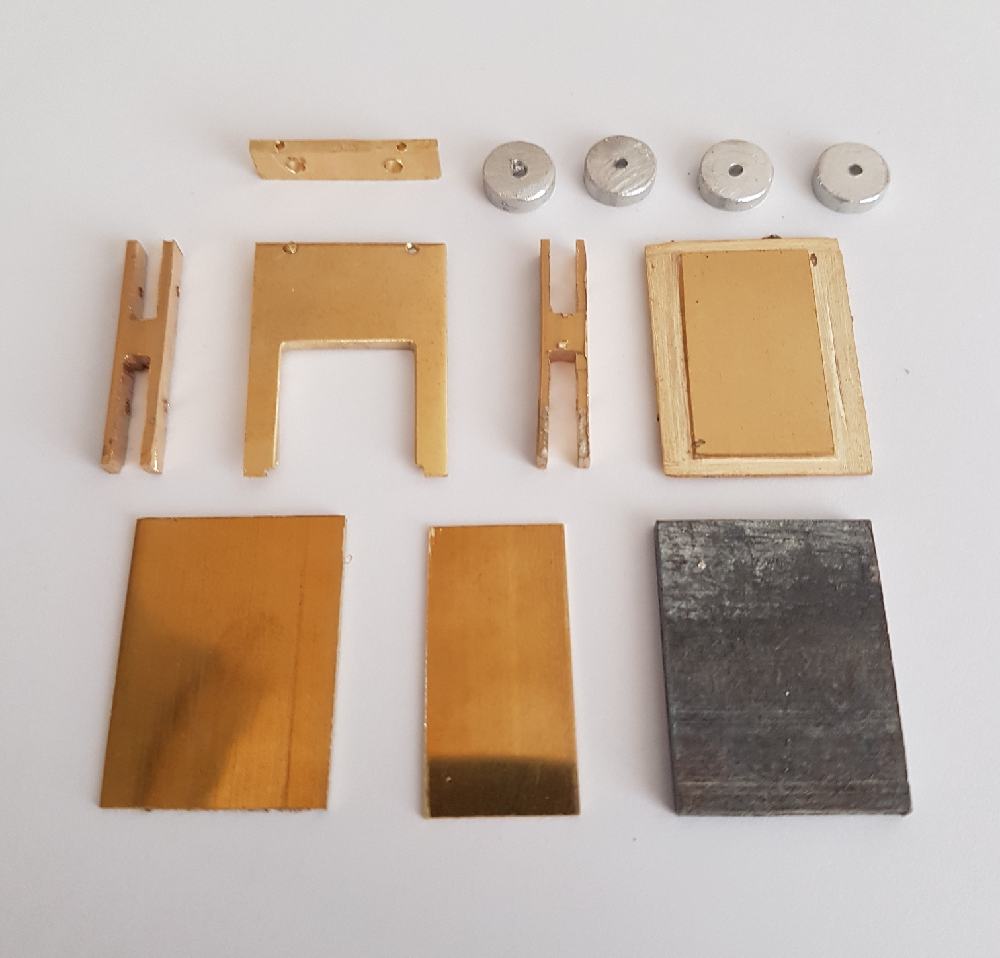
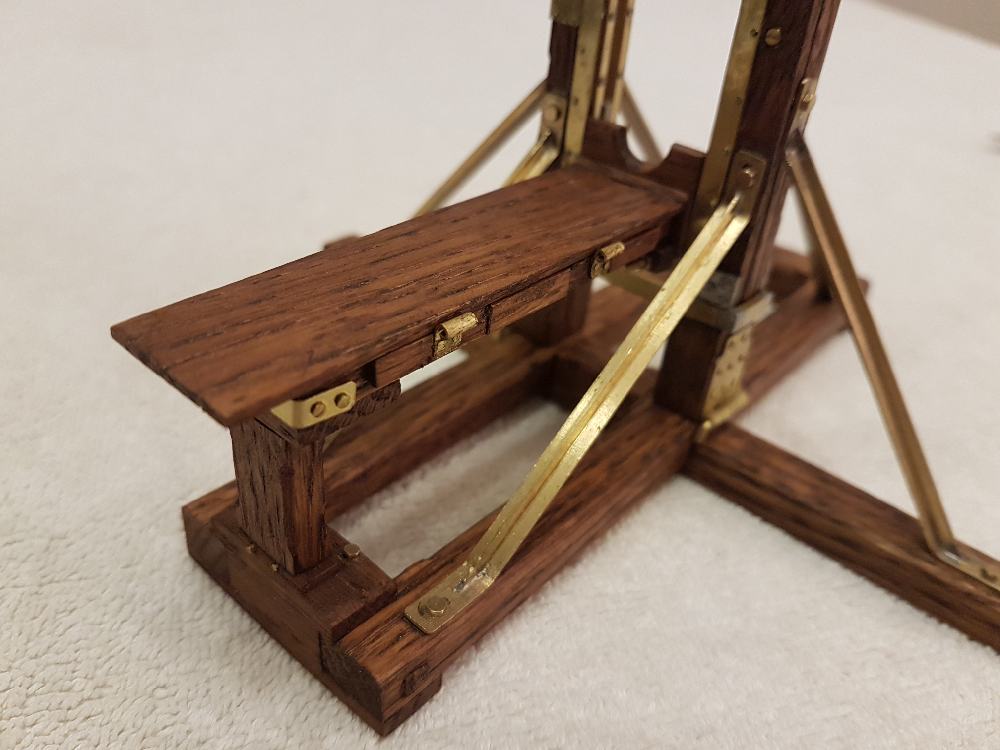
The tee and the seesaw:
This element joins the seesaw to the lower half-moon.
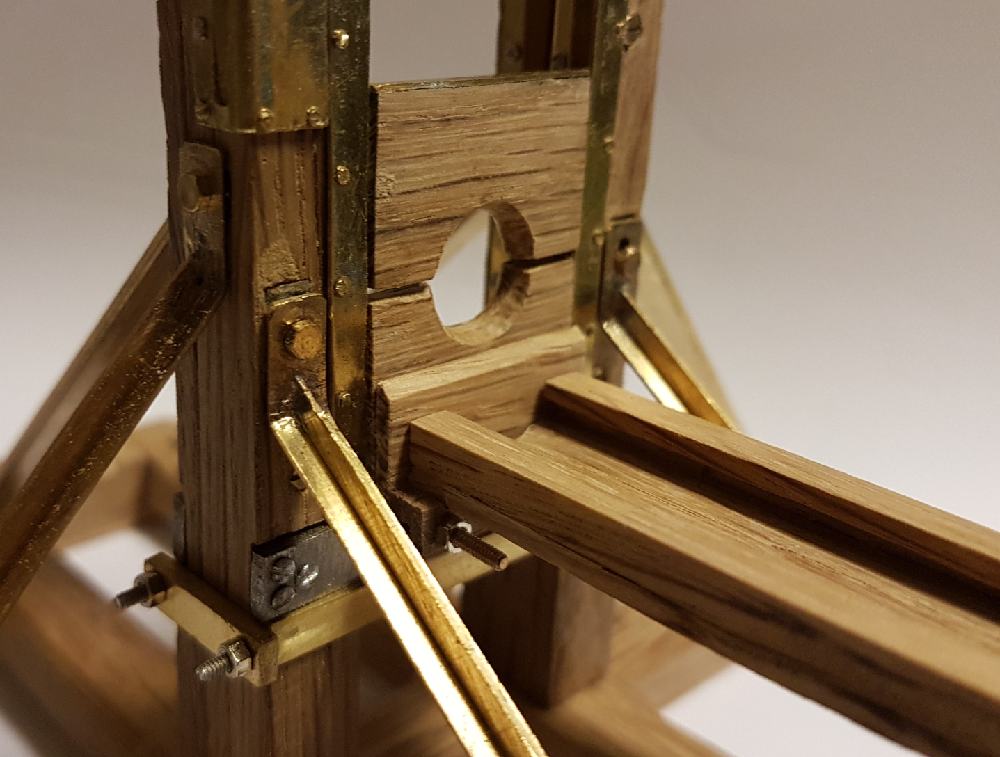
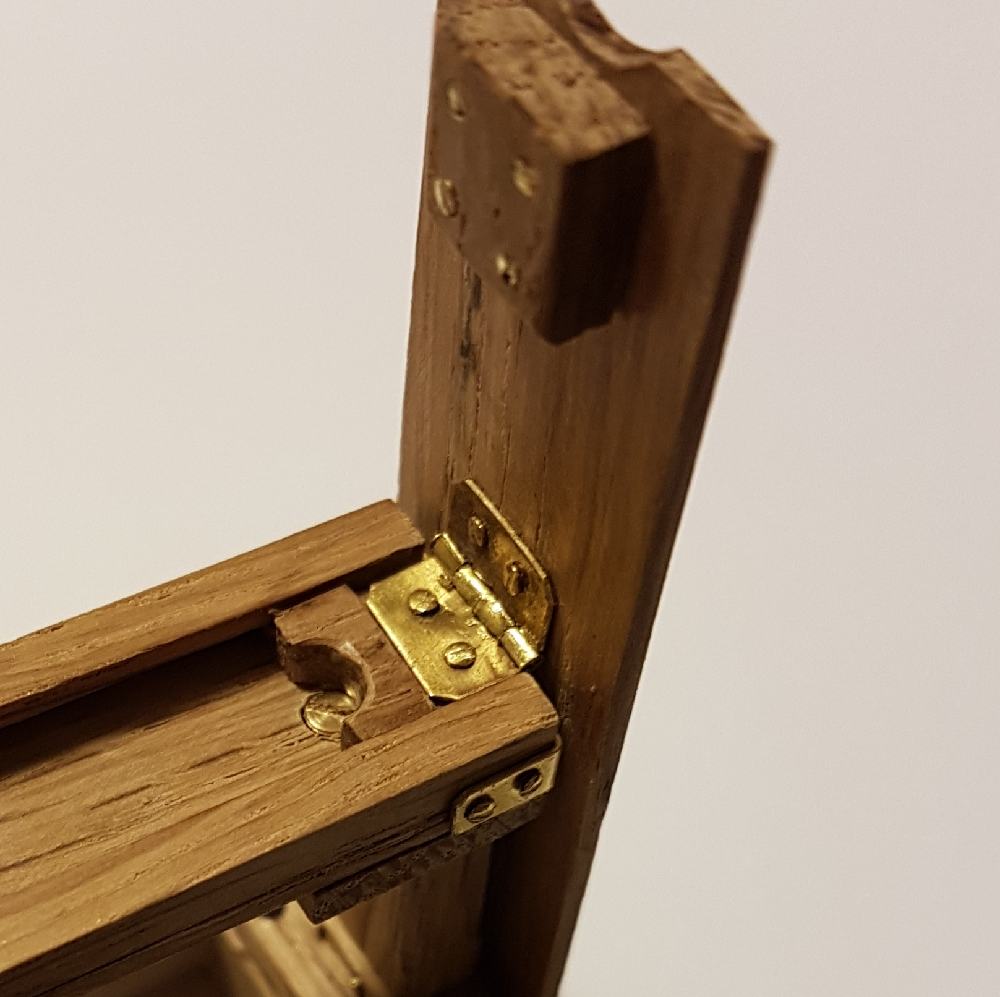
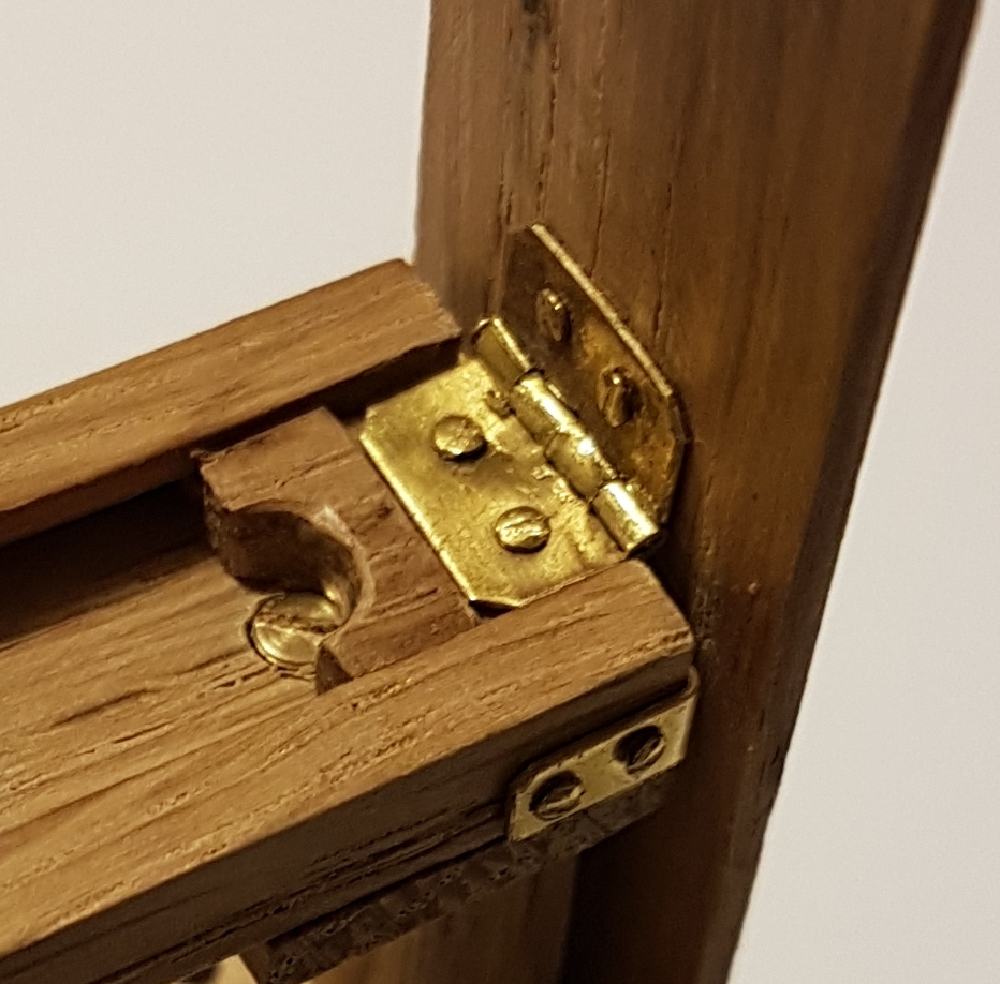
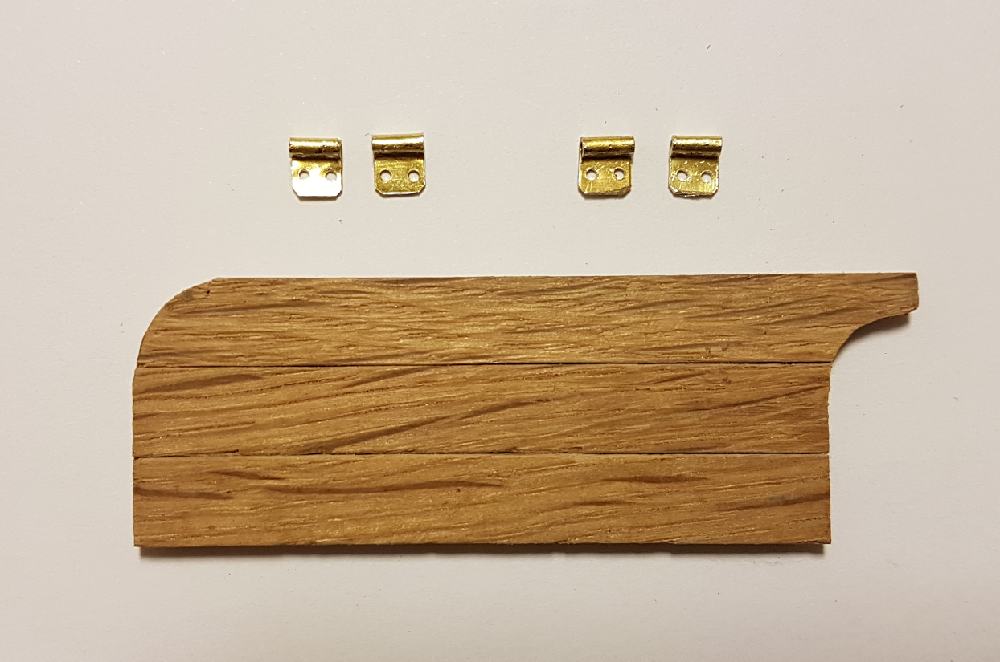
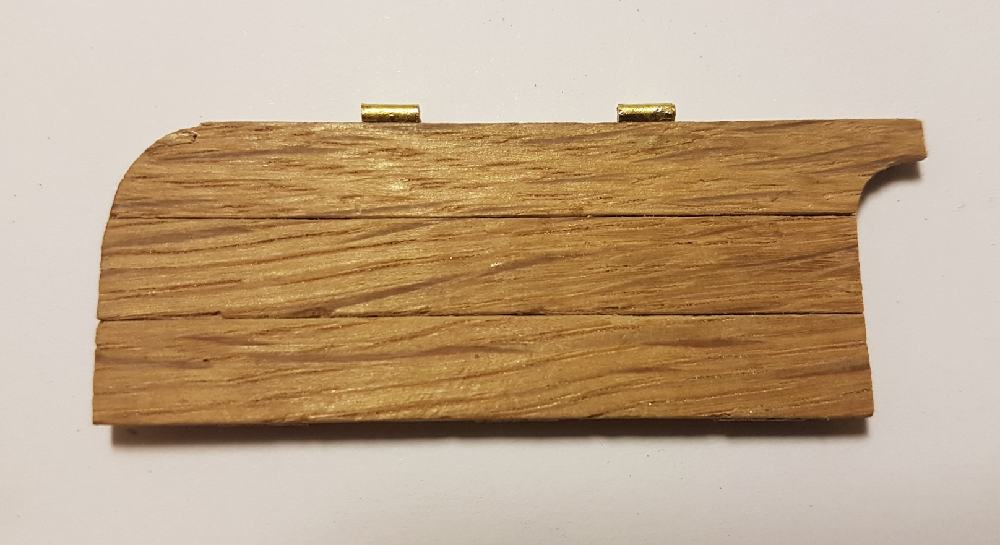
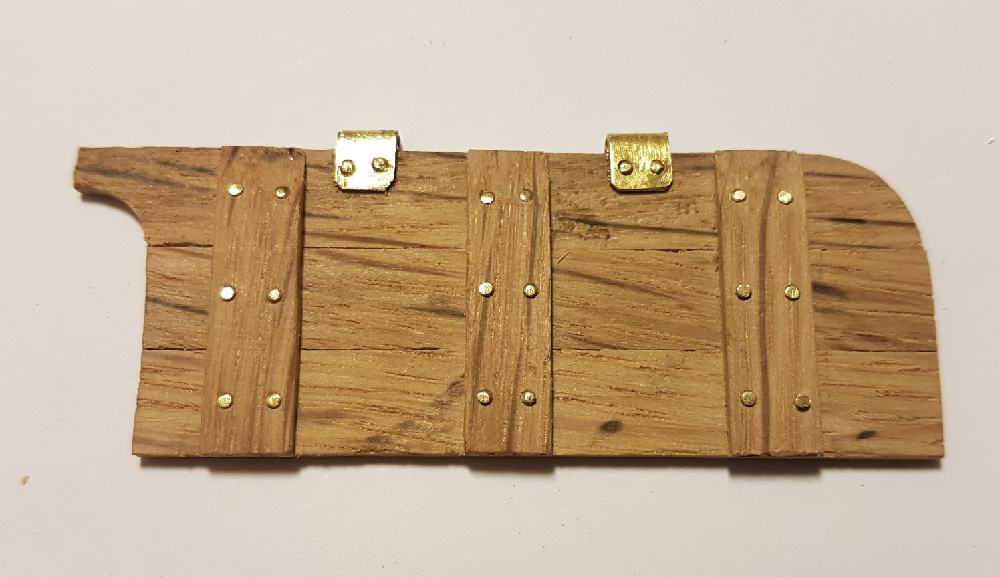
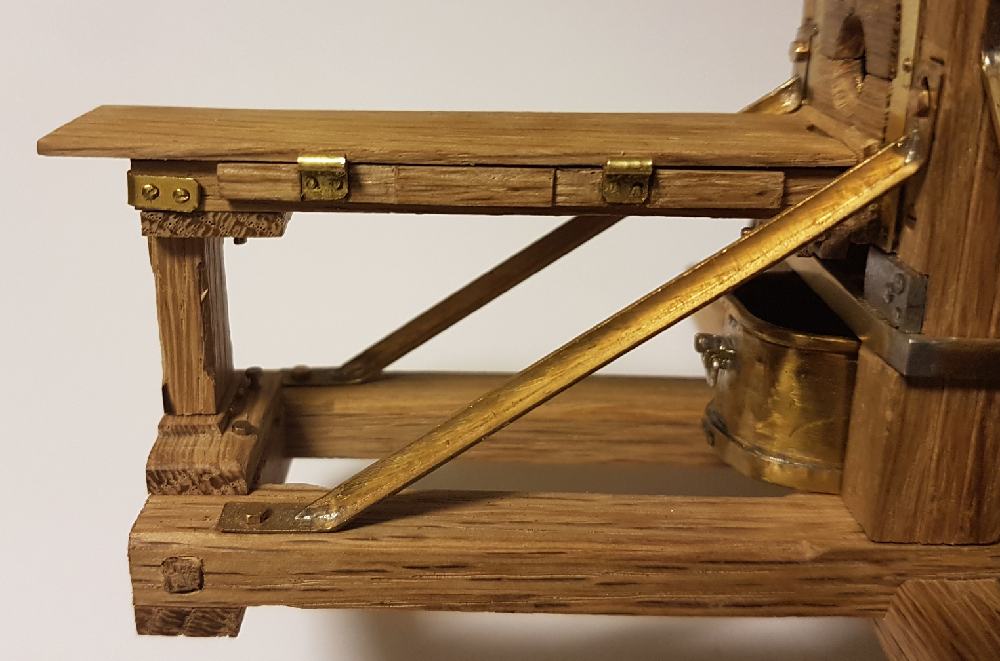
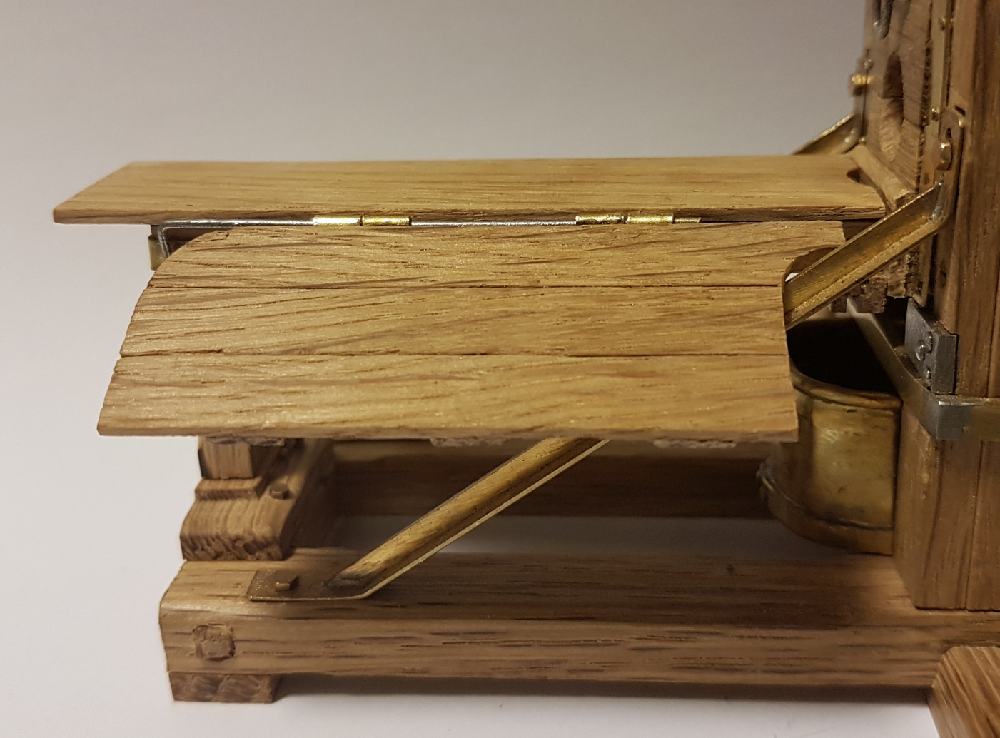
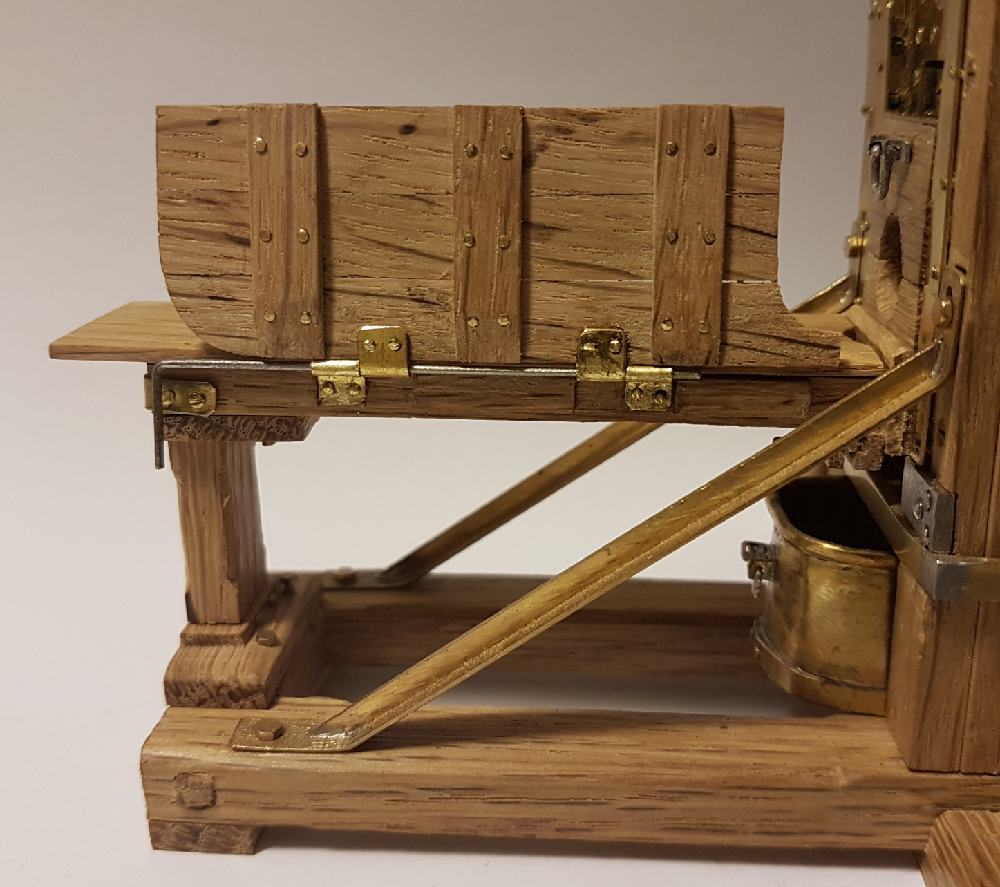
The table fully articulated by a hinge:
The table o seesaw moves along a groove attached by a hinge
The side ramp to throw the body after being beheaded:
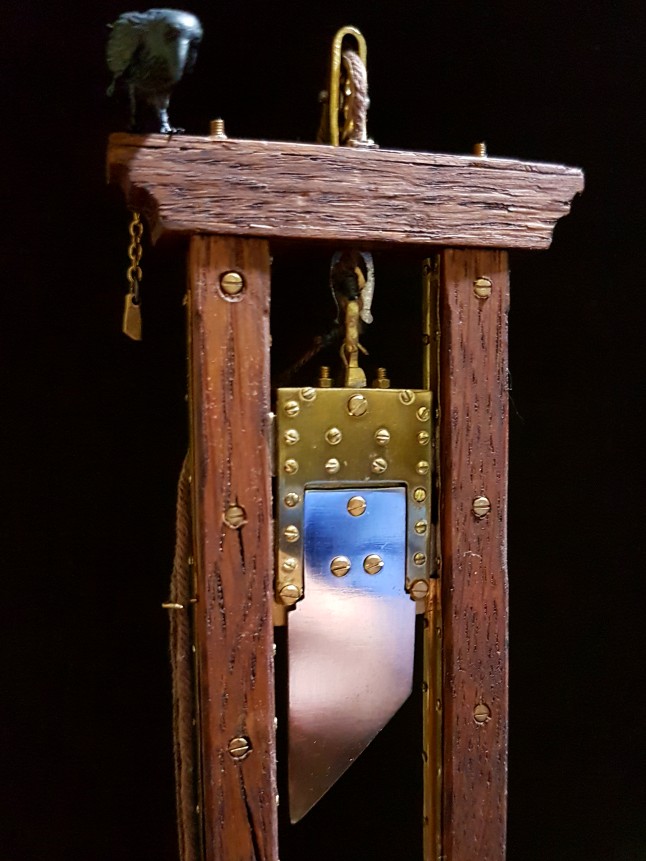
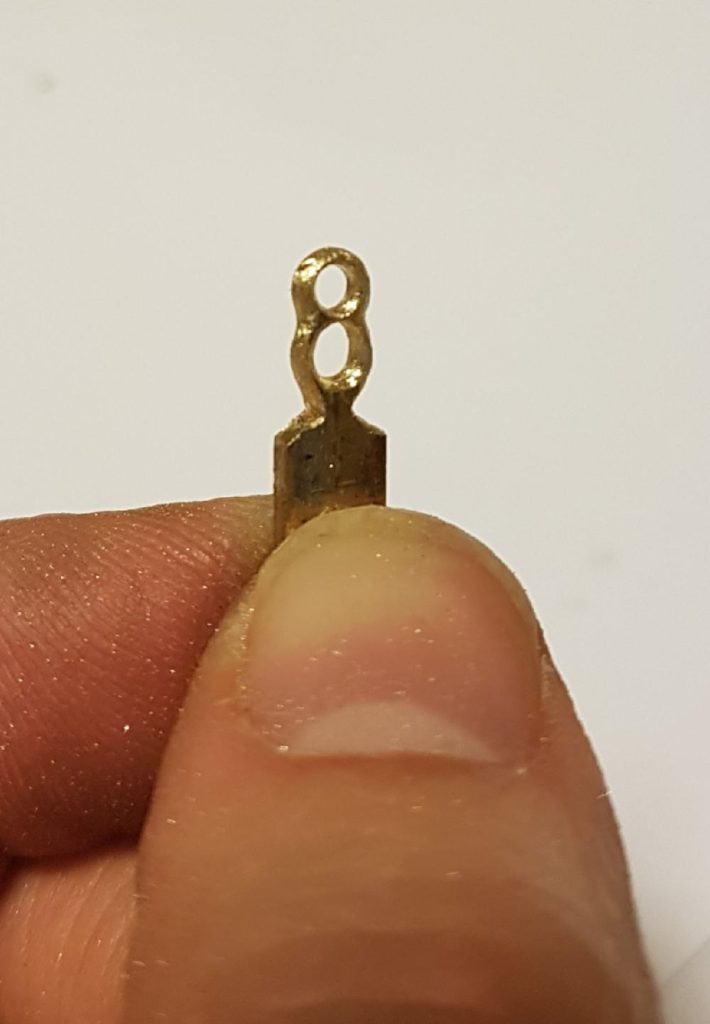
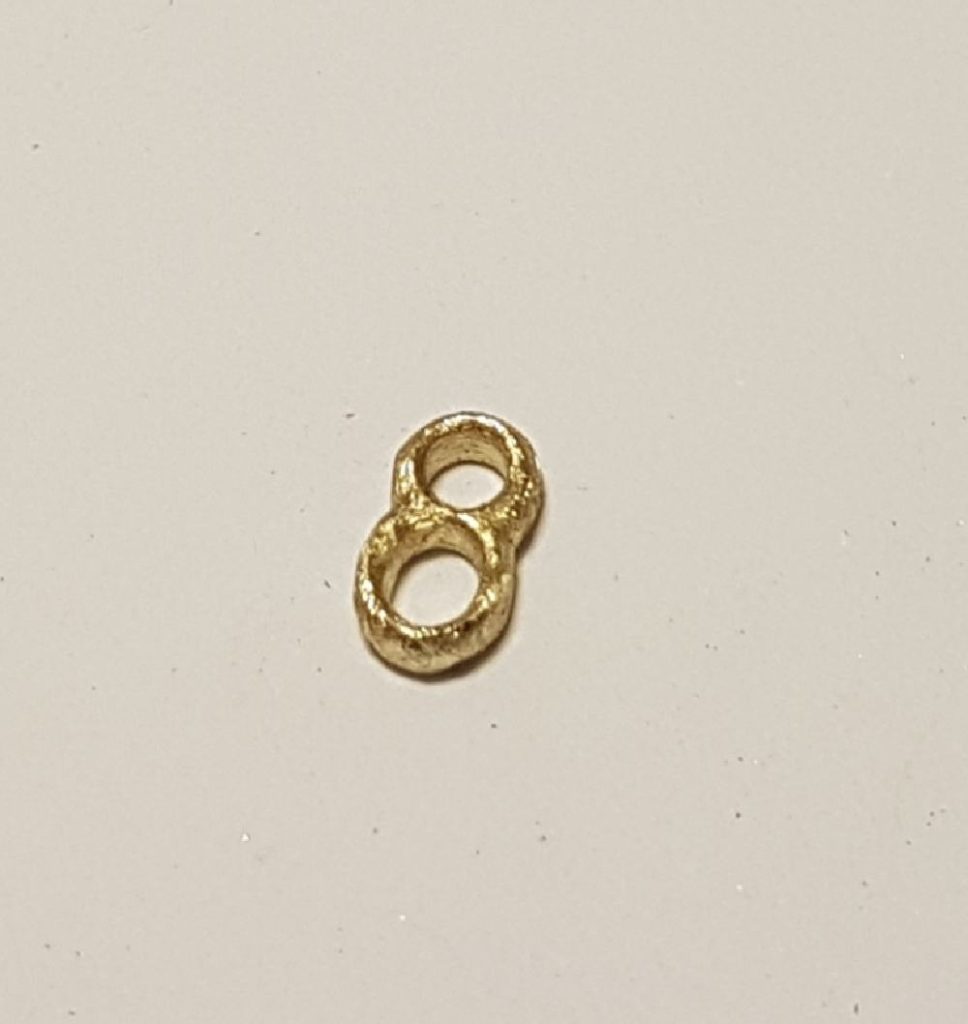
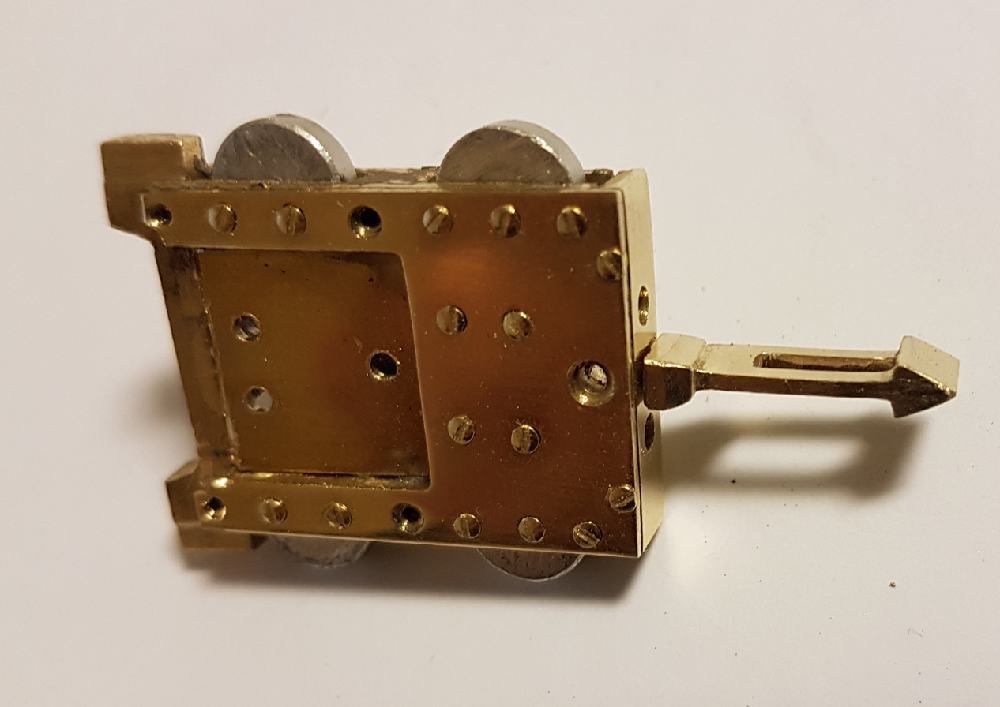
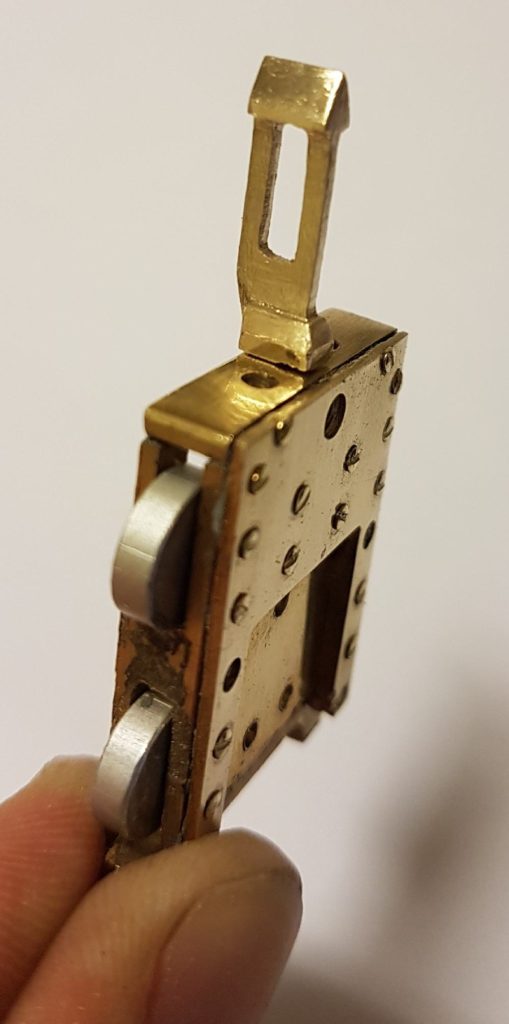
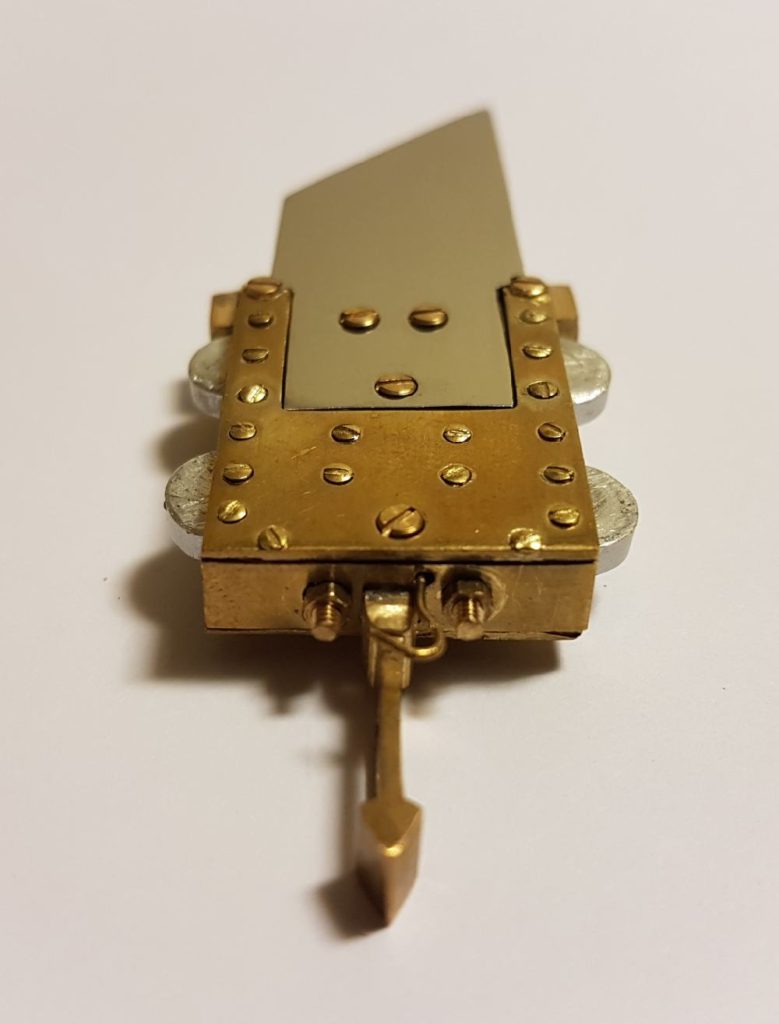
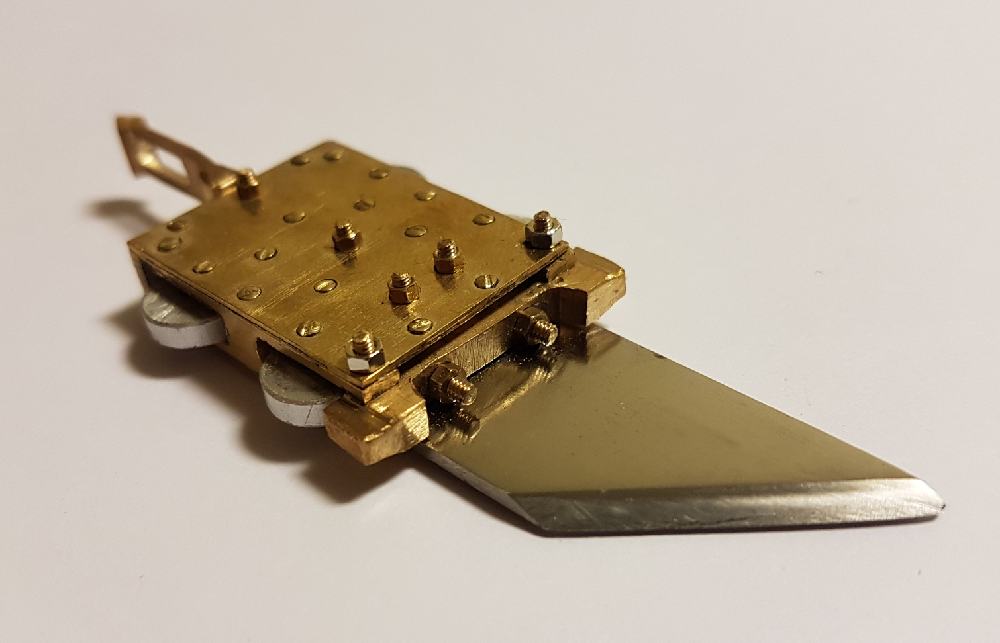
The mouton with its steel blade:
I made the mouton of the Berger guillotine model entirely of metal, formed by a central frame where the rollers are housed. A thick sheet metal with a cut-off for the blade was screwed to one side, which was fixed with three through screws. In the upper part of the mouton there is the spike that allows to block to the claw, as well as the hook for the rope.
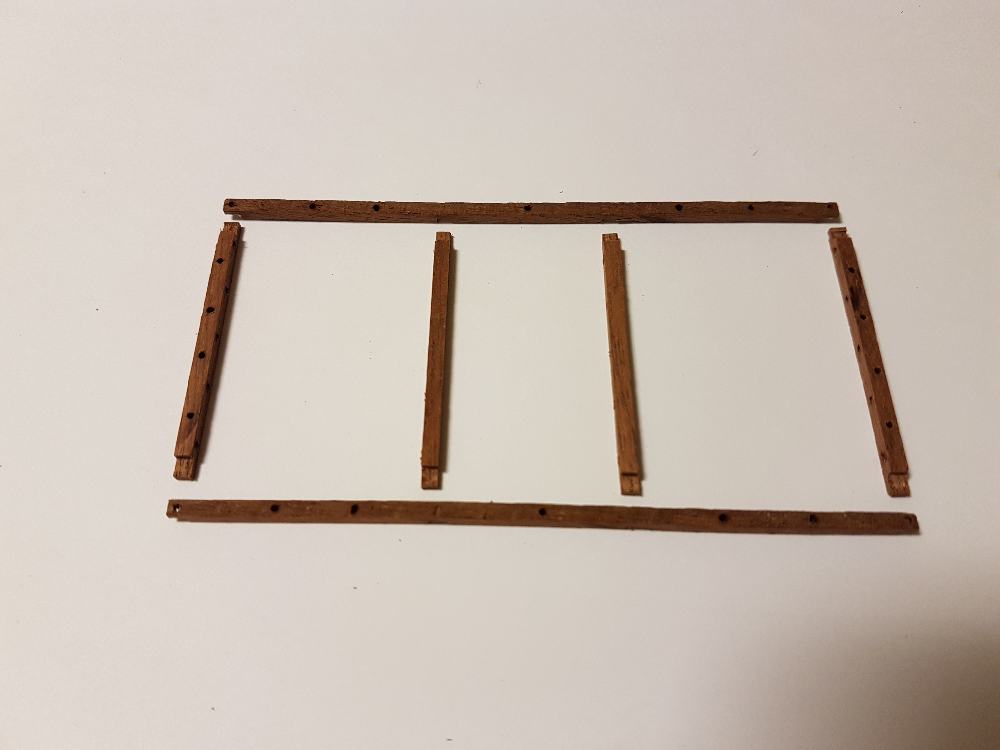
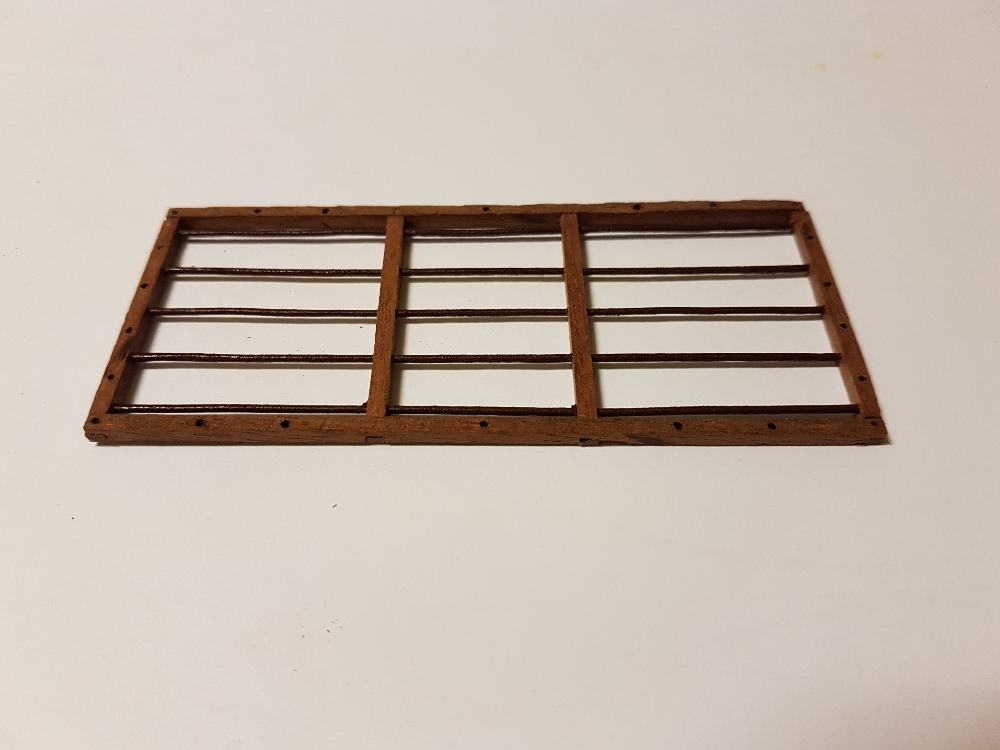
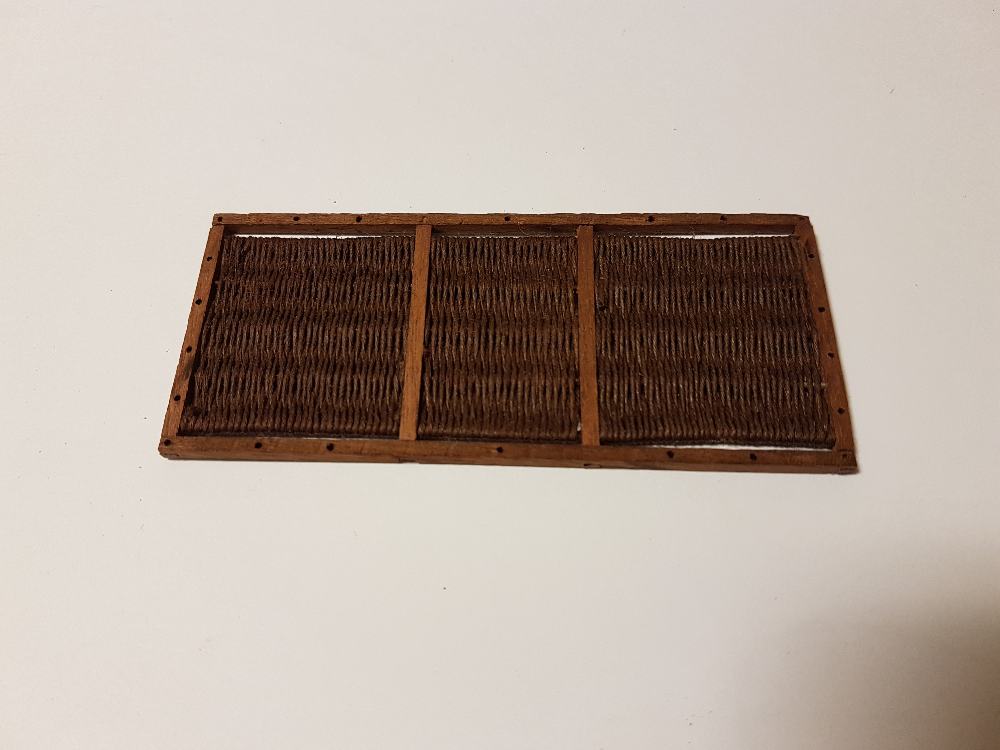
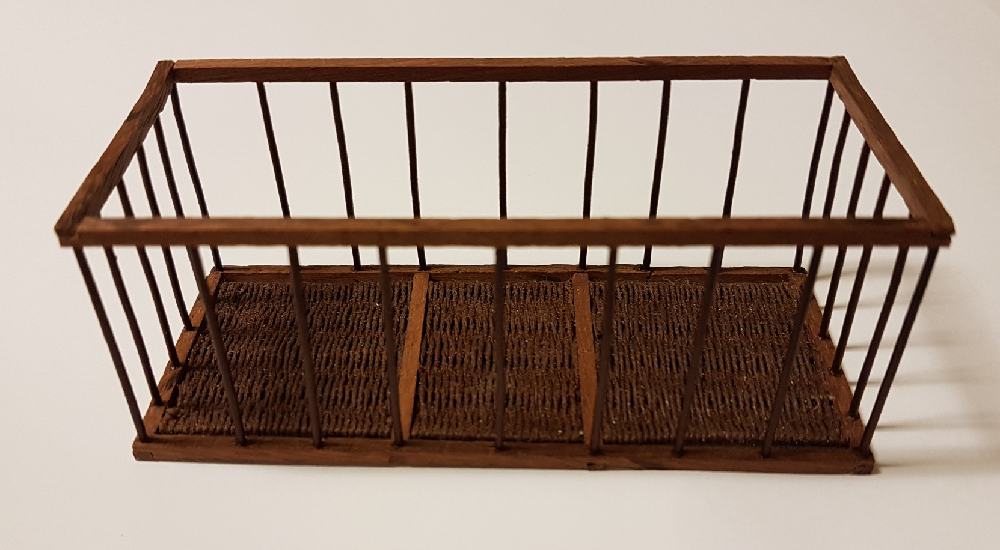
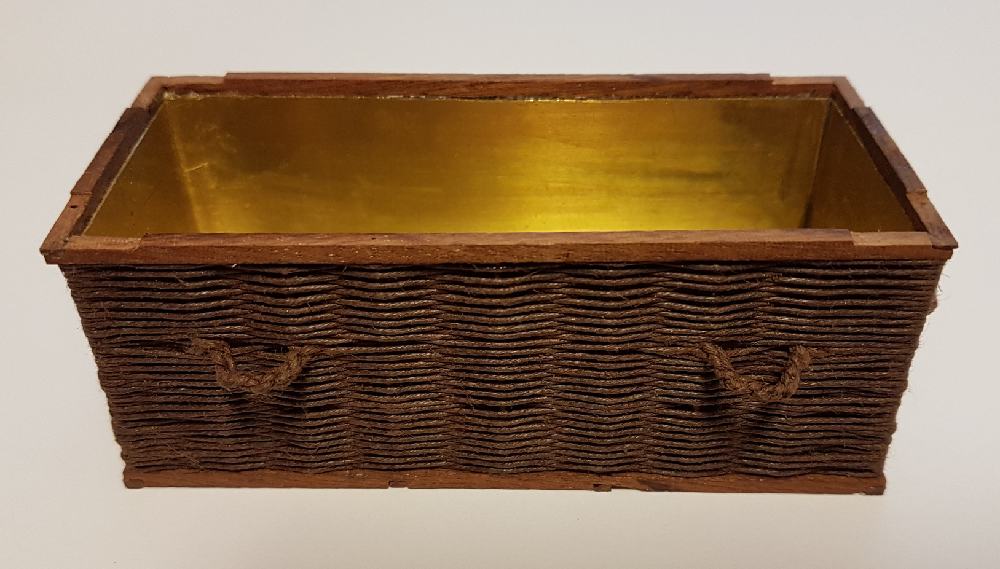
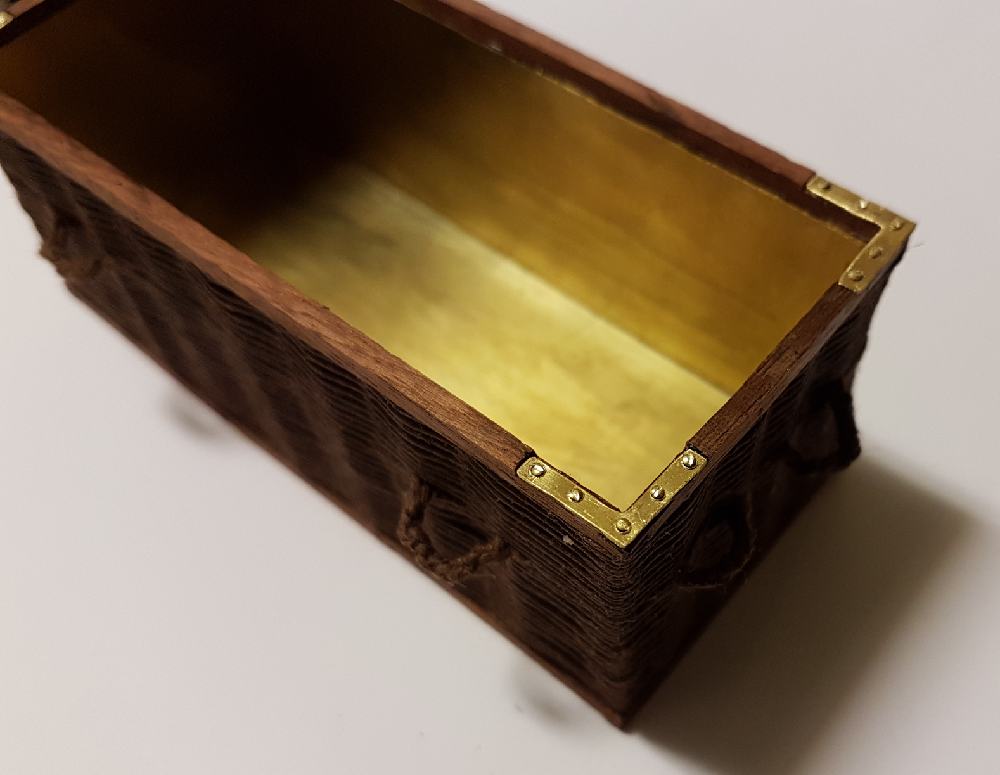
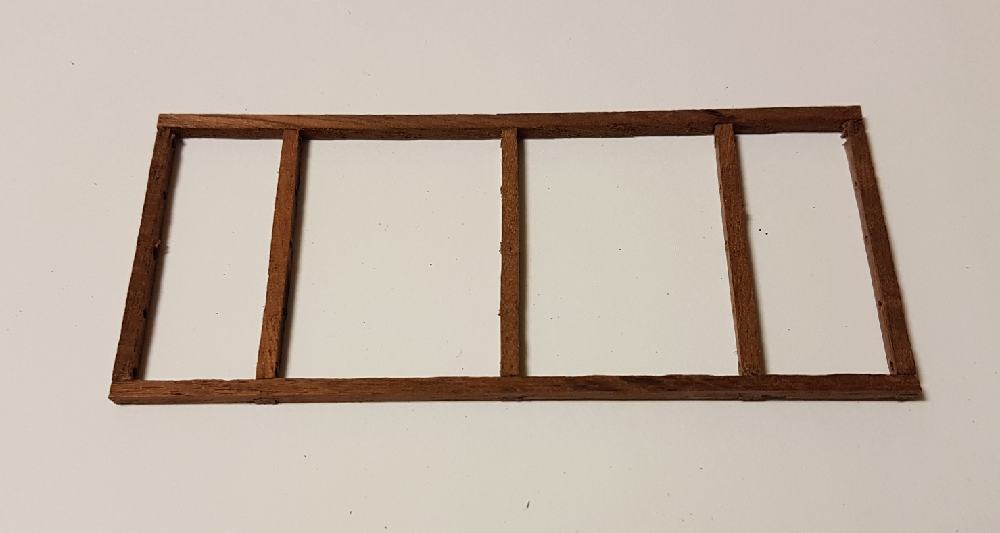
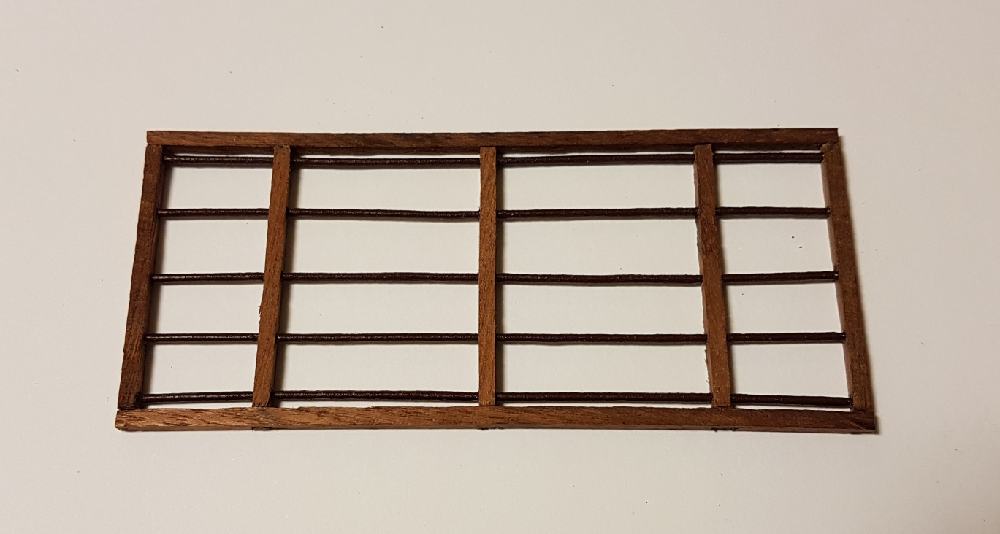
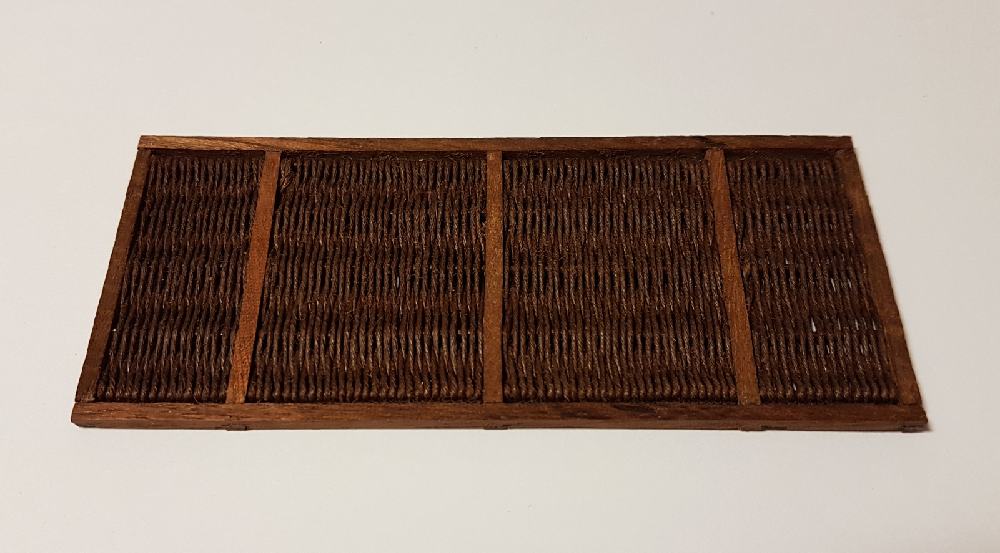
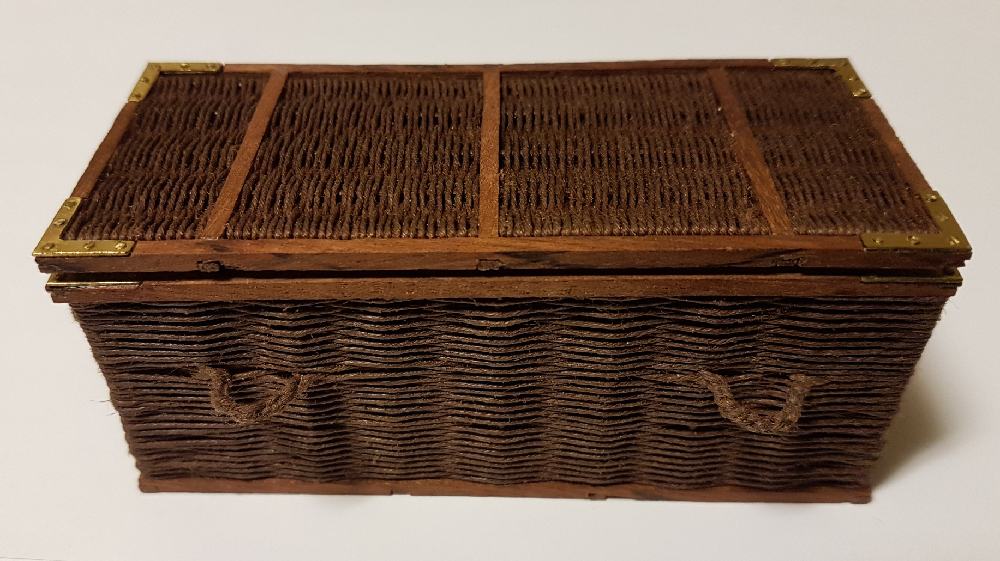
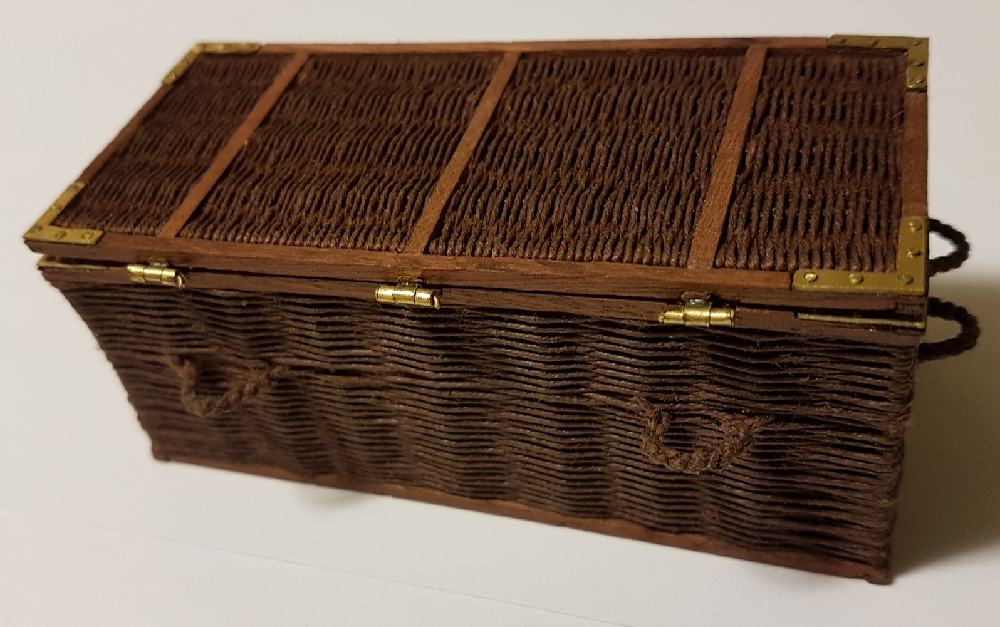
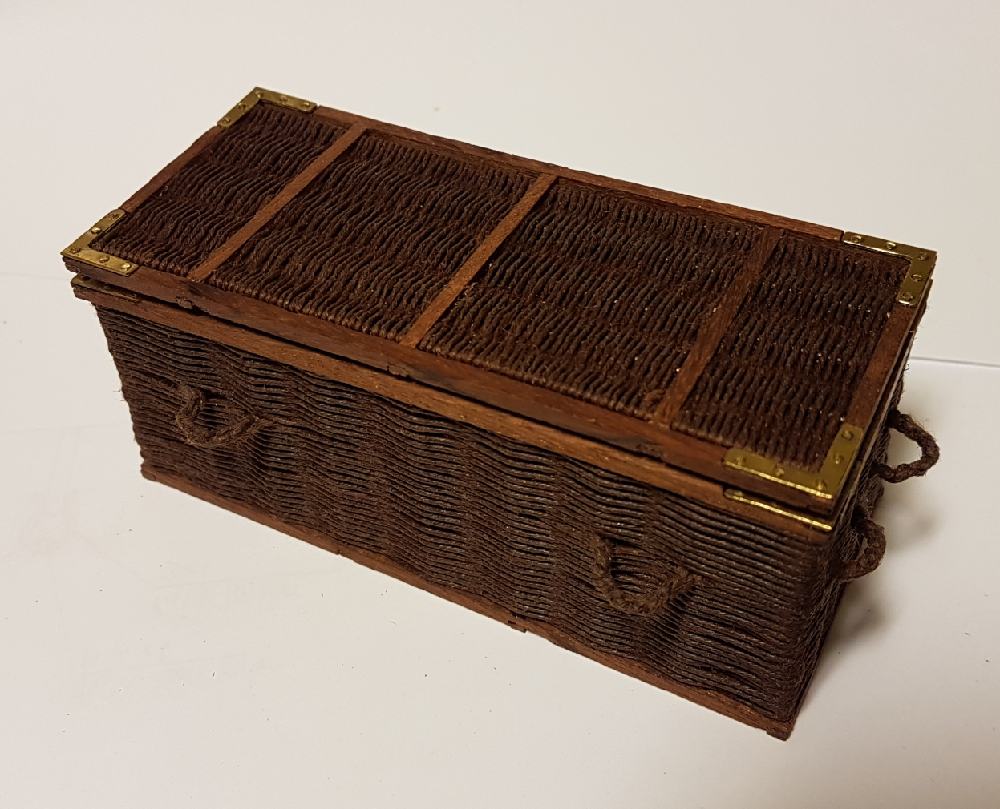
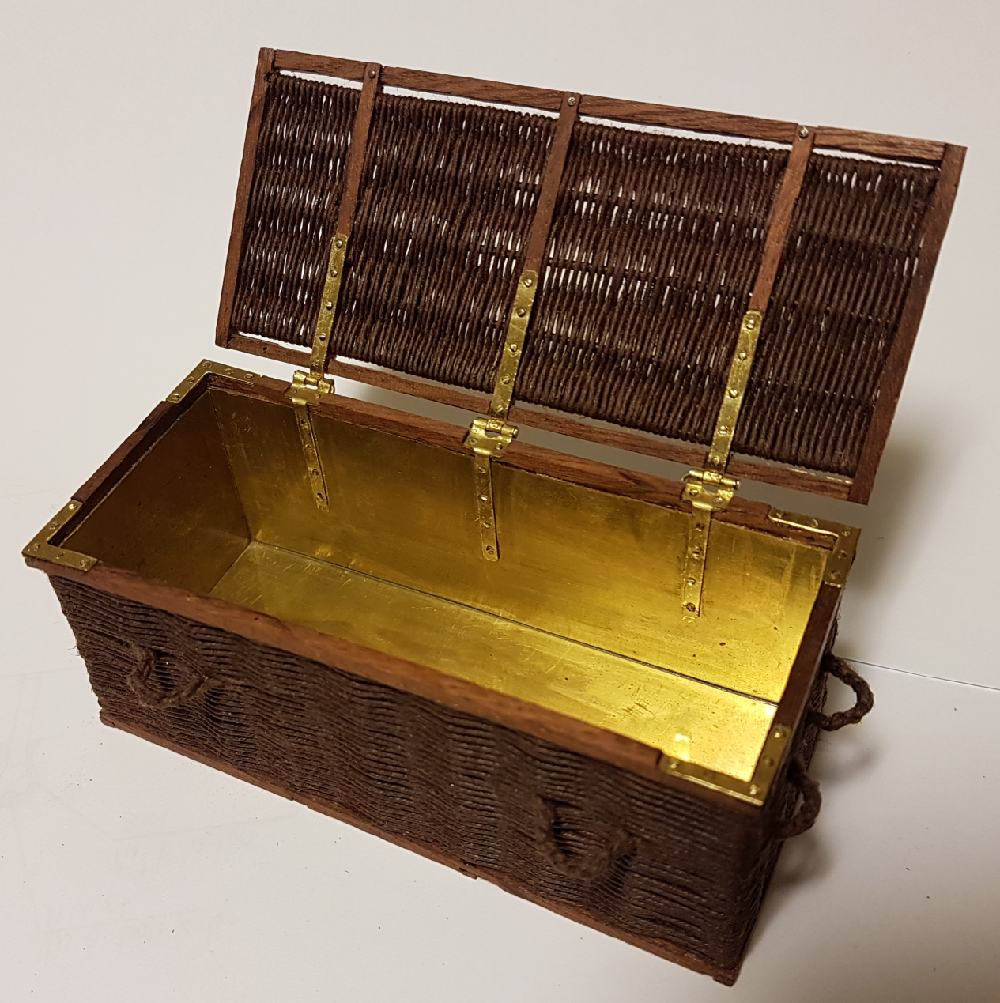
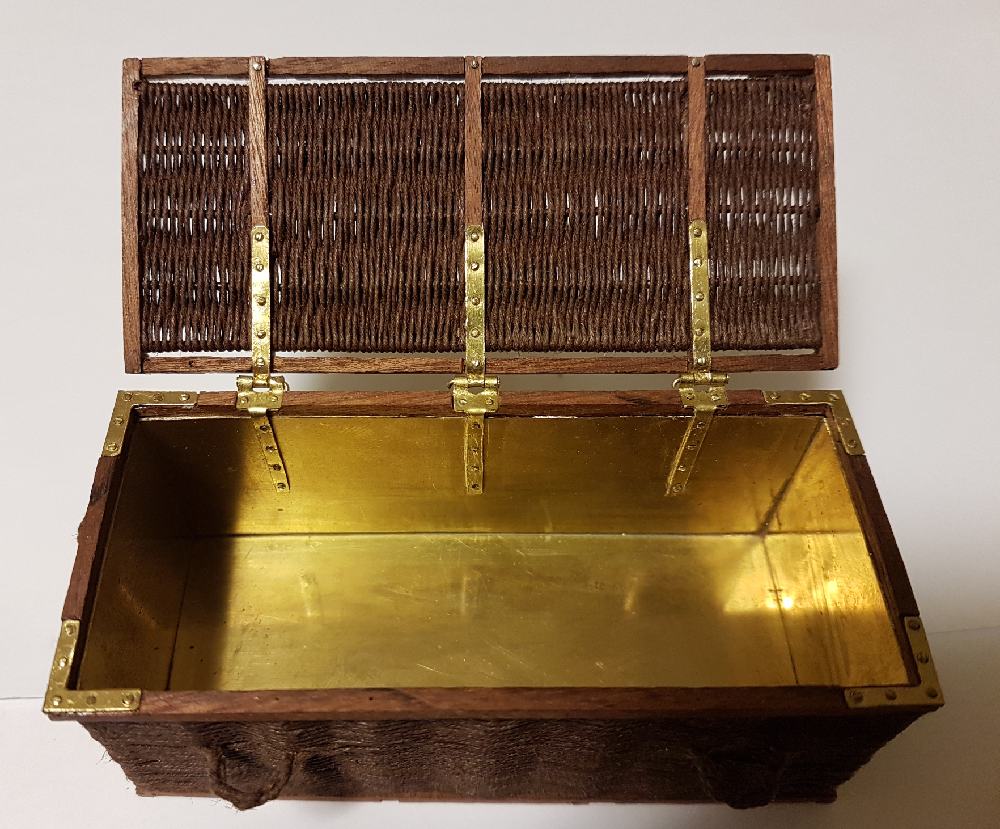
The basket:
The basket used to keep the prisoner´s body on these berger guillotines was usually made of wicker, but it was not posible to use this material in such small scale, so I decided to use hemp thread. Finally the inside of the basket is covered with metal and each corner joined with tiny brackets.

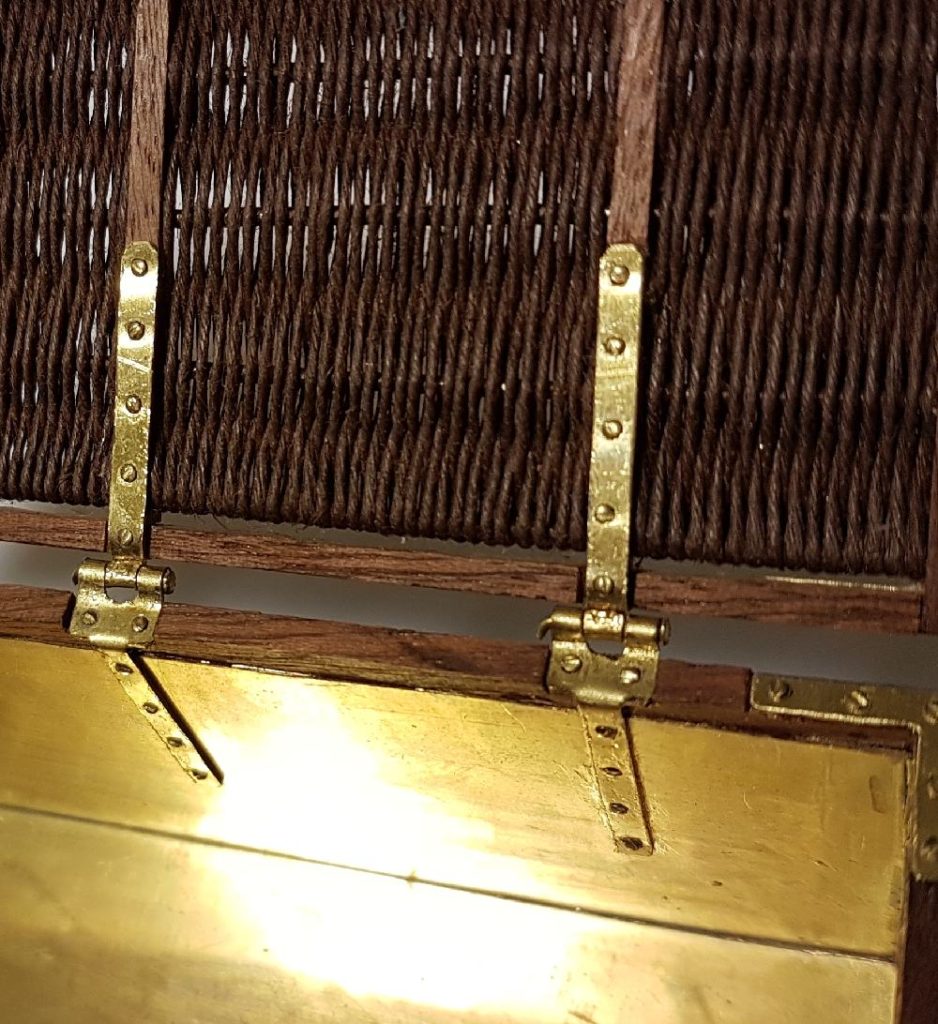
The lid for the bascket:
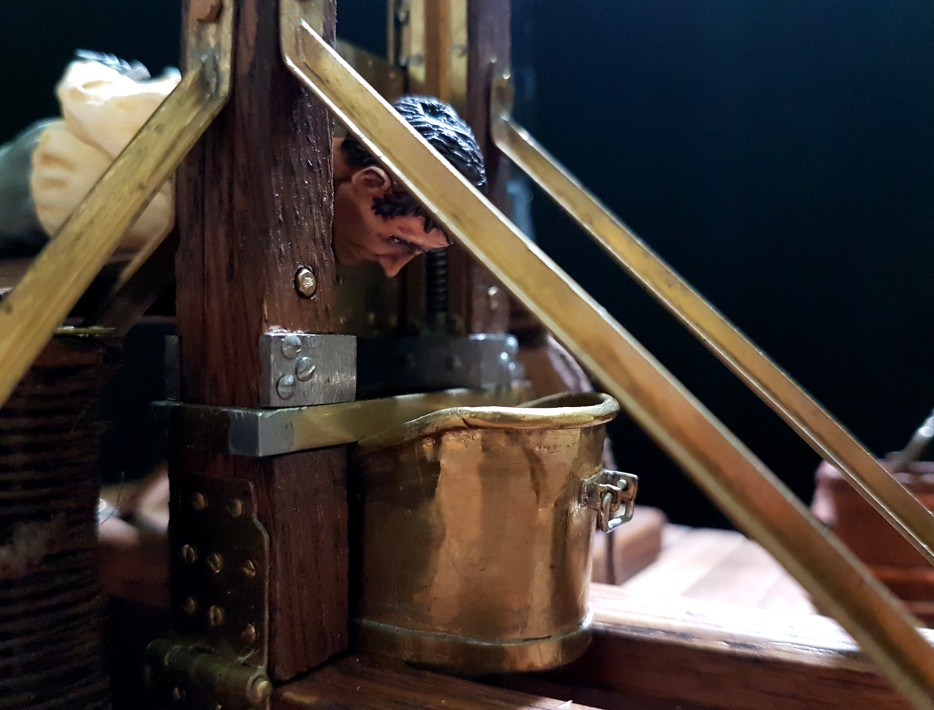
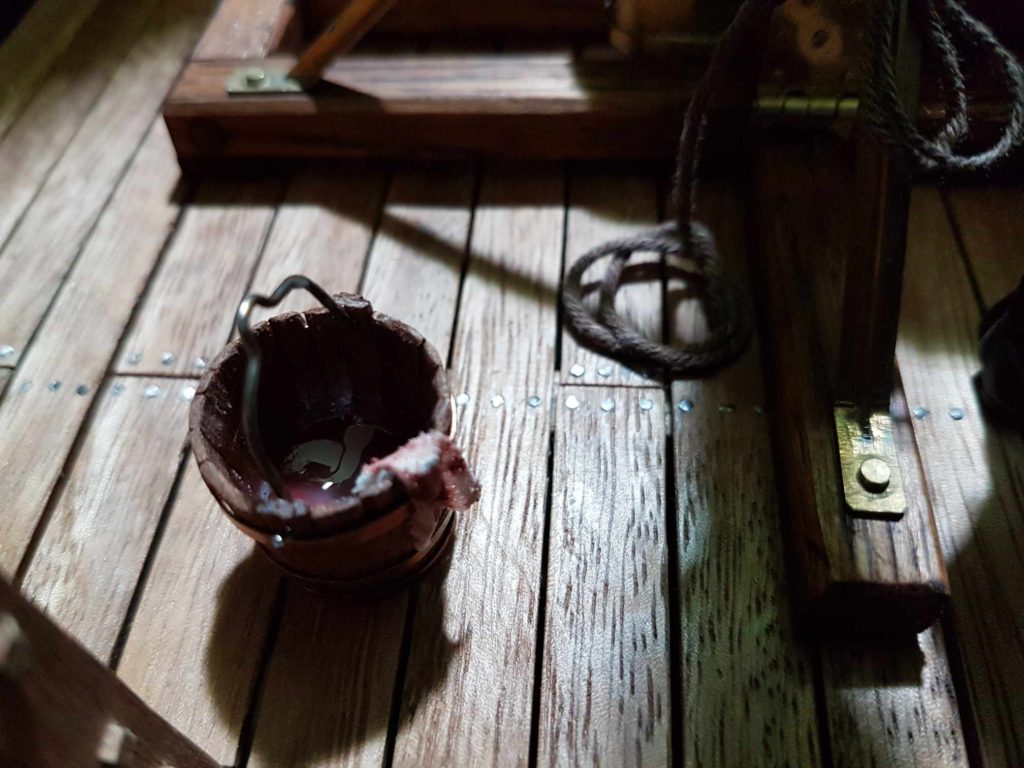
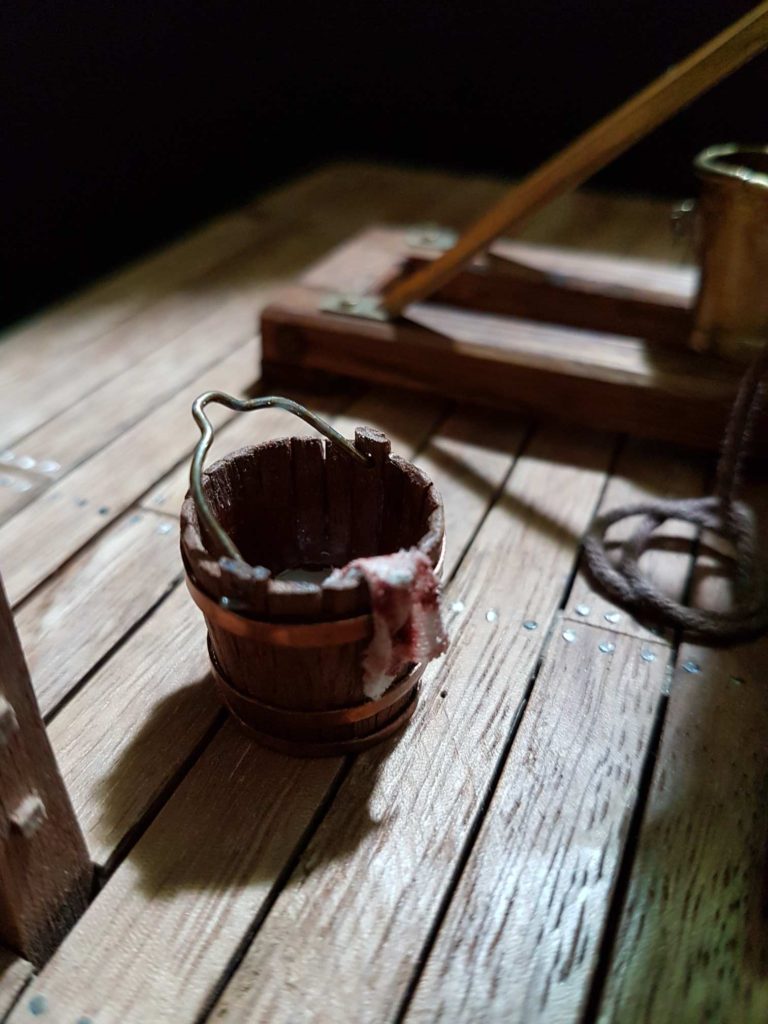
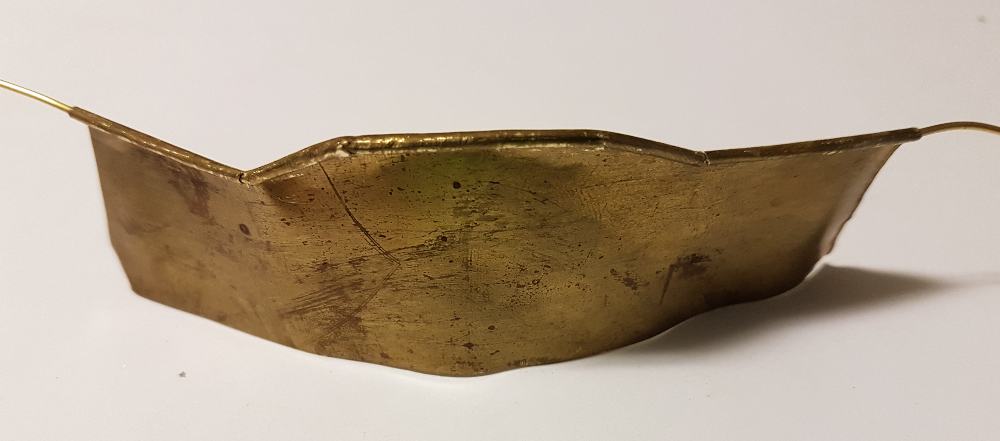
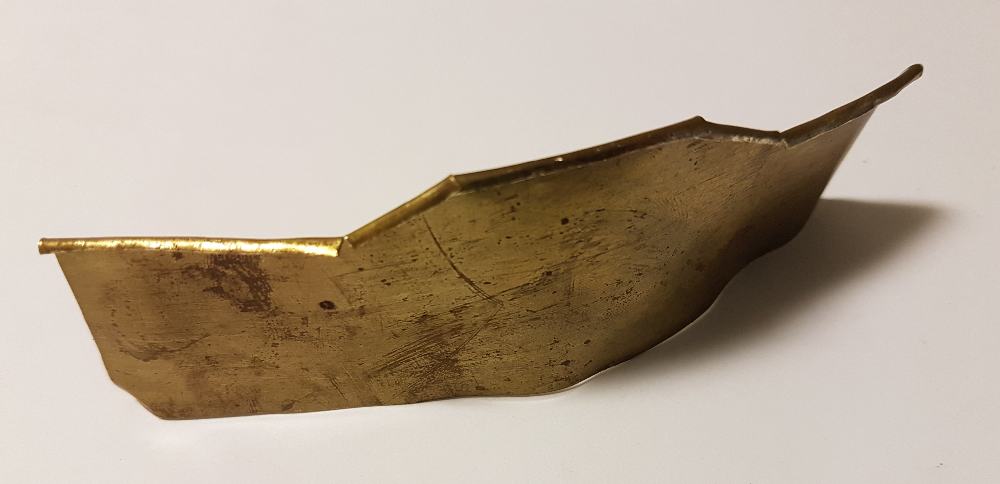
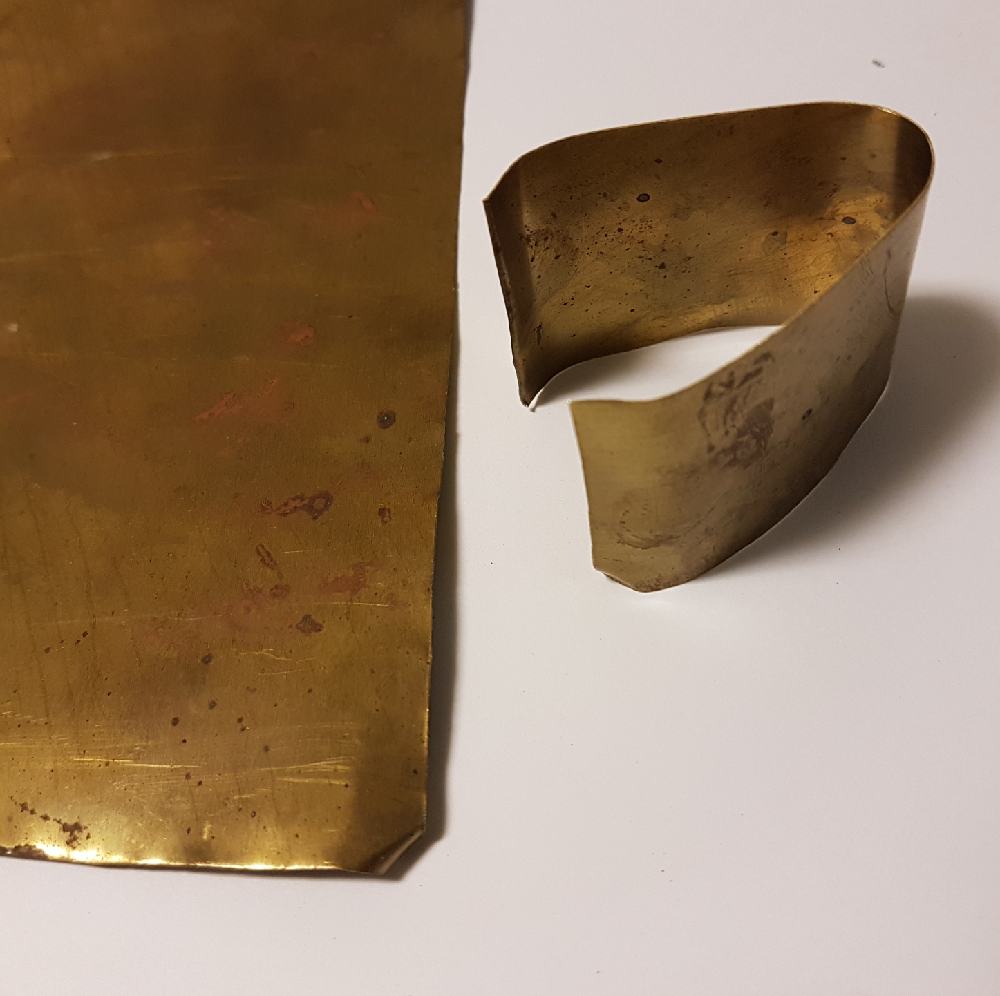
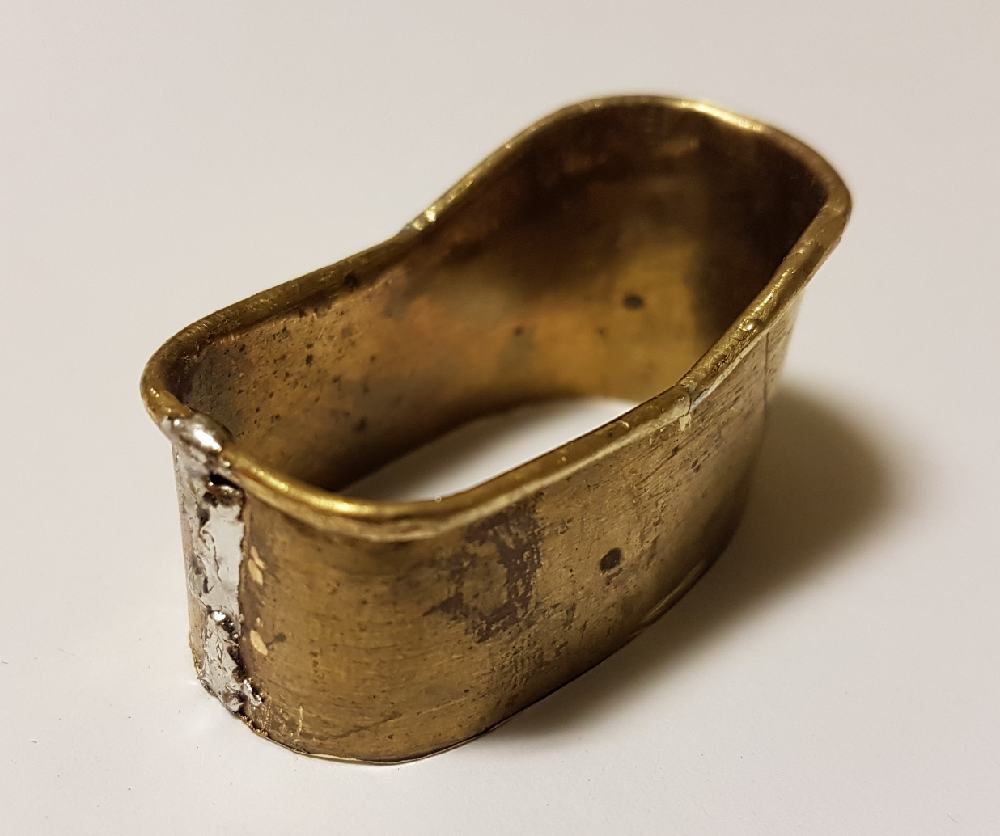
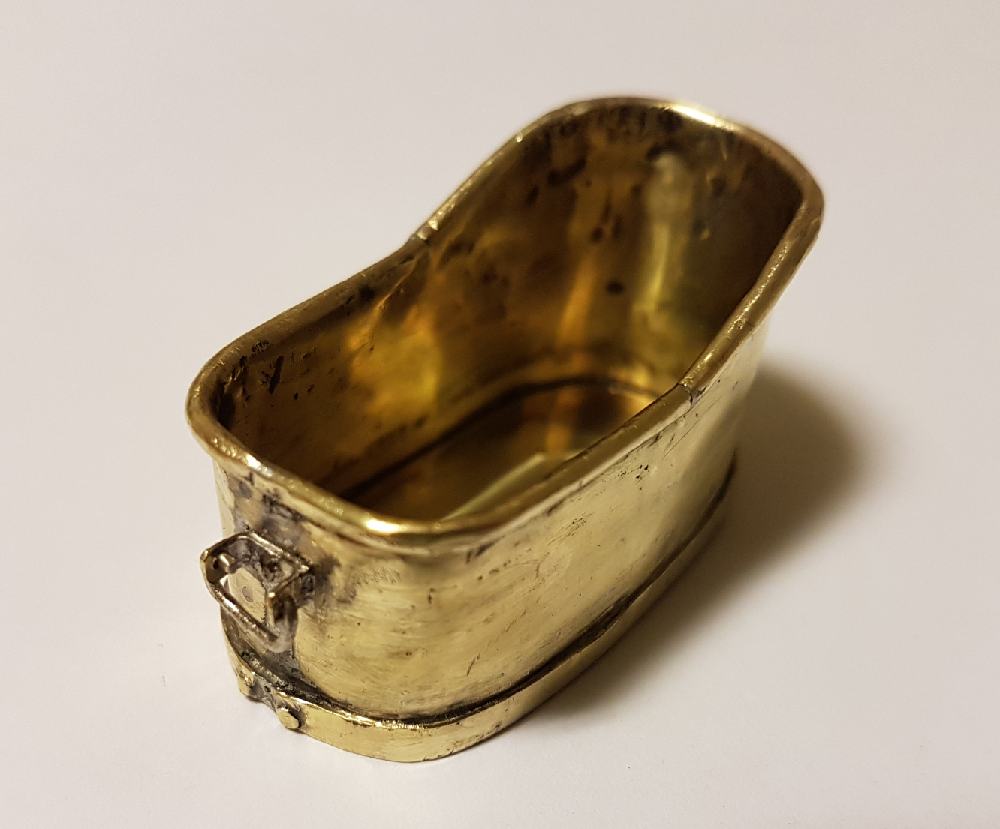
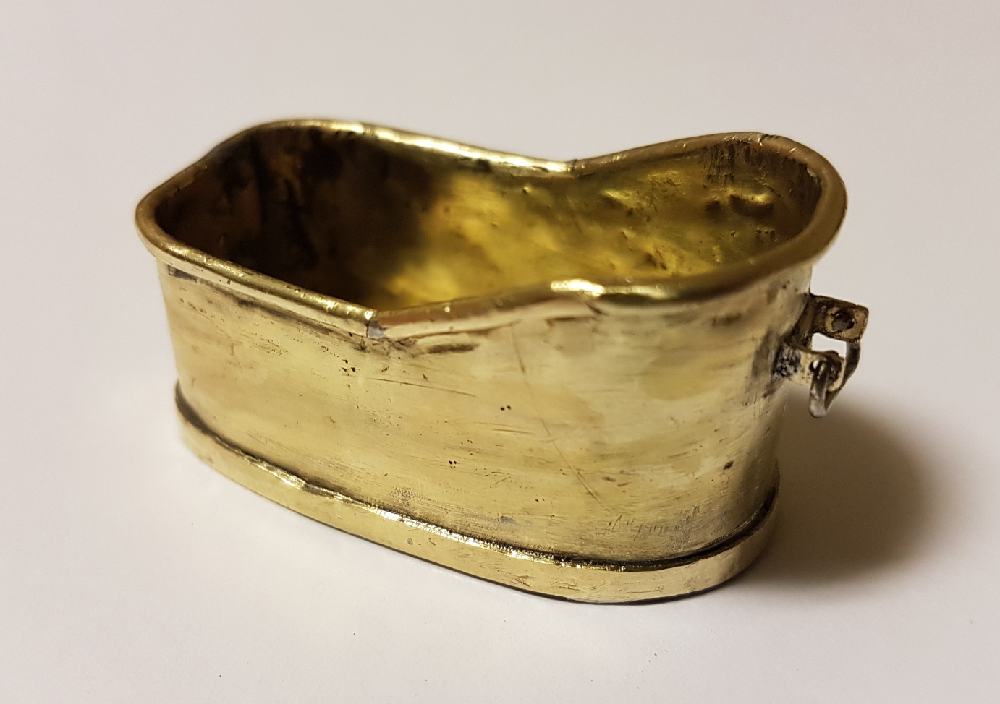
The recipient for the head:
This bucket was usually made of zinc, but in my case I used brass for this model.
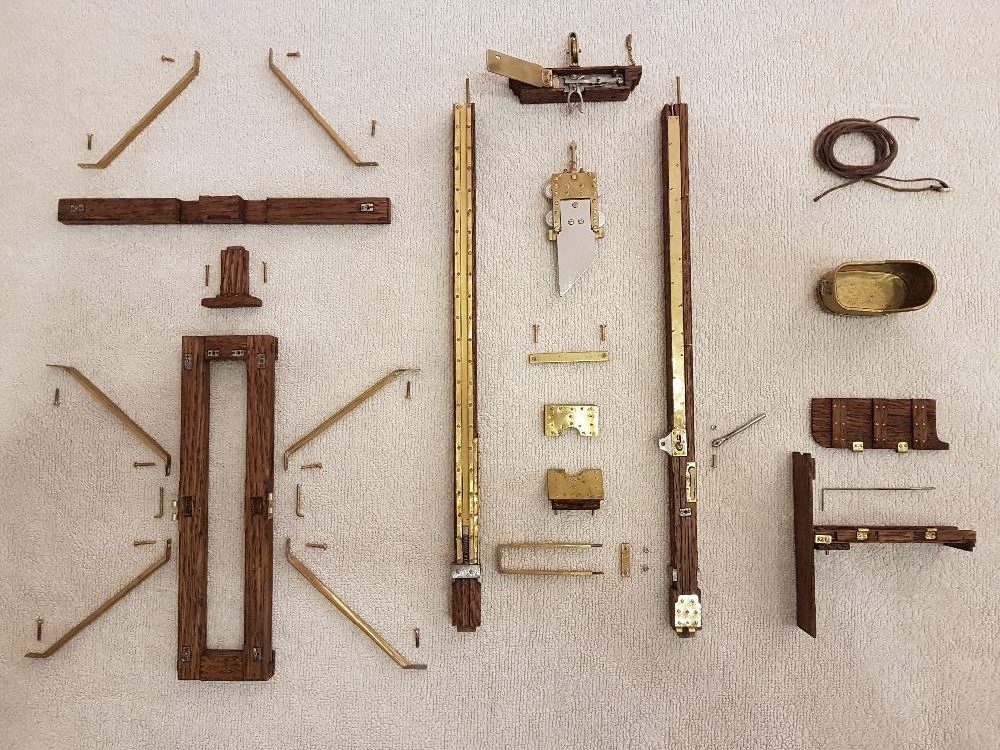
The assembly process of the Berger guillotine model:
Once all the parts were finished, I show you the assembly step by step:


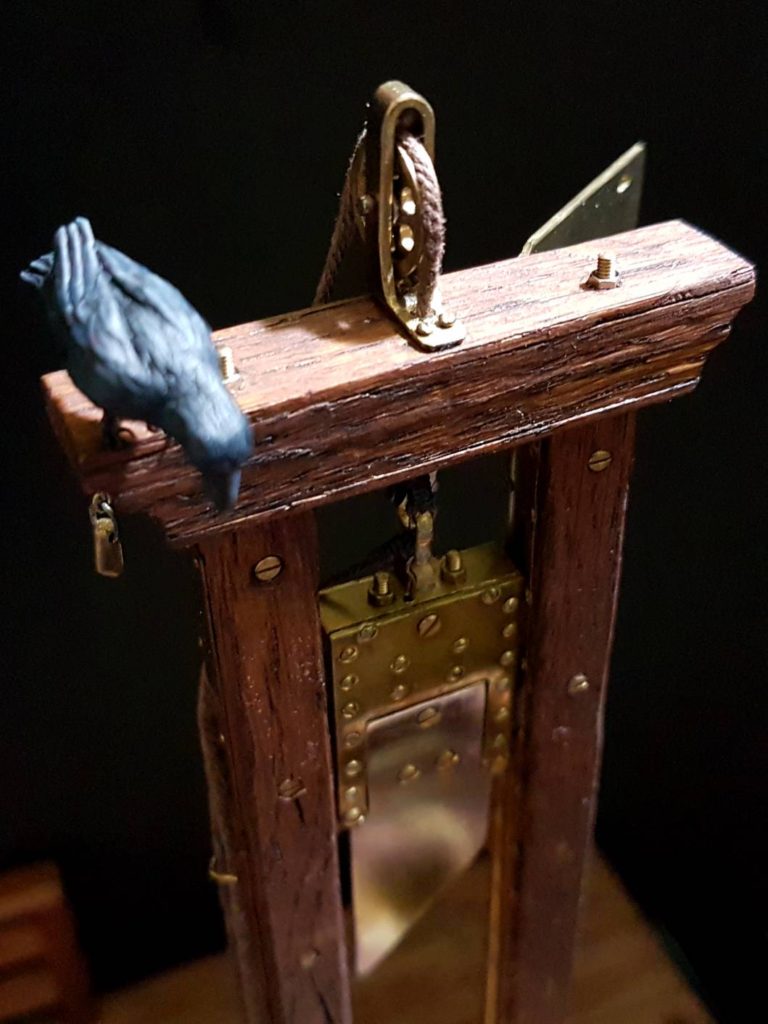
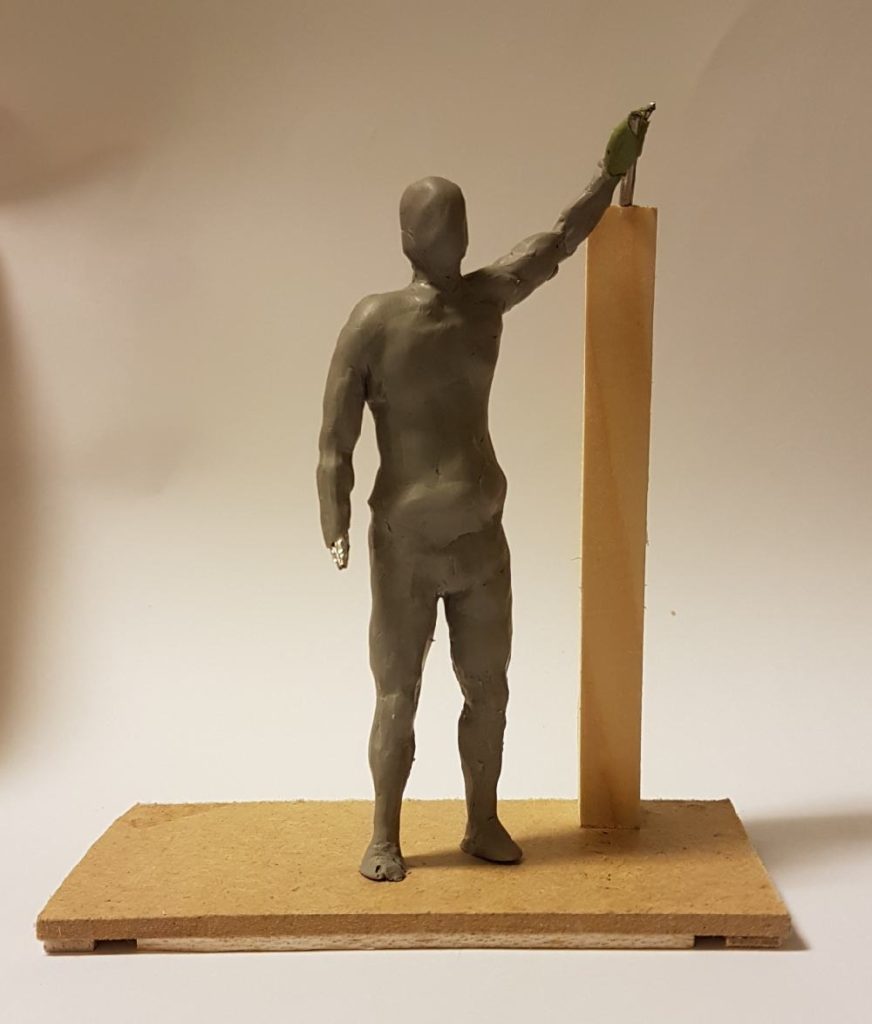
Hand-modeled figures:
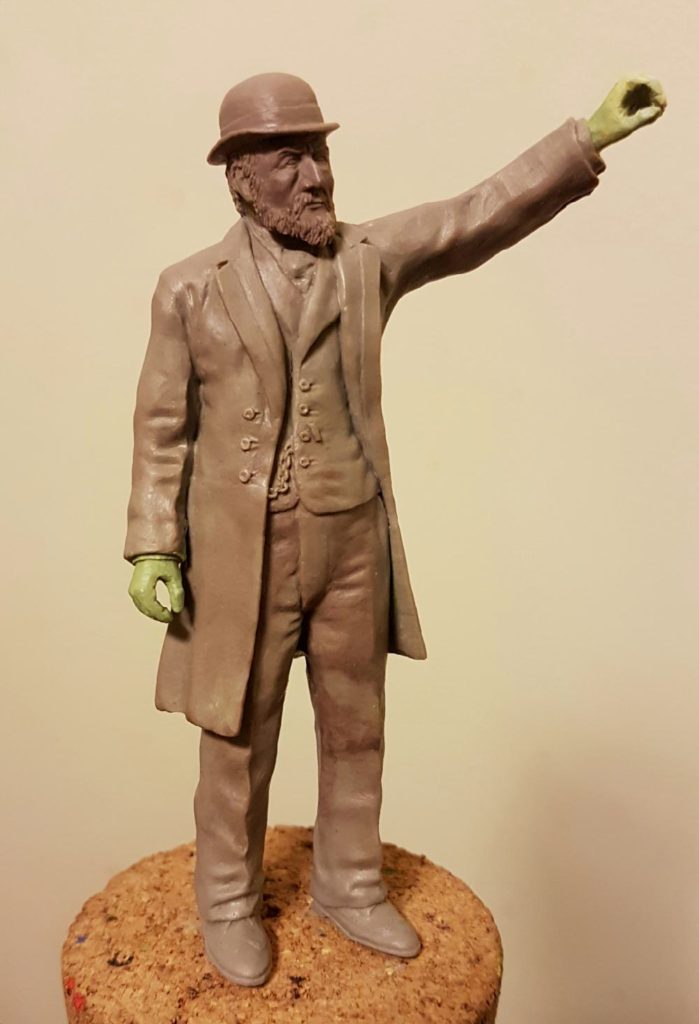
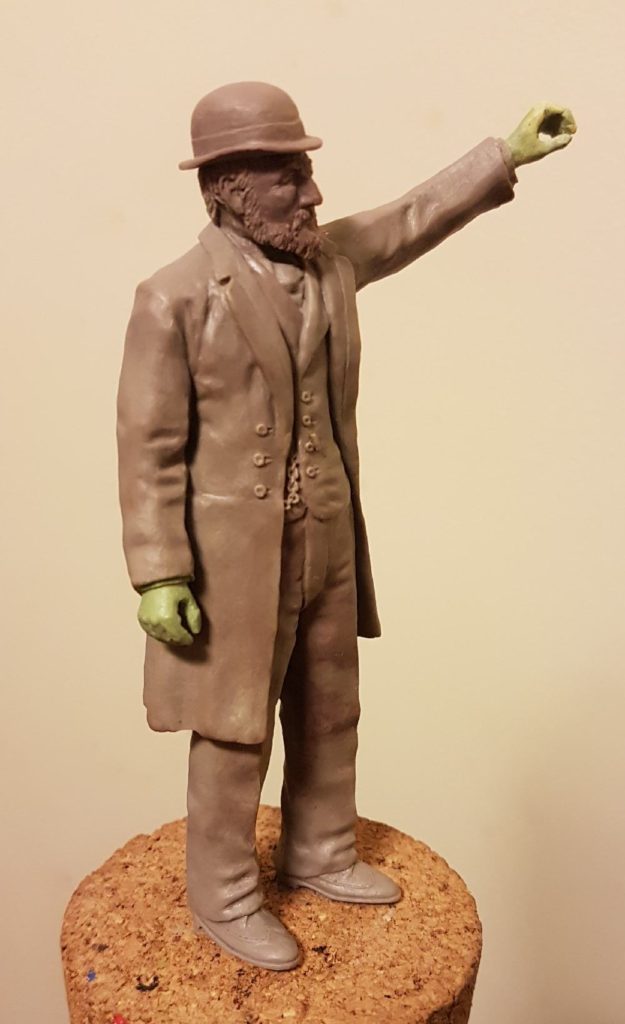
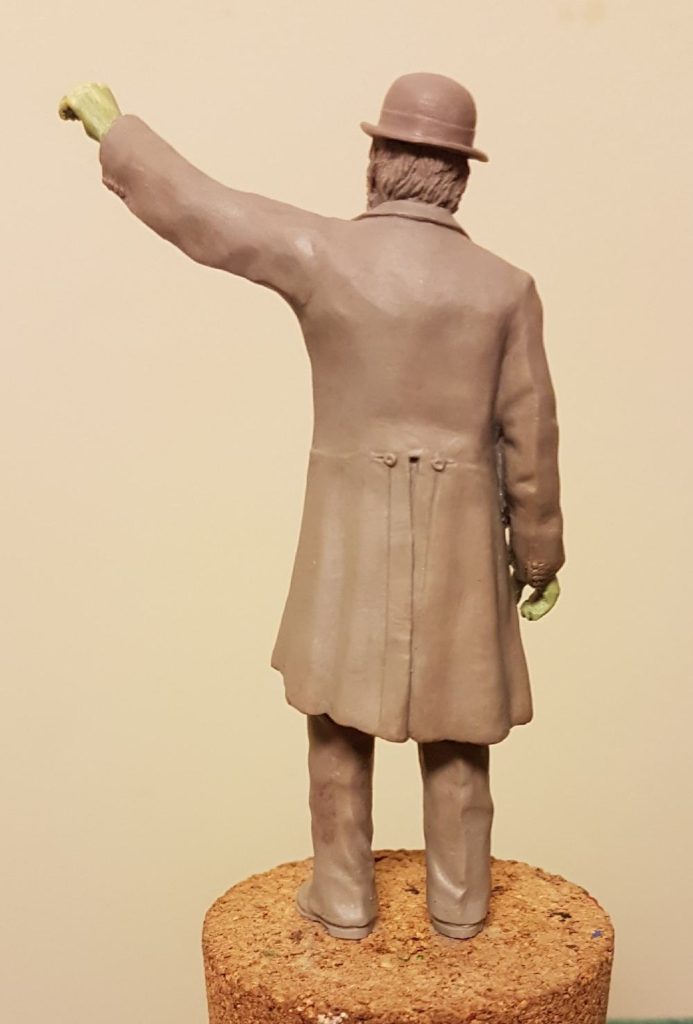
I wanted to include some figures to the diorama to make it even more exclusive. These are the three figures modelled specifically for this scene prior to be painted:
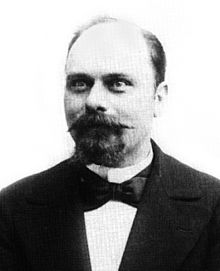
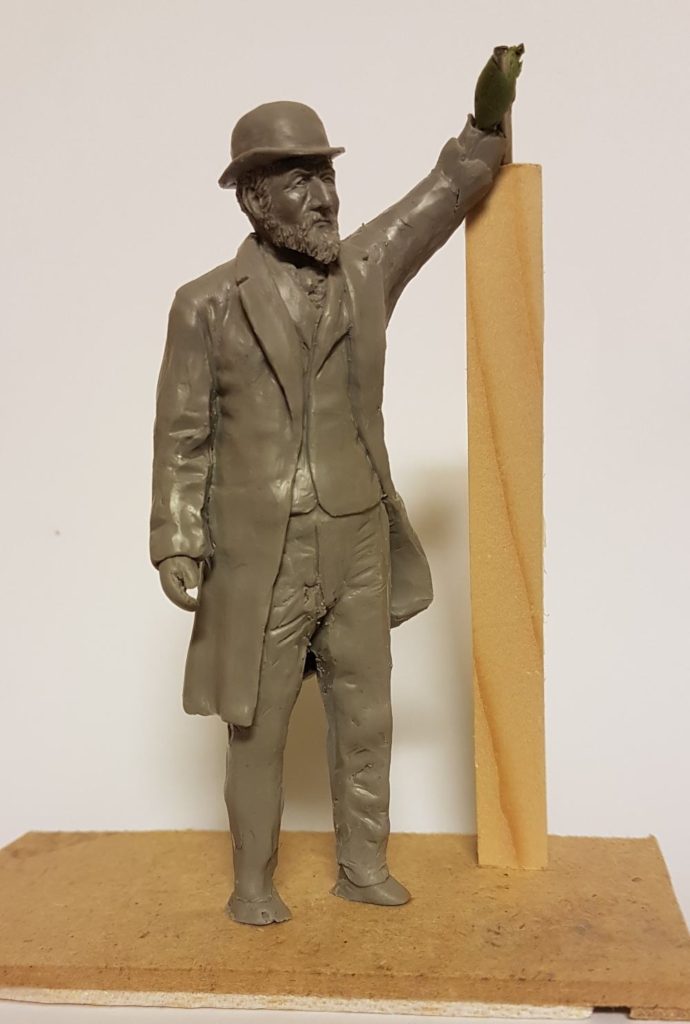
The executioner:
I decided to represent Anatole Deibler French executioner in his late age. As the lead french executioner he participated in the execution of 395 criminals during his 54-year career. During his 40 years as lead executioner he was responsible for 299 beheadings. Here you go some pictures of him and one of his executions:


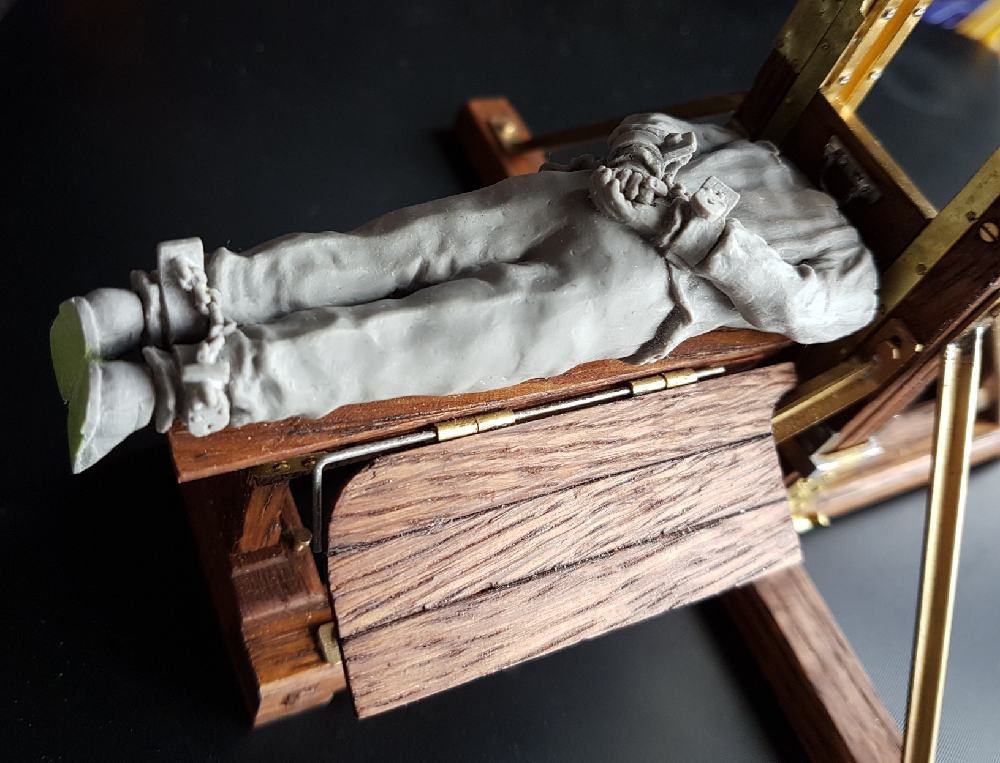
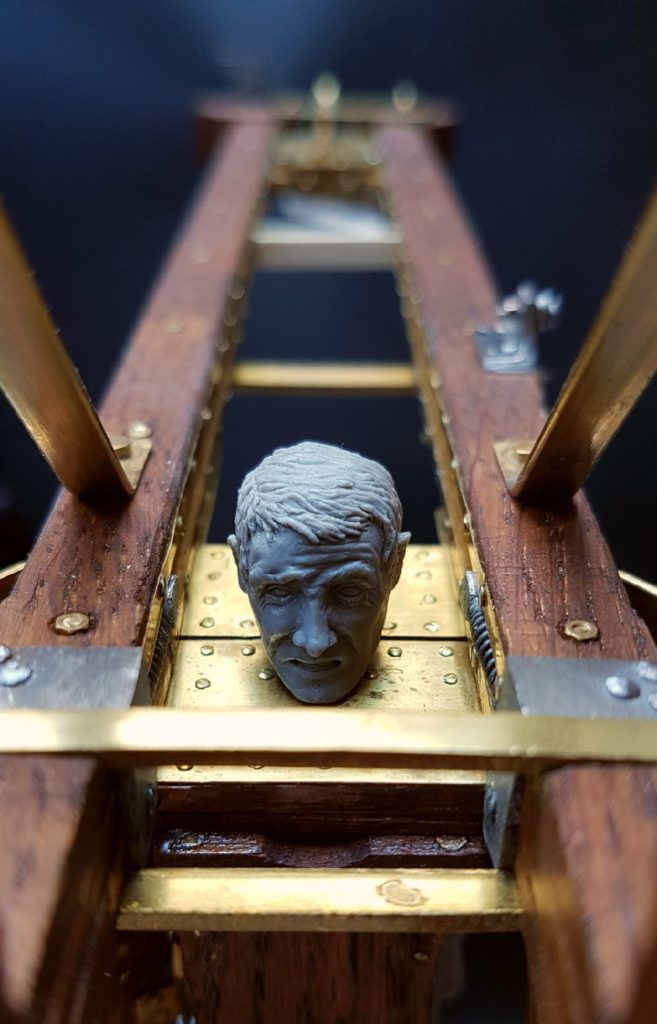
The criminal:
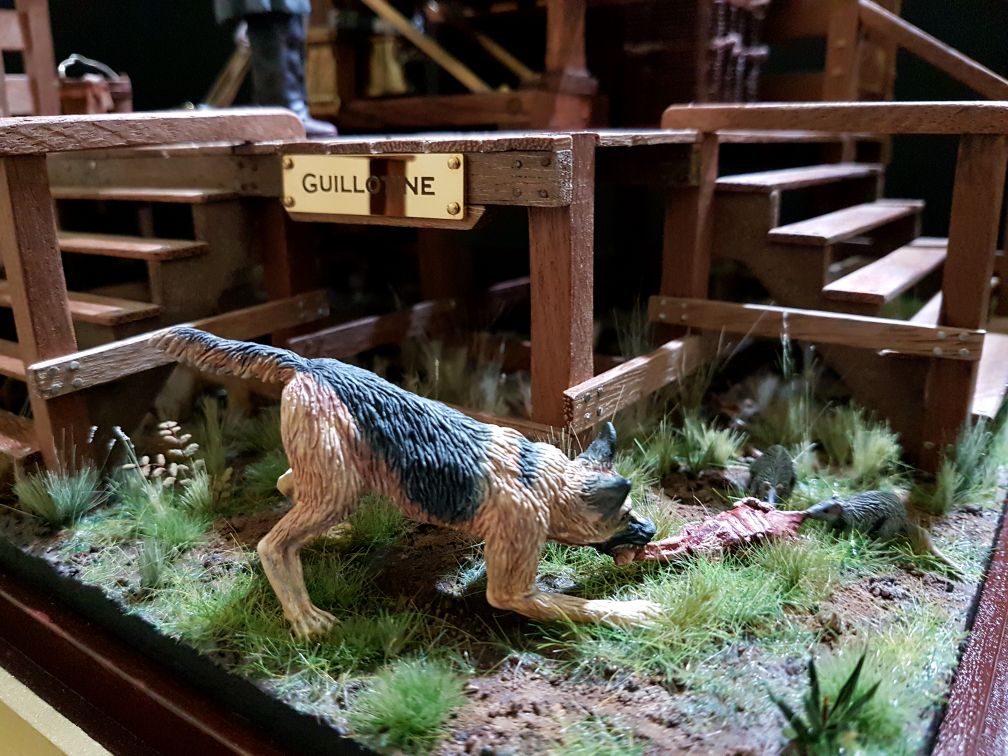
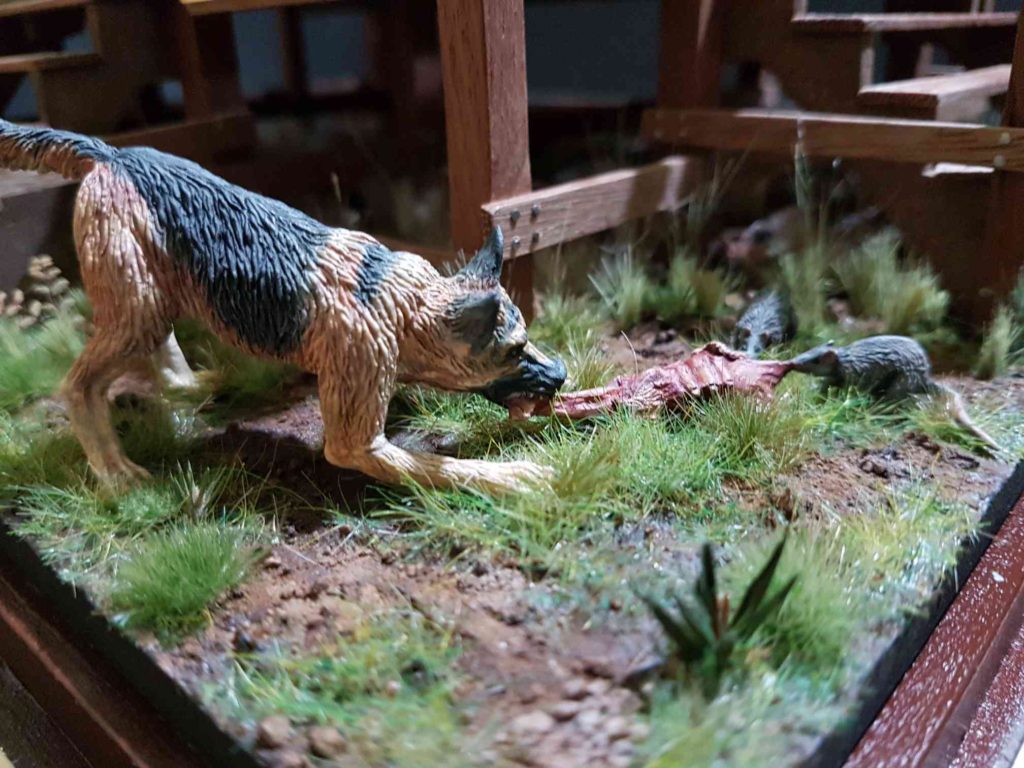
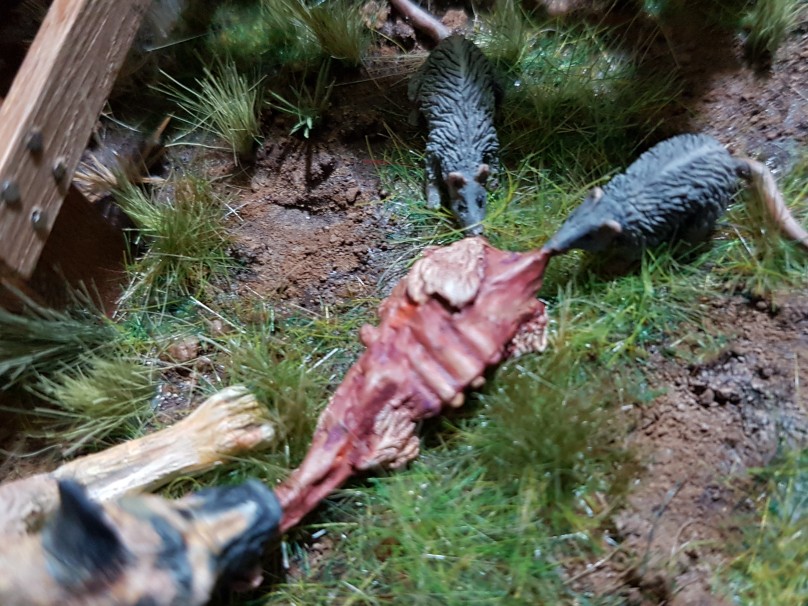
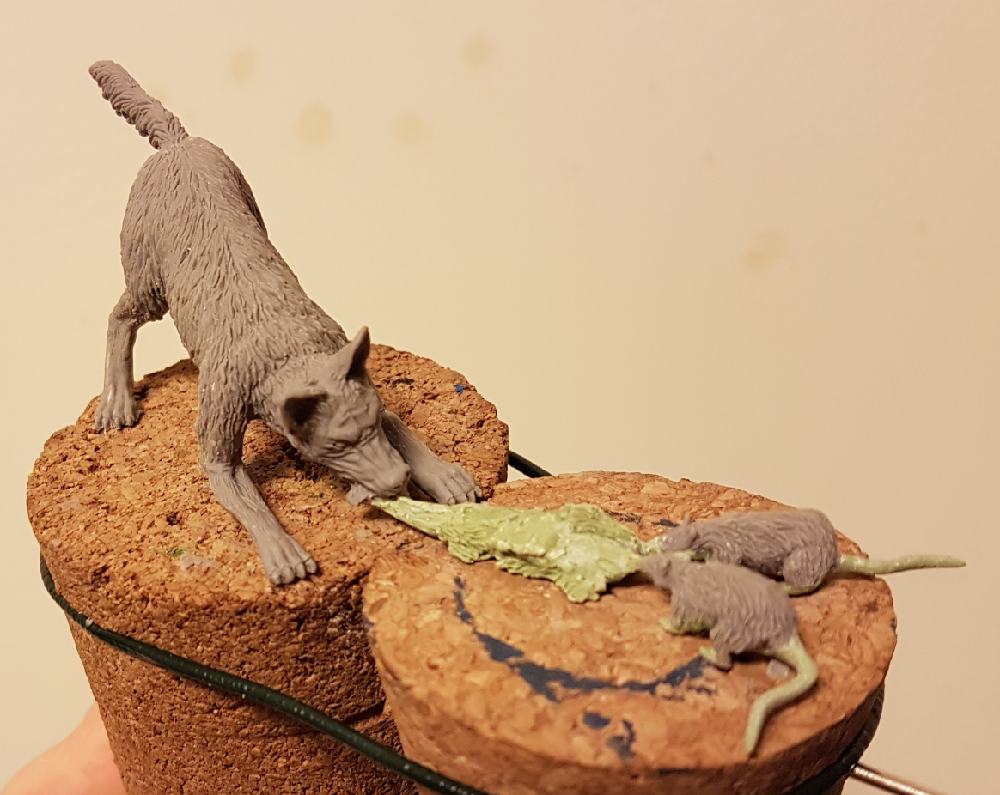
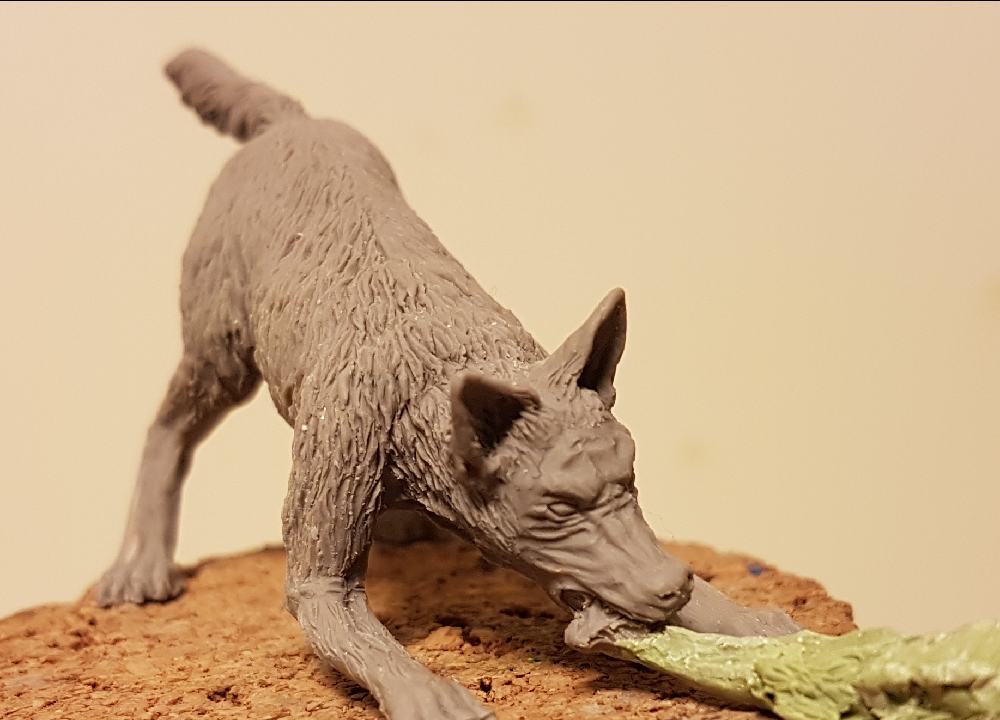
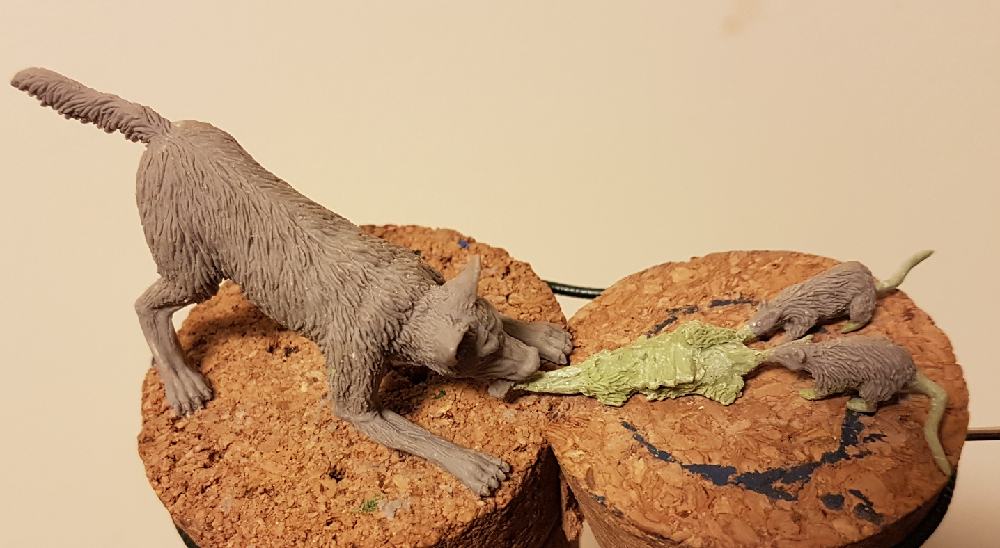
And finally a dog and two rats figthing for a piece of meat to complete the scene:
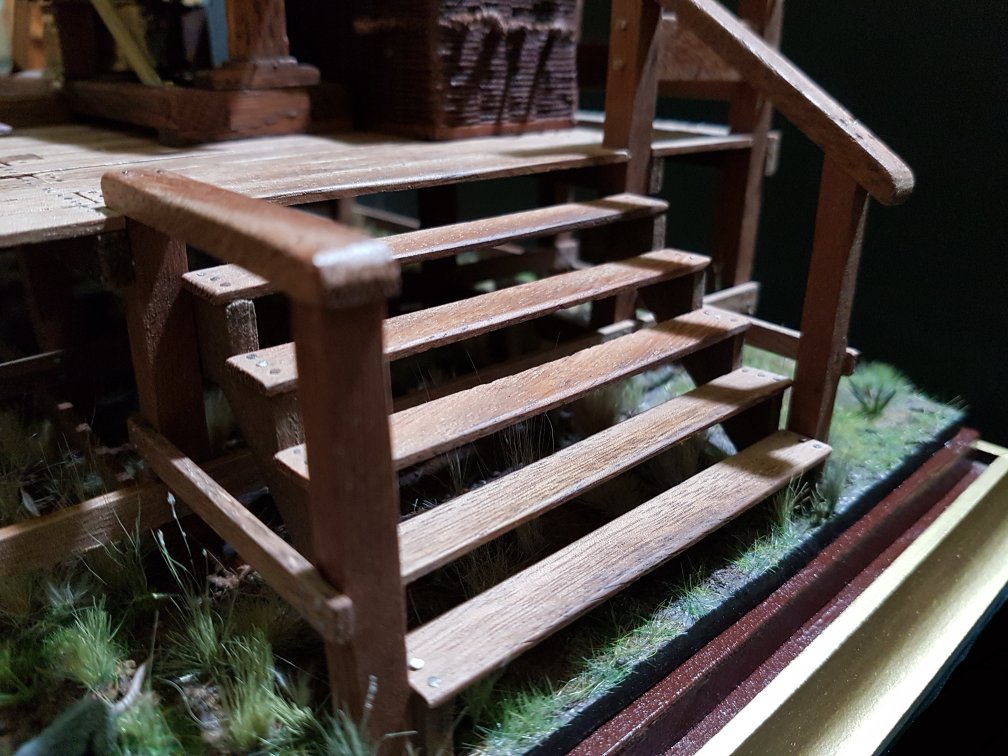
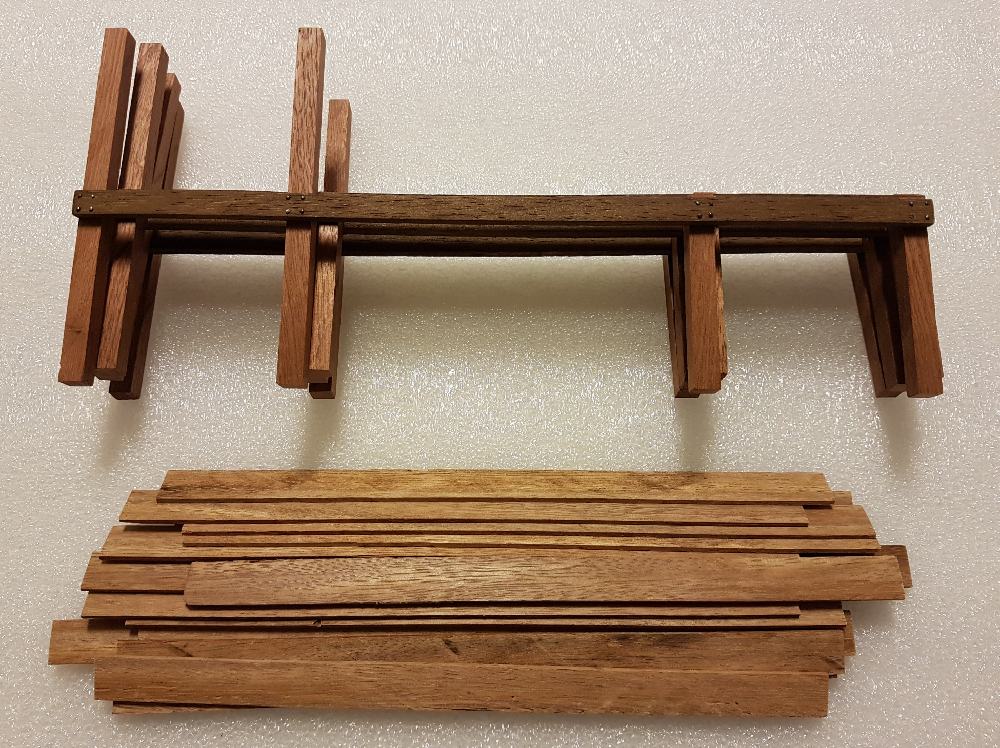
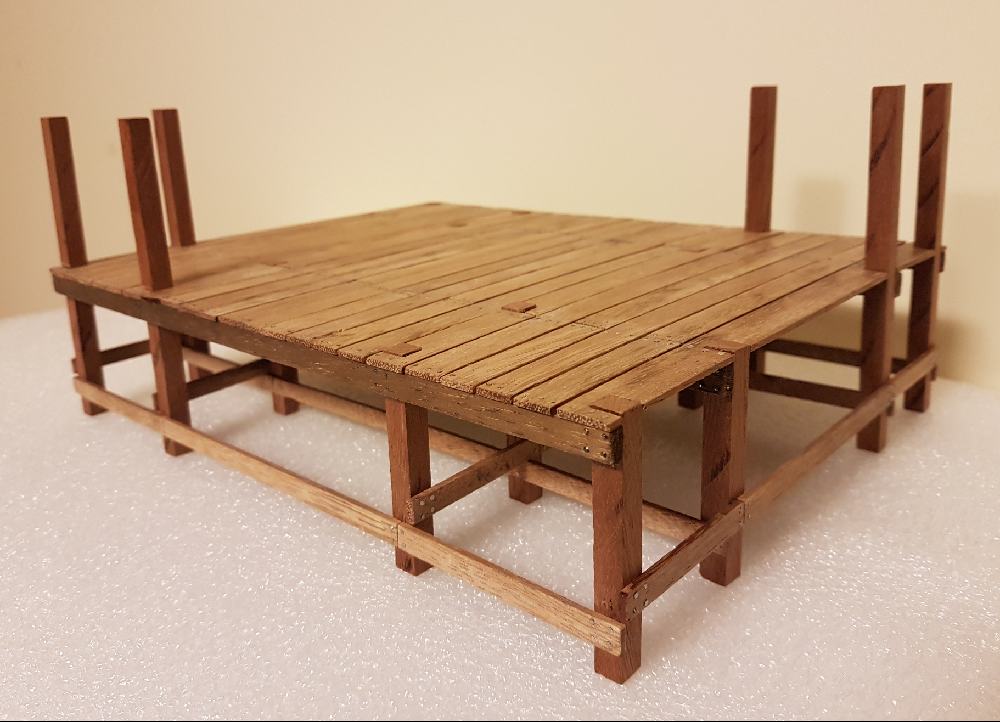
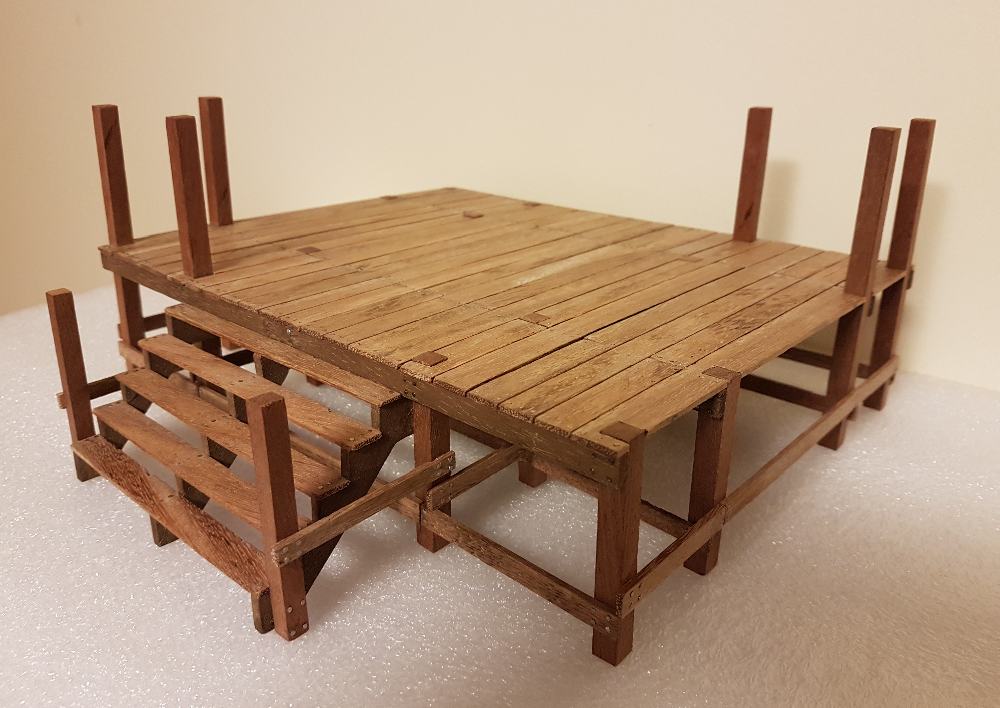
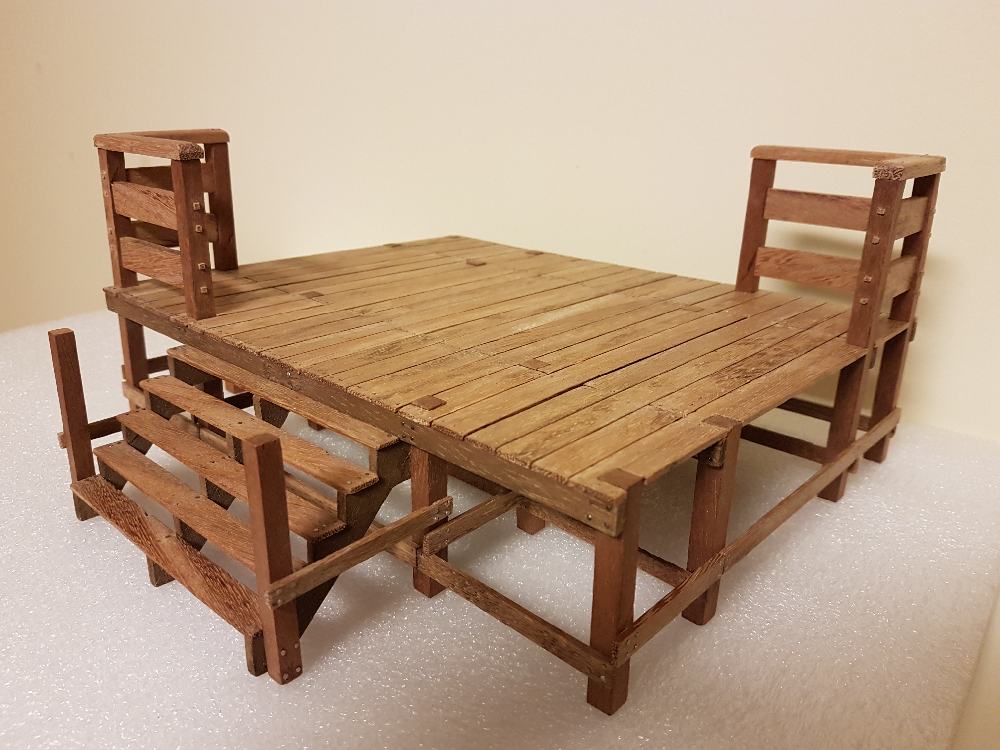
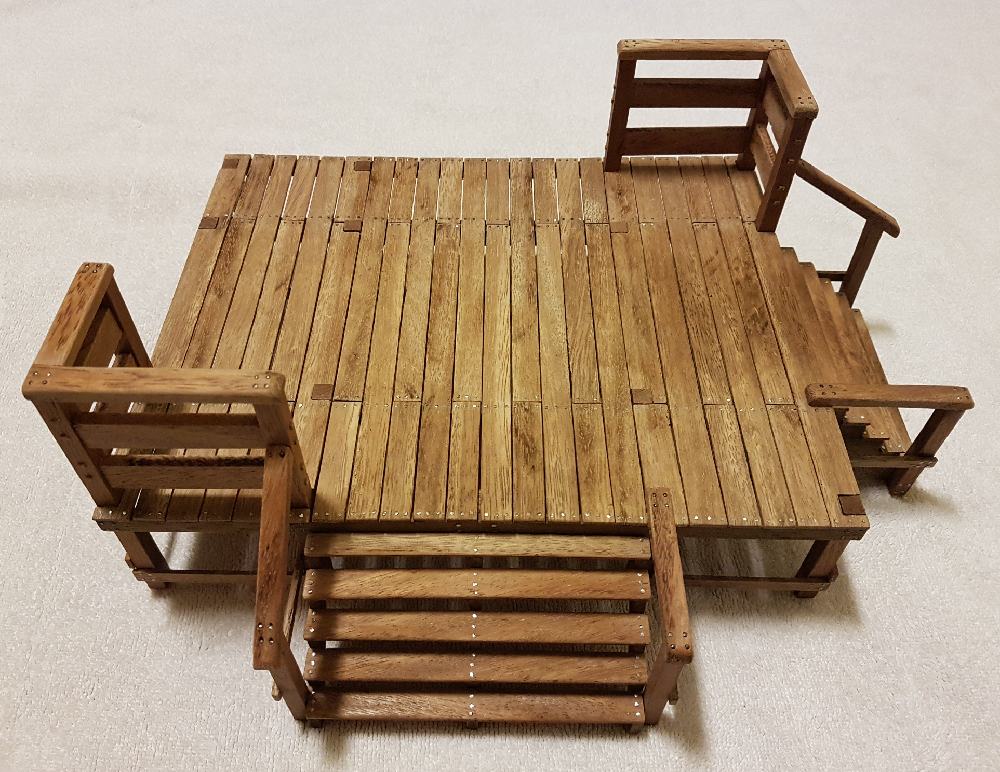
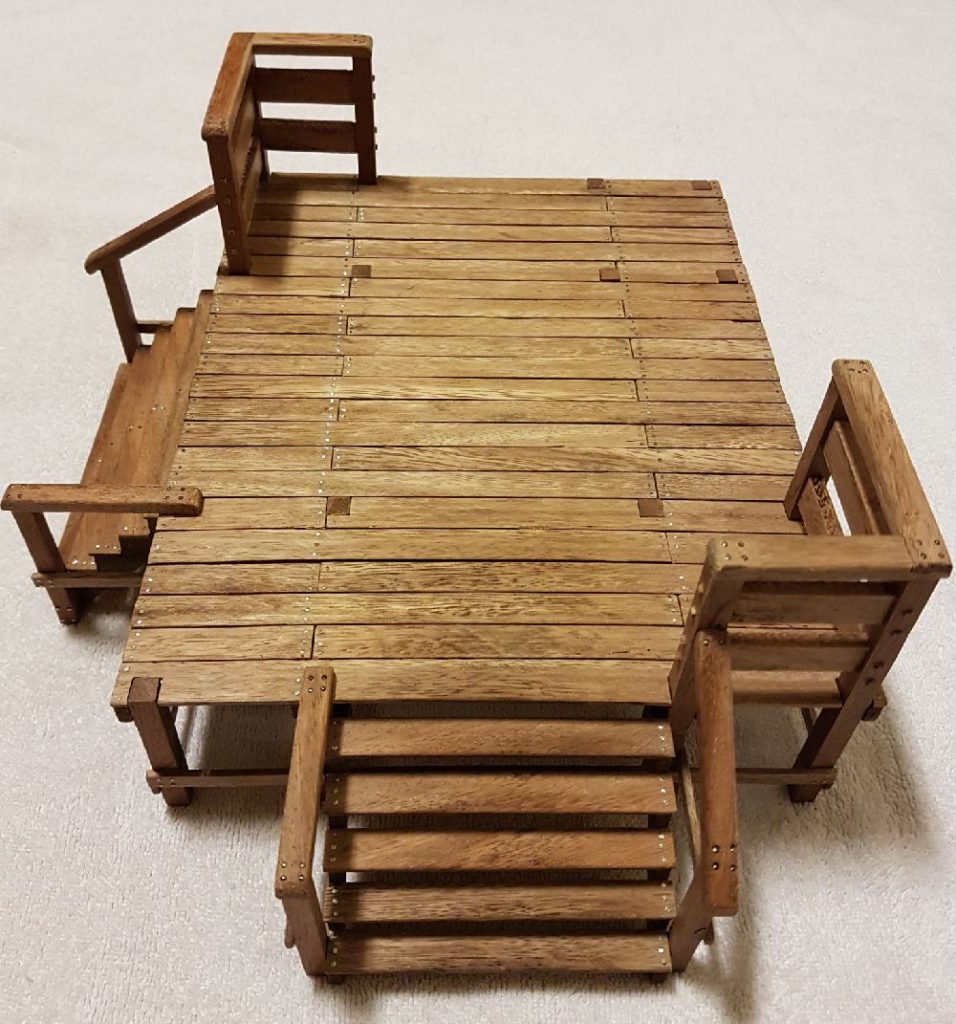
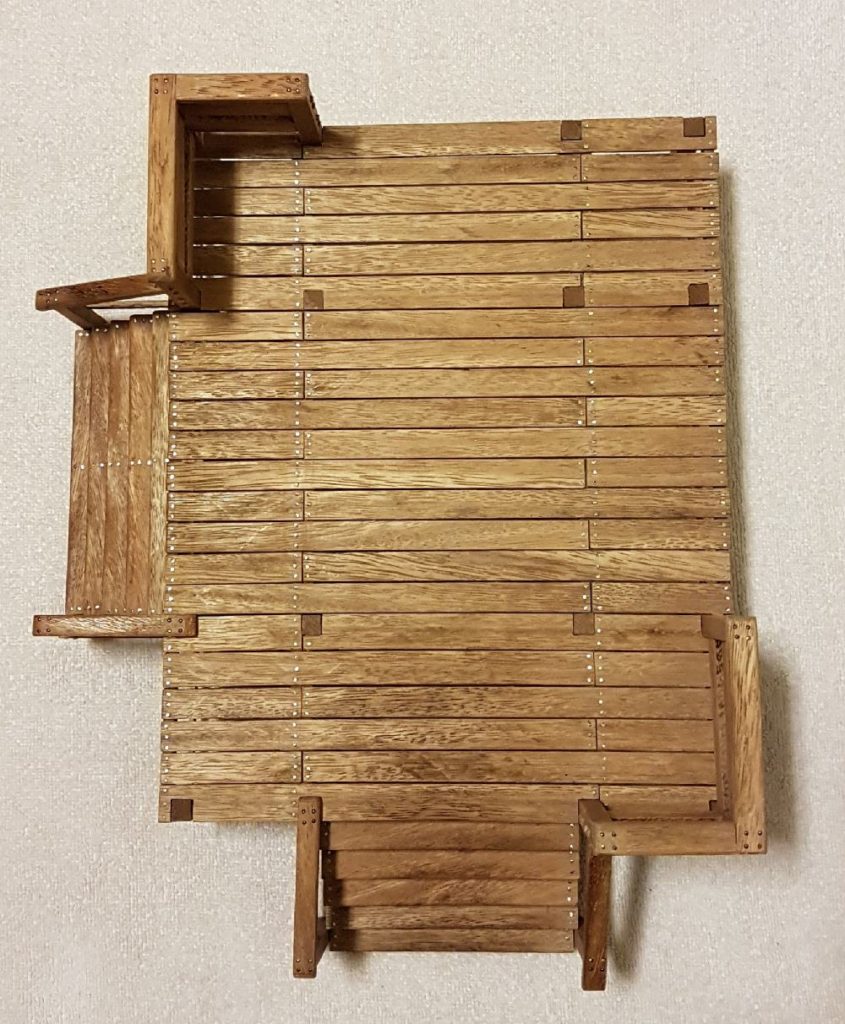
The scaffold:
First of all, I would like to make the point that The Berger guillotine didn´t need the leveled surface of a scaffold, but I wanted to include this element to make the scene more spectacular.
After over 750 nails here it is the scaffold where the guillotine and the figures will be placed:

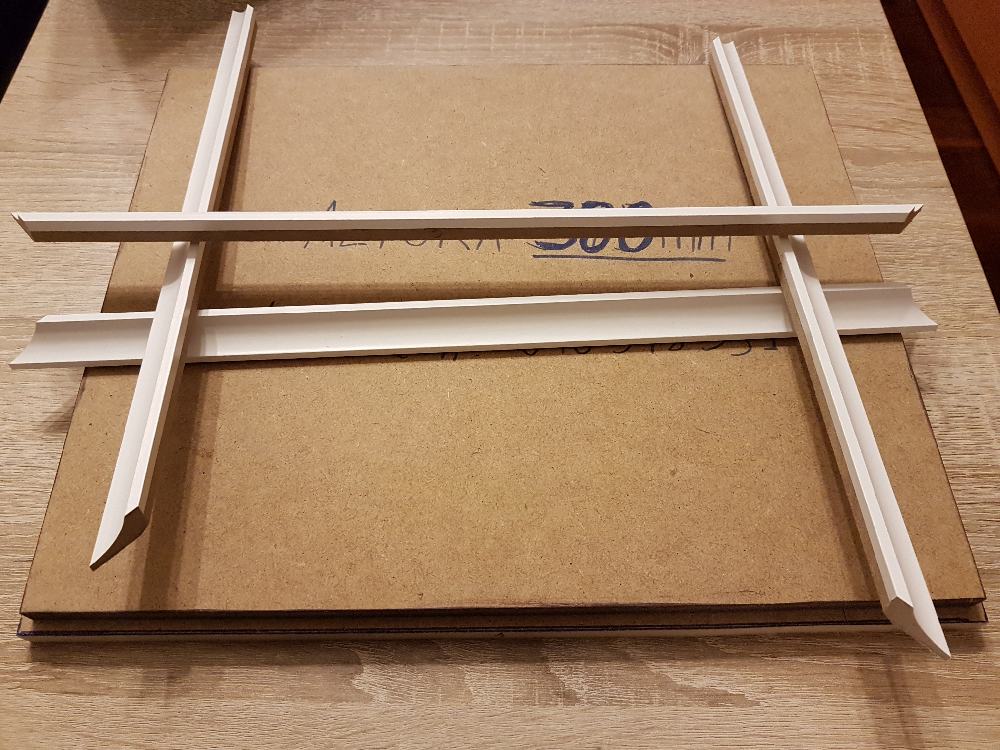
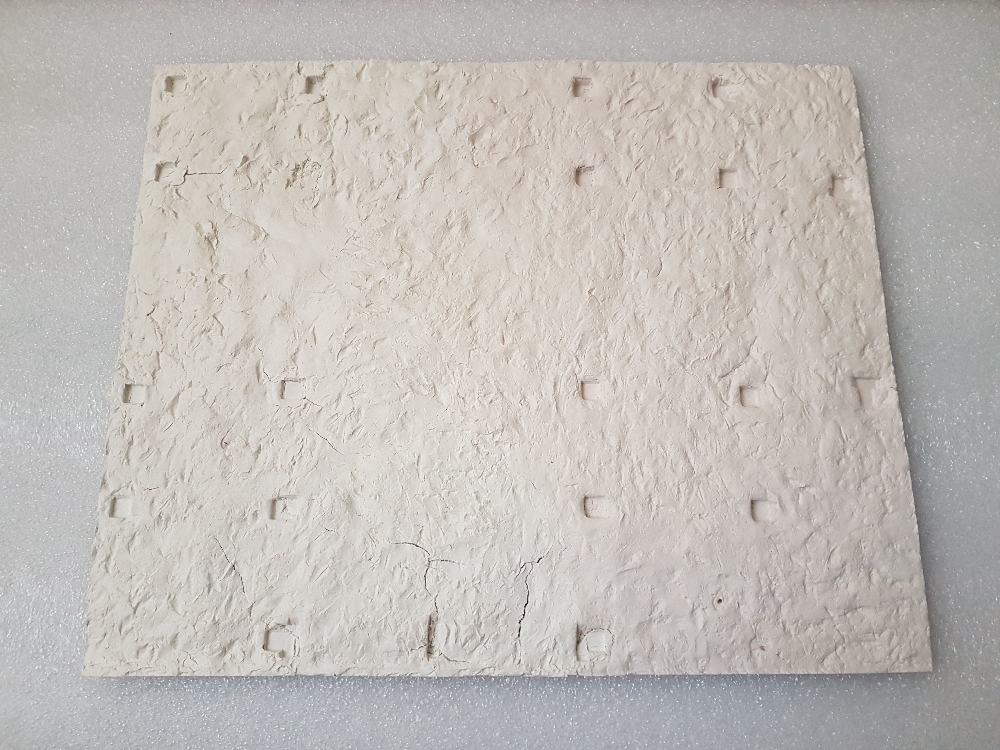
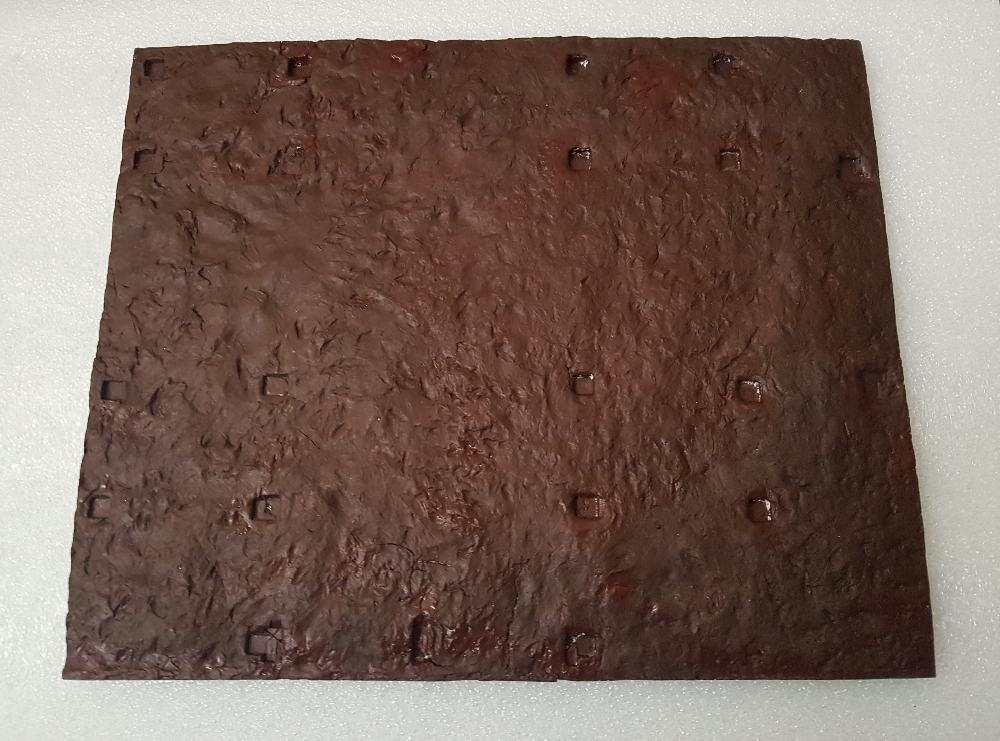
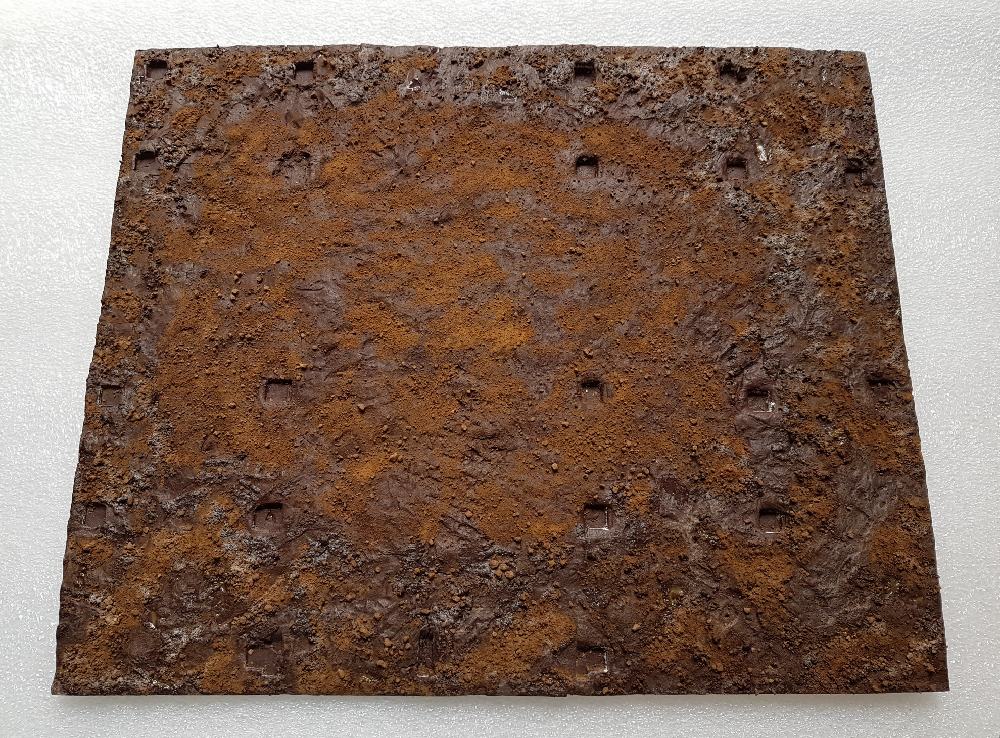
The ground and the base:
These are some first steps of the ground and some material used to build the base: